

Contents
3D Tutorial: How to Make a Gamepad with Damage Effect in KeyShot
2022-08-153 min read

Introduction
In this tutorial, the best render farm and cloud rendering service provider, Fox Renderfarm, will invite 3D Artist Zem to show you how to make a small scene that renders a gamepad in KeyShot. Zem used a model from a previous project to place the small scene. In the process, He'll explain in detail how to make textured lights for the handle, as well as broken and stale effects, using some node materials. Let’s enjoy the tutorial from Zem.
Rendering
- First import the model into KeyShot, add a simple ground, adjust the lens angle, and then maintain the camera's angle of view.

- Lighting is not the focus of our tutorial, so I won't go into detail. But the overall idea was that I wanted to make the scene look like a contrast of cold and warm light. So my plan is to set up a main light source for the scene, mainly orange and blue lights to illuminate the whole model, and then fill in the light to illuminate some more detailed places.

- Next, I need to add materials to the ground. I mainly use the texture of a broken stone and then adjust the colour, roughness and unevenness to finally achieve the effect in the following picture.

- The part of the screen that shines comes from the texture's self-illumination, then sticks a map that writes NEW GAME, and then adjusts the colour.

- Then I added a layer of glass to the top of the screen to make its texture different from other places.

- The effect of glass breakage is also to use a texture of a screen crack to place on the opacity layer of the glass and then adjust the numerical value to control the effect of breakage.

- Next, I began to adjust the material of the handle base. Its composition is relatively complicated. First I adjusted a metallic paint to the bottom base and wanted to add some damage. I created a plastic material and then added a broken texture overlay to it to get this effect. To get better results, I moved the position of the broken map and then continued to adjust to better detail.


- The material next to it is very simple. The top layer of its shell is composed of some matte metal materials with concave convex and roughness. It should be noted that the reflection is relatively shallow.

- Above the right side of the game machine, as shown in the figure, it has the same texture as the handle shell, and I copied the material of the shell and added some fingerprint-like details.

- The position of the handle rocker is also made of the basic material of metal paint and then a little dust is added to the rocker. I have added roughness and concave-convex to almost all the materials, and the combination of these two things can better express the texture of the material.

- There are several luminous buttons at the bottom of the screen. I first added a self-luminous material to them, and the effect of changing from dark to bright from outside to inside is to use a fusion of self-luminous colour and colour gradient, and the colour part can be adjusted according to the requirements.


- Before the final rendering, we need to adjust some incomplete textures. I then did some test rendering and moved the camera a little bit.

Final render:

Ready to Try Fox Renderfarm?
See why 400k+ CG studios and artists rely on Fox Renderfarm


You May Also Like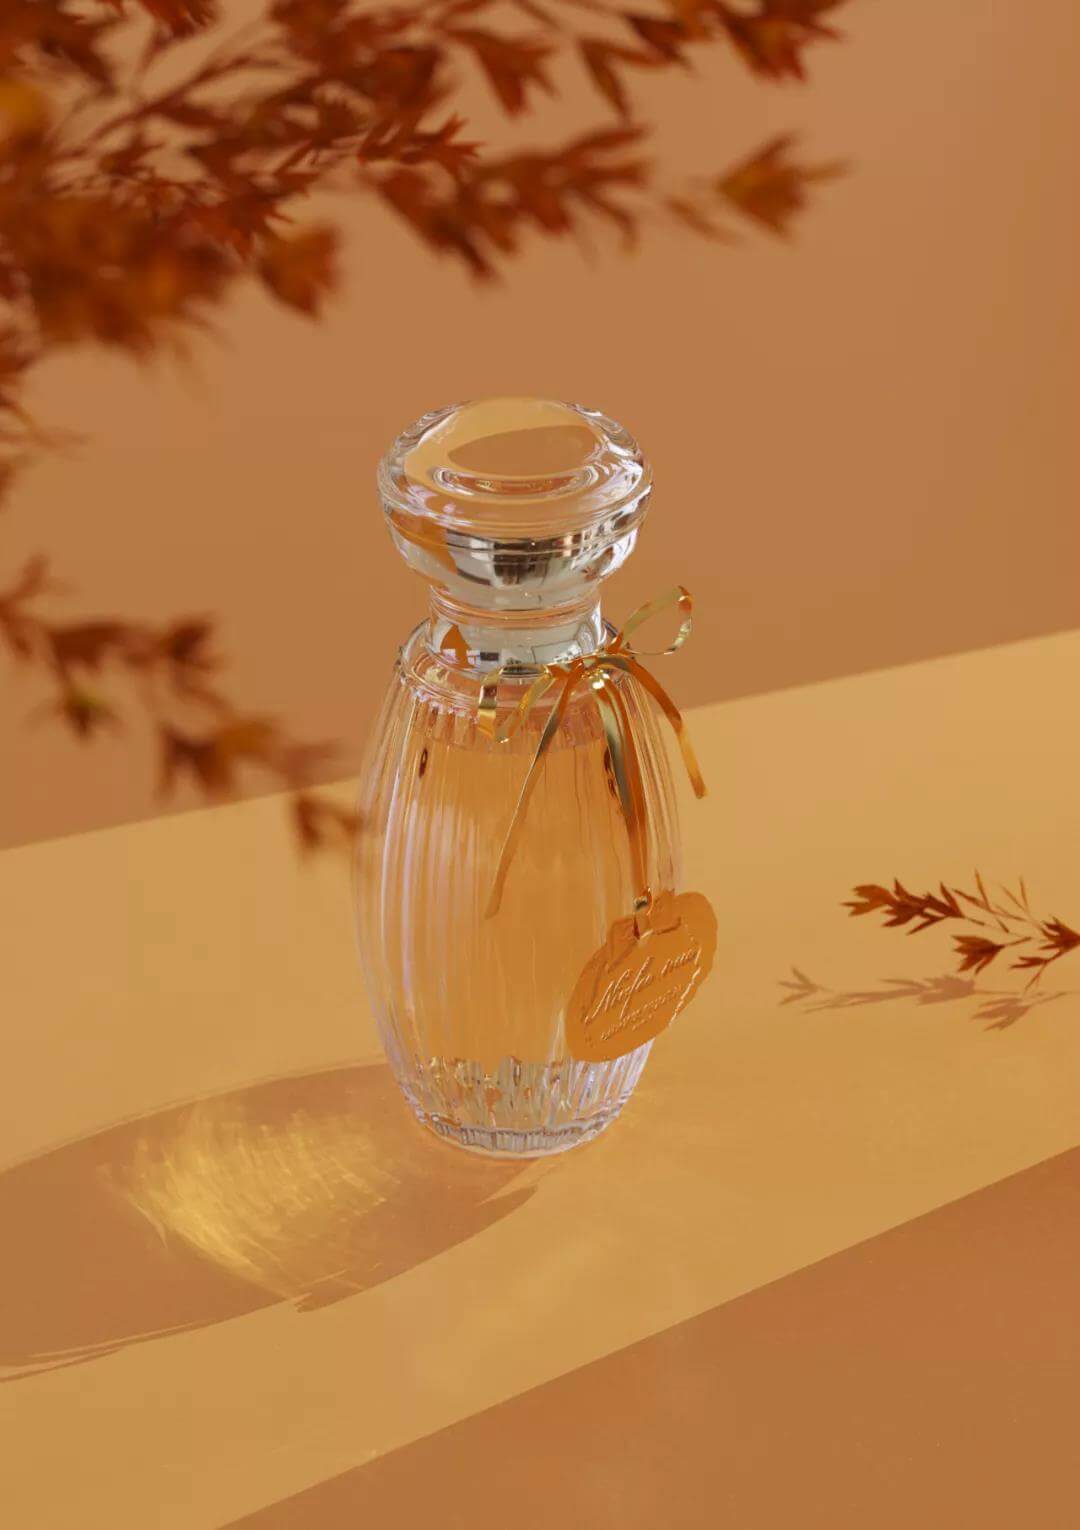

KeyShot 10 Tutorial: How to Render a Perfume Bottle
Today, Fox Renderfarm, the best could rendering service provider and render farm, will share with you a KeyShot 10 tutorial about how to render a perf
2022-08-15

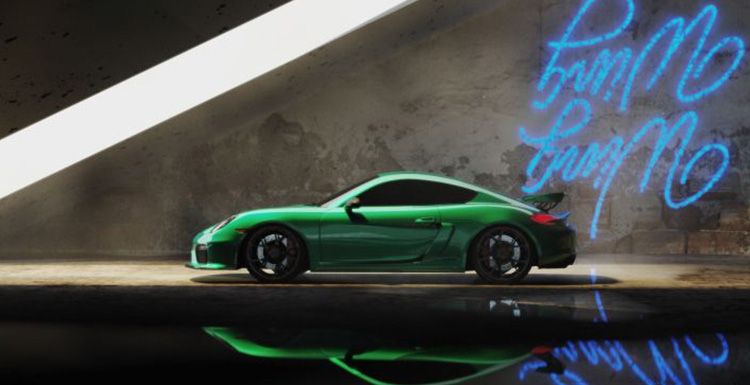
How To Make A Car Rendering Fog Scene With KeyShot 8
As the leading cloud rendering service provider and render farm, Fox Renderfarm, will show how to make a car rendering fog scene. The scene uses an al
2022-08-15

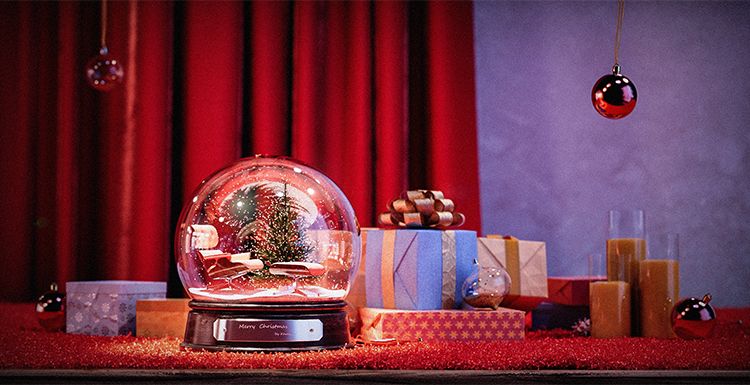
How to Use KeyShot 9 to Render Christmas Scene - Tutorial
This article is a 3d rendering tutorial about Christmas scene shared by 3d artist Drown. The article is organized by Fox Renderfarm, the leading cloud
2022-08-15


