11 Best Revit Plugins for Faster, Smarter Building Design Projects
Projects are likely to feel slow in the design process when they become large and intricate. The right Revit plugins can make everyday tasks faster and more comfortable. These small tools help users save time to avoid repeated steps and keep work organized. They also support better visuals and cleaner models on building projects. Thus, this guide explains what Revit plugins are, how to install them, and which options work best.

Part 1. What are Revit Plugins?
Revit plugins are small software extensions that expand Revit’s default tools and abilities. They attach to the Revit interface and bring extra buttons or panels that simplify complex tasks. These add-ins connect through the Revit API and load automatically with the project or startup process. Developers from Autodesk, external companies, or internal teams can easily create and share them.
Moreover, typical uses include automating sheet creation or placing dimensions accurately across views and levels. They also manage schedules and model data more efficiently through smooth integration features. With the help of Revit plugins, you can link to rendering software or geometry tools like Lumion or Rhino.
>> Related: Top 10 Free Blender 3D Add-ons for Your Daily Use
Part 2. How to Install and Manage Revit Plugins?
Installing and managing plugins in Revit is simple and supports flexible control for everyone. Most options arrive through either the Autodesk App Store or a developer’s official site. You can then control them from the Add-Ins tab and choose what should stay active.
Yet, the process of adding Revit add-ins involves checking version compatibility before beginning installation. So, go through the following steps to install a Revit plugin on your system:
Step 1: To initiate, access the “Autodesk App Store” and look up the plugin you need, such as “BIM.”
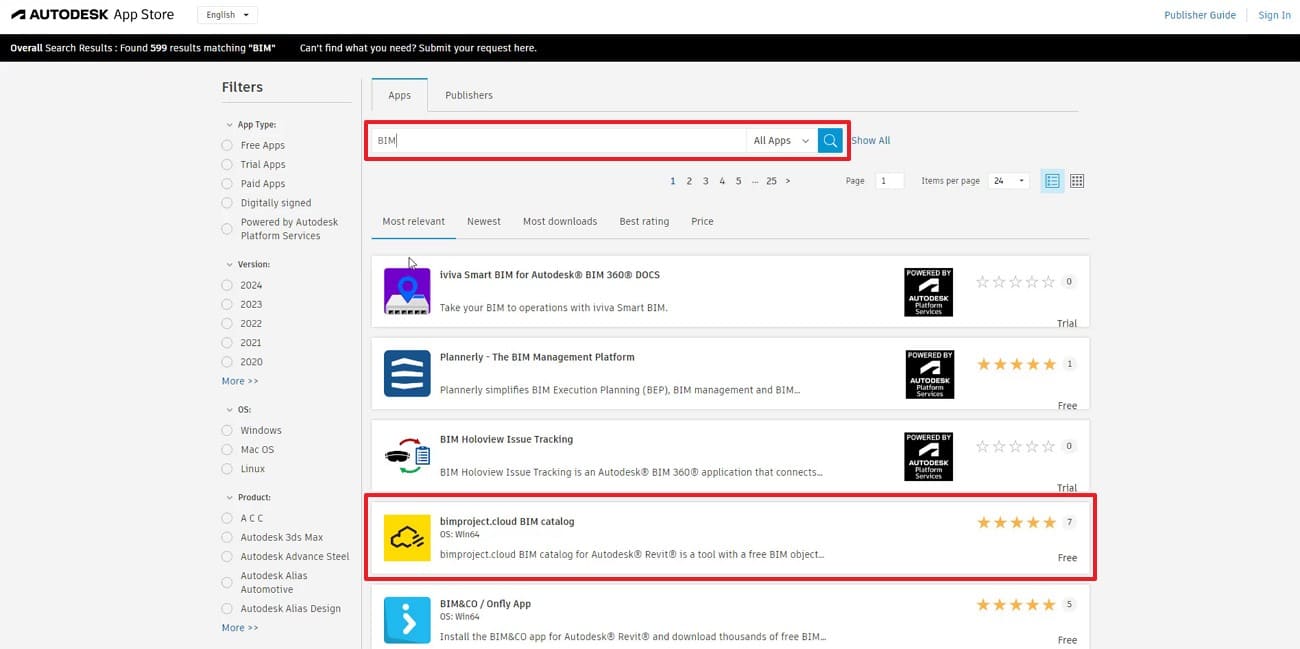
Step 2: Upon choosing it, press the “Download” button on the following screen.
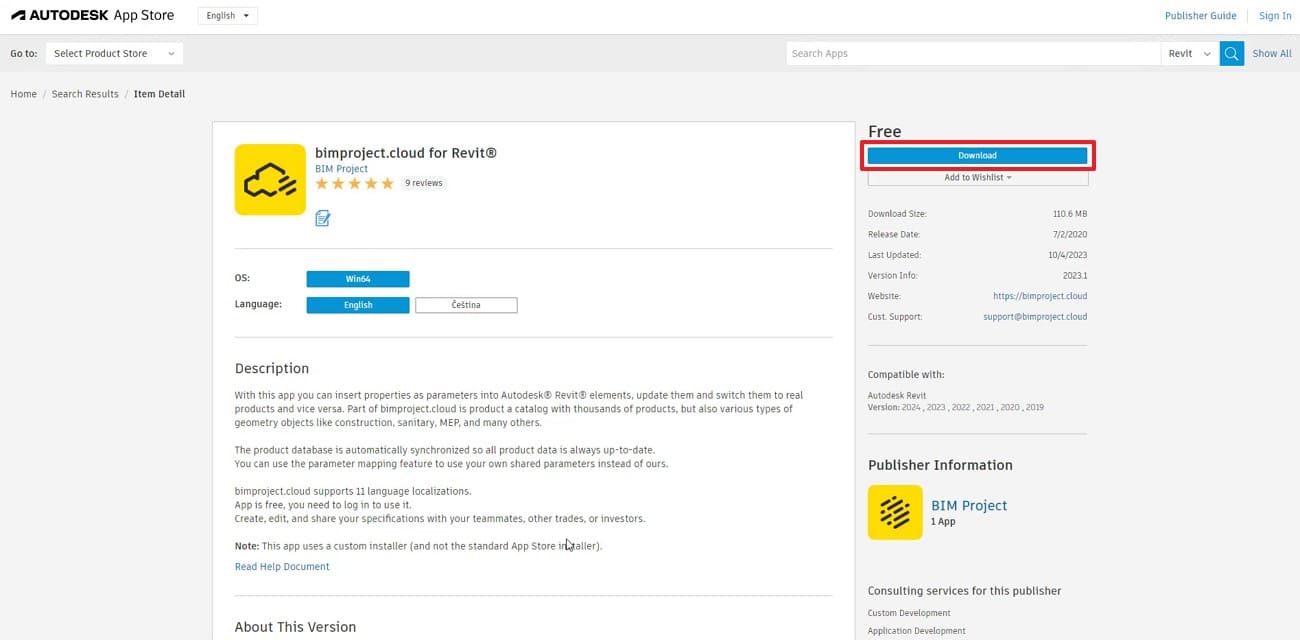
Step 3: Once installed, select the ZIP folder to choose “Extract All.” Move through the setup window by agreeing to the terms and picking the install folder to finish the process.

Part 3. Top 11 Revit Plugins
Several Revit architecture plugins can help users work faster and manage modeling tasks more easily. So, this section highlights 11 useful Revit plugins that improve modeling speed and simplify daily tasks:
>> You may be also interested in: Top 7 Blender Architecture Addons
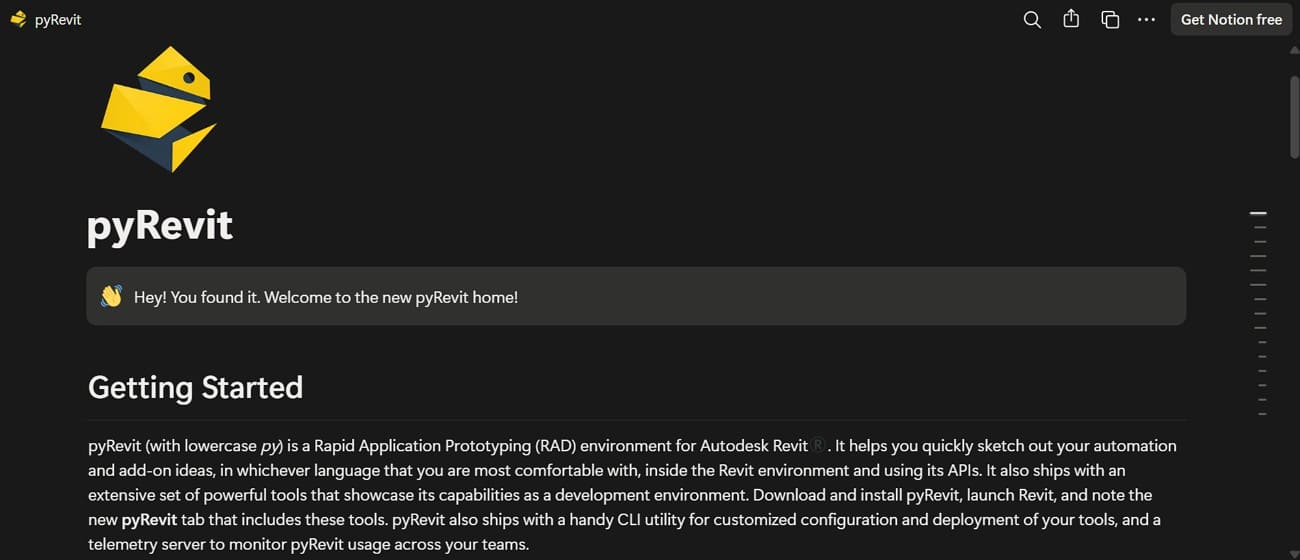
1. pyRevit
It is a free Revit add-in that boosts productivity for everyday BIM tasks. pyRevit offers a native tool library for sheet management and numbering efficiently. Also, Python scripting lets users create custom buttons and workflows with direct Revit API access. It even provides advanced cleaning and model auditing tools for better project quality.
Website: pyRevit
Price: Free
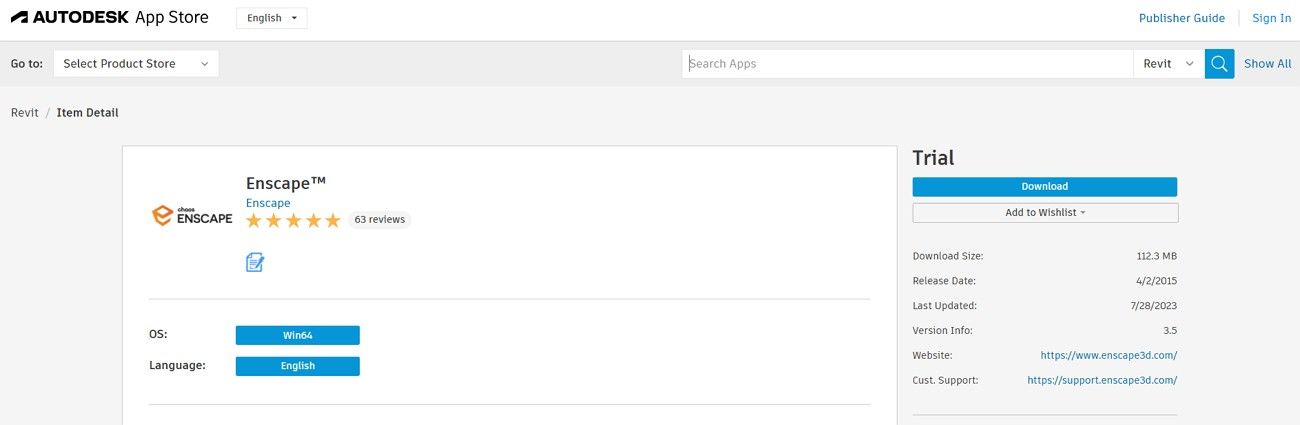
2. Enscape
While exploring the top Revit plugins, Enscape offers instant rendering and visualization. Furthermore, it supports effortless virtual reality for famous headsets like Meta/Quest and HTC Vive. The plugin includes large libraries of materials and assets like furniture and vegetation. A material editor lets you customize textures and colors easily.
Website: Enscape
Pricing Plan:
- Enscape Solo: $47.90/month
- Enscape Premium: $52.90/month
- ArchDesign Collection: $94.90/month
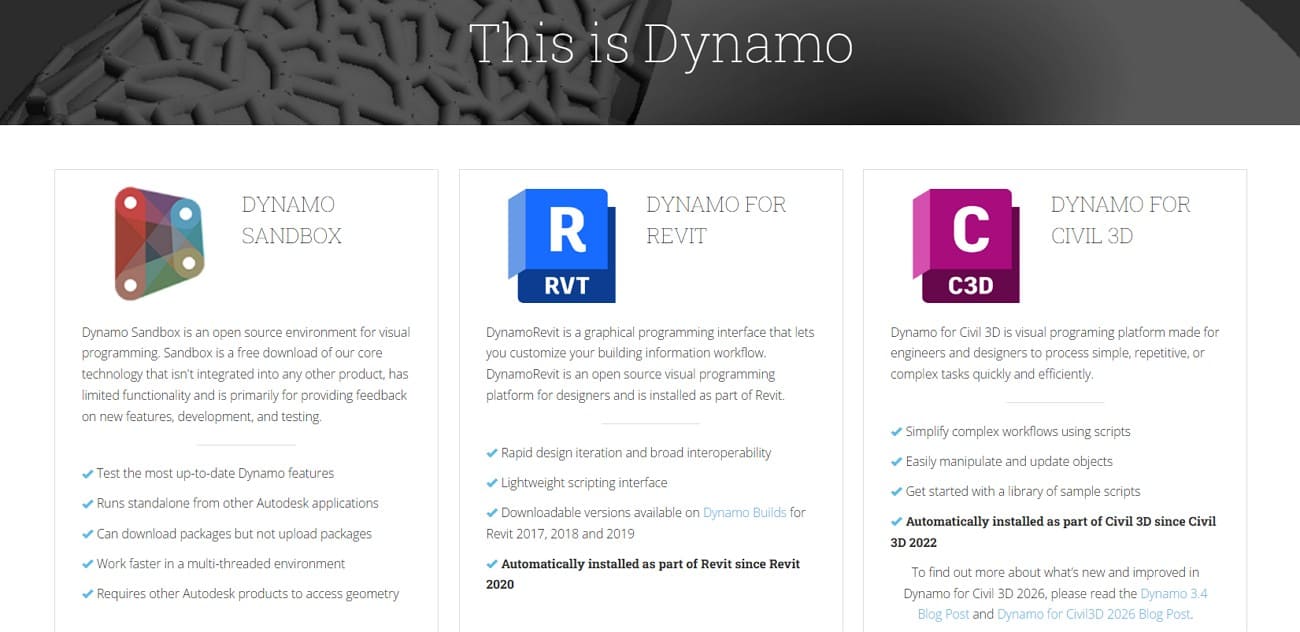
3. Dynamo
Dynamo is a powerful Revit plugin that uses nodes and wires to create scripts. It automates repetitive tasks like renaming views and placing families. It also manages data import and export between Revit and tools like Excel. Besides, this Revit architecture plugin helps architects reduce errors and speed up modeling workflows effectively.
Website: Dynamo
Price: Dynamo for Revit comes free with Revit, requiring no separate license for subscribers.
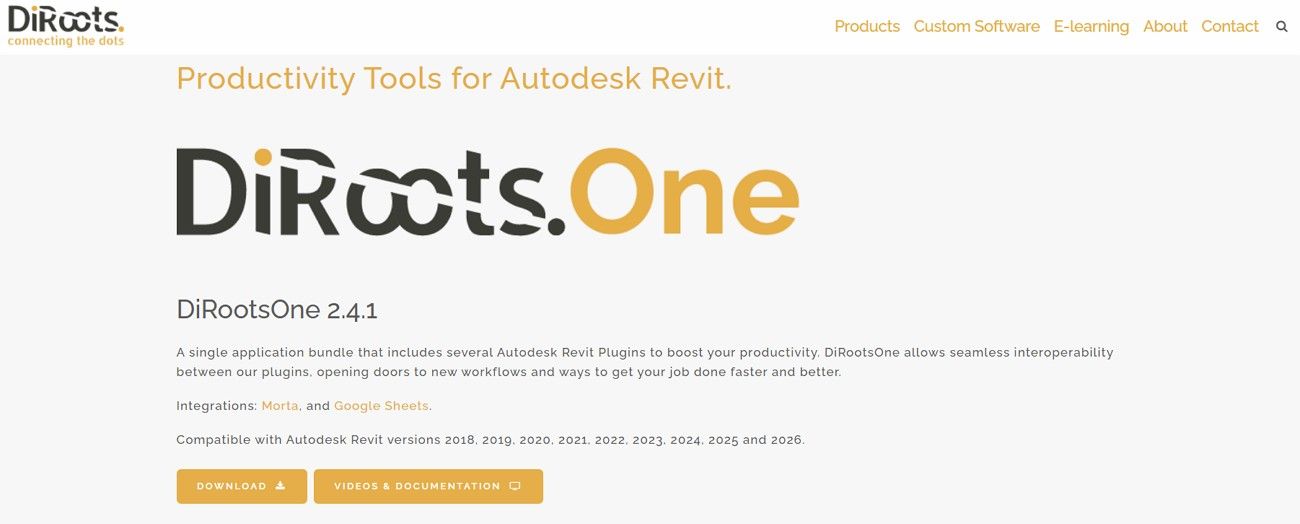
4. DiRoots One
DiRoots One is a versatile Revit add-in combining multiple tools into a single package. It helps export and import Revit data easily with SheetLink. Additionally, SheetGen automates sheet creation and placement of views. PointKit improves workflows by handling point-cloud files efficiently. Plus, point-cloud utilities allow importing, exporting, and managing DXF or ASCII files efficiently.
Website: DiRoots One
Pricing Plan: $115 per user/year
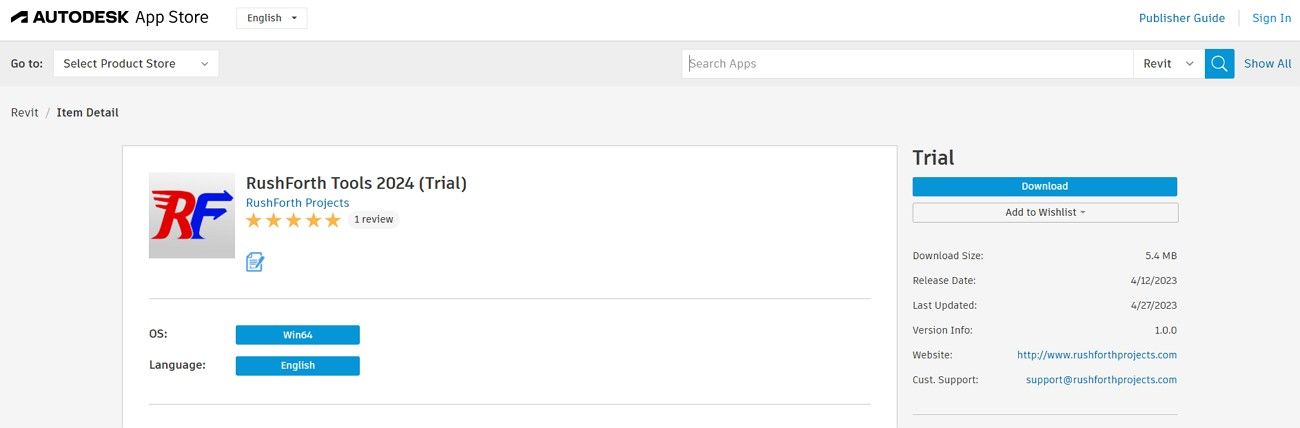
5. RushForth Tools
It is a commercial suite of Revit add-ins for productivity and automation. RushForth Tools links Revit models to Excel for data export, editing, and import. The suite automates view and sheet creation for project setups. It also offers advanced filtering for elements by parameter or property values. Plus, RushForth Tools include customizable toolboxes for quick access to favorite commands.
Website: RushForth Tools
Pricing Plan: $125 per user after a 30-day free trial
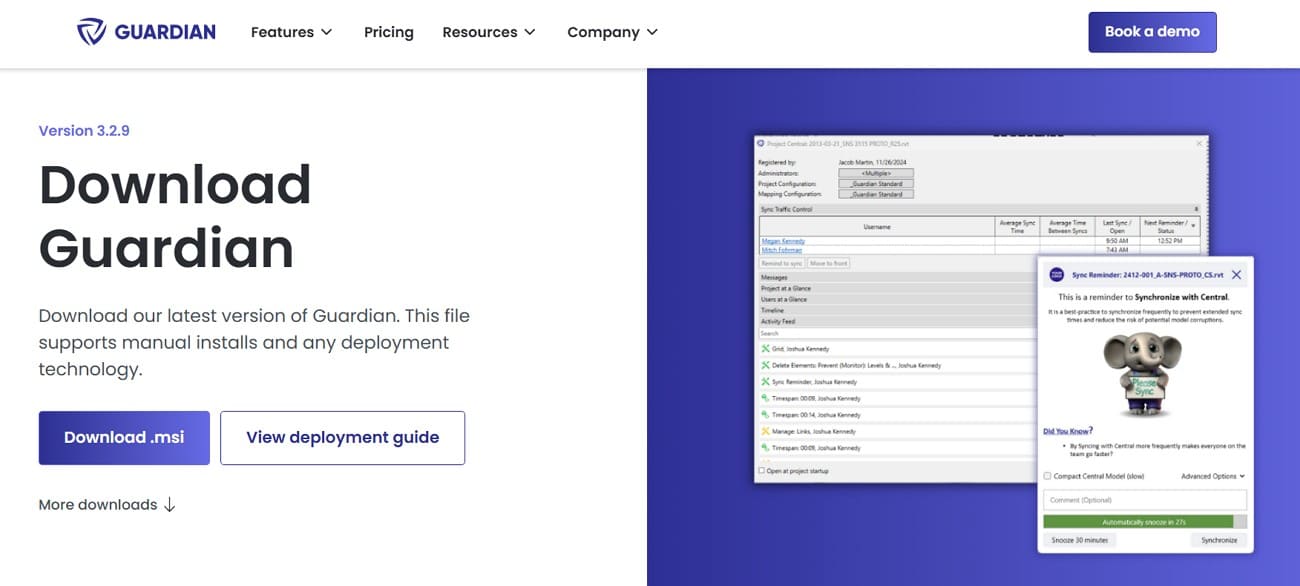
6. Guardian
Guardian is a proactive plugin tool that enforces firm standards in Revit projects. It prevents risky user actions like exploding CAD or importing non-standard content. Guardian also trains users with real-time in-app guidance and messages. In addition, it provides BIM leaders with dashboards featuring model and user analytics.
Website: Guardian
Pricing Plans
- Base Package: $3,950
- Each Additional User: $95
- Each Additional Admin: $950
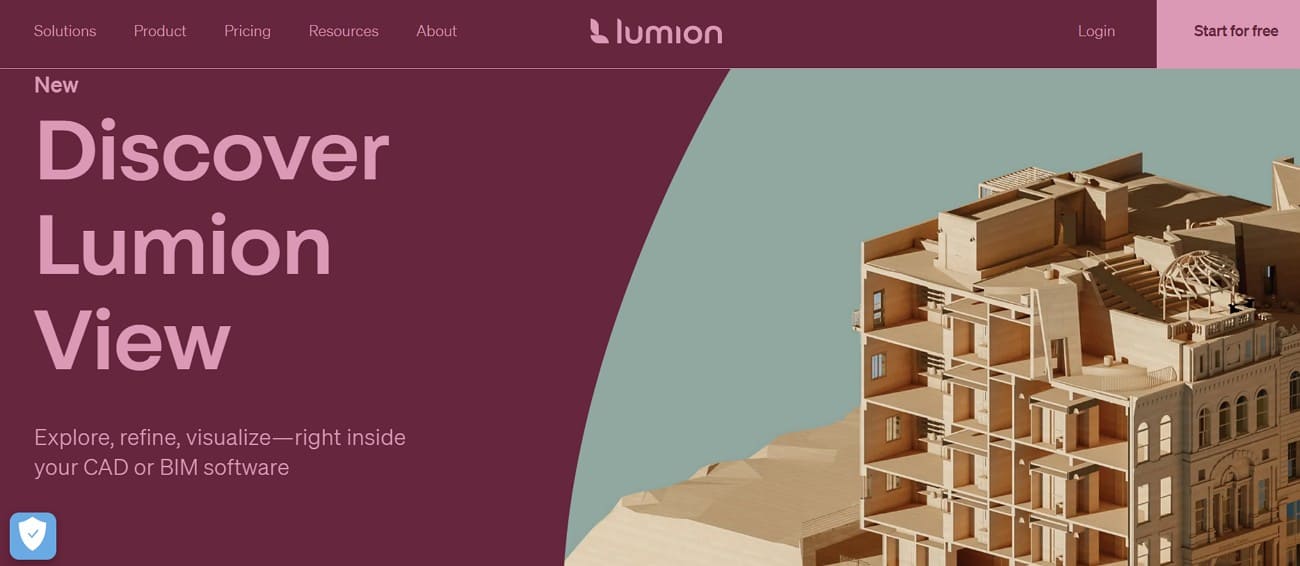
7. Lumion View
It is a lightweight Lumion Revit plugin for real-time visualization inside Revit. Lumion View opens a live, ray-traced viewport that updates instantly with changes. The plugin includes camera synchronization and easy, intuitive navigation controls. Moreover, it supports creating 4K stills and diagrams without having to export to the full Lumion Pro software.
Website: Lumion View
Pricing Plans
- Lumion View: $229 named user/year
- Lumion Pro: $1149 named user/year
- Lumion Studio: $1499 named user/year
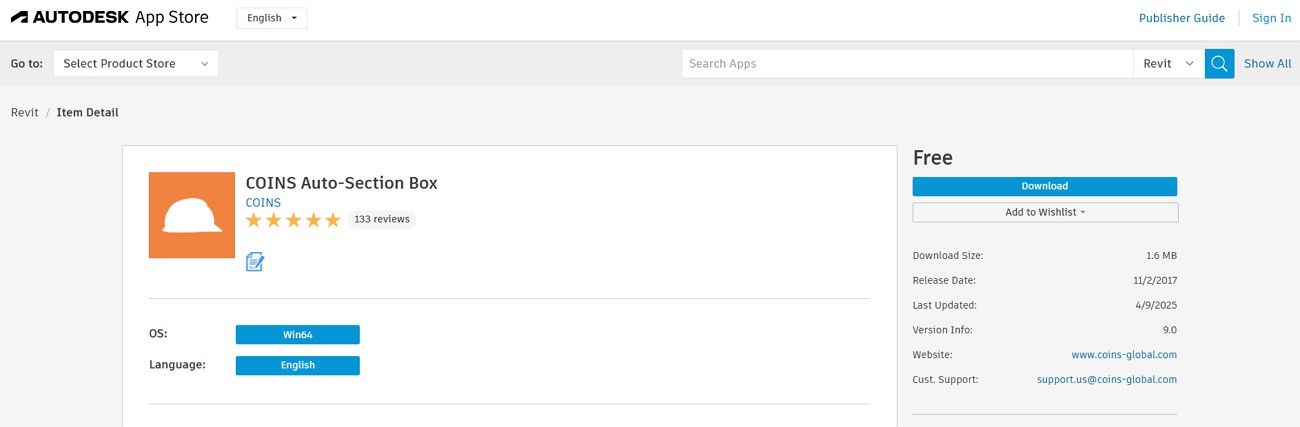
8. COINS Auto-Section Box
COINS Auto-Section Box is a free tool for quick 3D isolation in Revit. It creates section boxes tightly fitted around selected elements with an adjustable buffer distance. Moreover, the plugin works well in large models, ideal for QA/QC and coordination. It even supports linked files and special handling of annotations and grids. Apart from that, you can toggle the box to compare views easily.
Website: COINS Auto-Section Box
Price: Free
9. Twinmotion
Twinmotion is a real-time rendering tool integrated as a Revit plugin option for designers. It offers a direct live link with Revit to sync model changes instantly. Besides, the plugin supports real-time global illumination and reflections for natural lighting effects. Twinmotion even supports exporting images, videos, panoramas, 360° VR, and interactive web-ready presentations.
Website: Twinmotion
Pricing Plans
Twinmotion Seats: $289.25 per seat per year
Unreal Subscription: $1,203 per seat per year

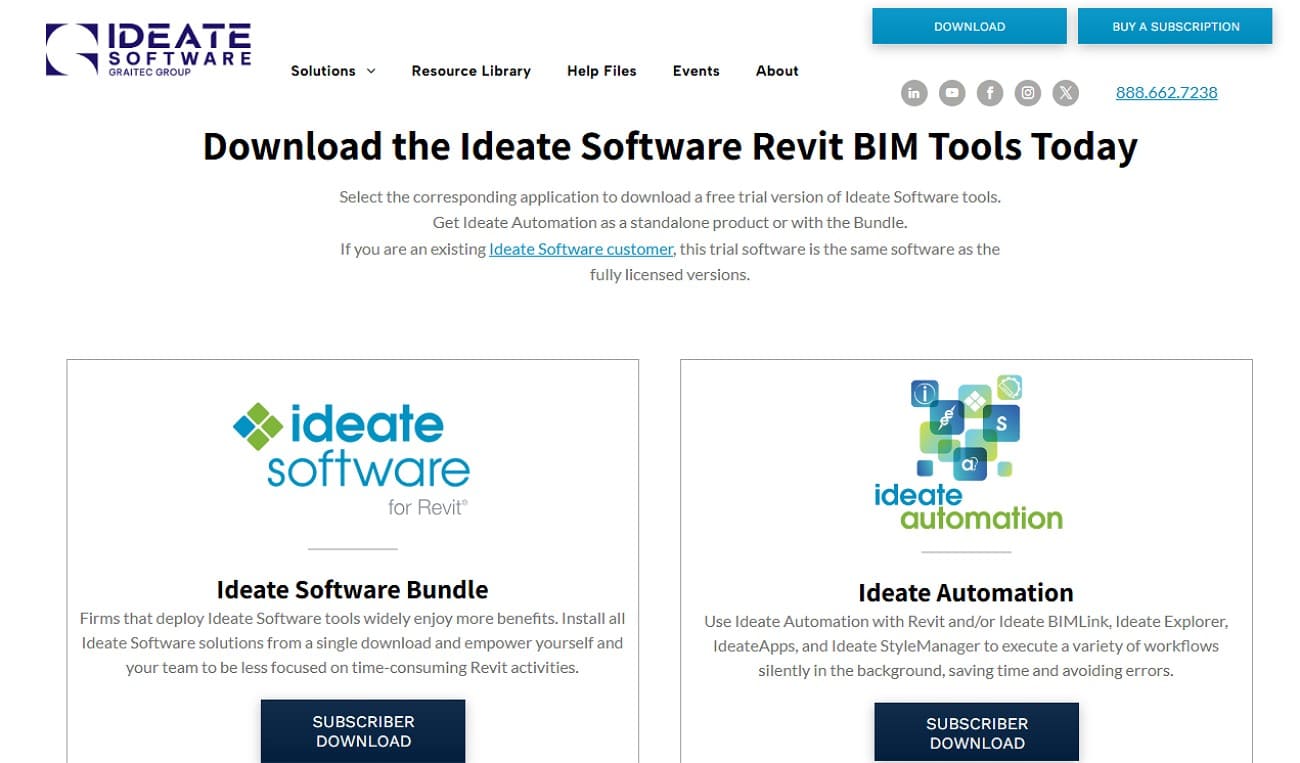
10. Ideate Software
Ideate Software is a professional Revit add-in suite for managing and auditing BIM data. Ideate BIMLink connects Revit with Excel for two-way data editing. Ideate Explorer helps find and remove unwanted elements to keep models clean. Plus, IdeateApps streamlines tasks like view creation, tagging, and renaming. Moreover, Ideate Sticky links non-BIM data like Excel or Word files inside Revit projects.
Website: Ideate Software
Pricing Plans
- Single-User (Standalone) 1 License: $1,495.00/Annual
- Multi-User (Network) 1 License: $2,495.00/Annual
- Multi-User (Network) 5 Licenses: $7,000.00/Annual
- Multi-User (Network) 25 Licenses: $15,000.00/Annual
- Multi-User (Network) 75 Licenses: $20,000.00/Annual
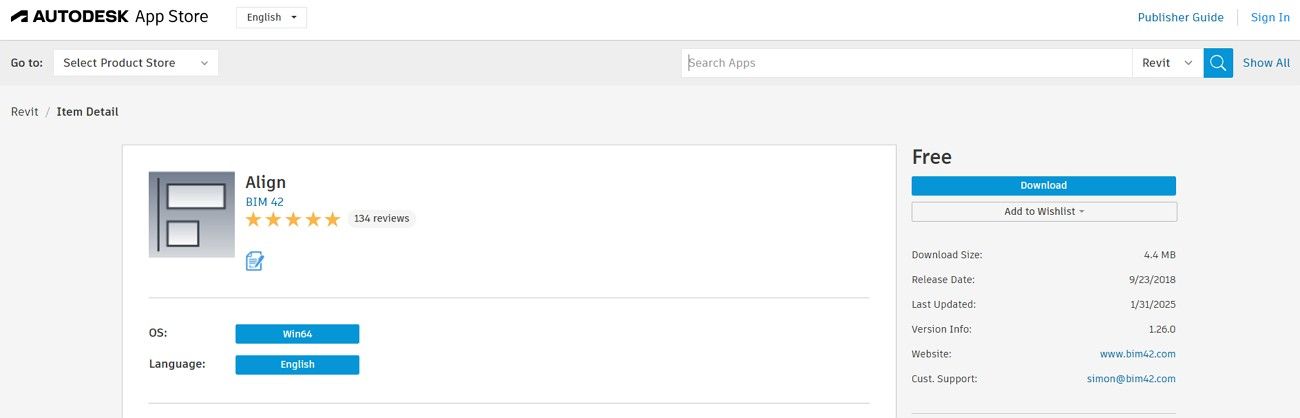
11. Align
Align is a handy Revit architecture plugin that aligns and distributes selected elements easily. It aligns items like tags, text, and annotations left, right, top, bottom, or center. The plugin distributes elements evenly along horizontal or vertical axes to avoid overlap. Moreover, its Arrange feature neatly places tags around views for a clean look. In short, Align saves time and creates professional, well-organized drawings efficiently.
Website: Align
Price: Free
Part 4. FAQs about Revit Plugins
Q1. Where can I find Revit add-ins?
Most Revit plugins are mainly available in the Autodesk App Store or a reputable marketplace. Numerous developers have add-ins that they provide on their official websites, which can be downloaded. Furthermore, certain plugins are packaged with Revit subscriptions or bought as software packages. Yet, never install a plugin without first confirming that it is compatible with your Revit version.
Q2. Why is my Revit plugin not showing up?
Your Revit plugin might not show if it is incompatible with your current version. Moreover, the plugin may be disabled or not loaded correctly in Revit’s Add-Ins tab. Sometimes, missing admin rights or running Revit during installation causes the plugin to disappear. Lastly, corrupted files or conflicts with other add-ins can prevent the plugin from appearing.
Q3. How to enable plugins in Revit?
You need first to ensure the .addin file is in the Addins folder. Plus, check if the plugin is listed and ensure it is activated or checked. If not visible, install the plugin properly and restart Revit to refresh the interface. Make sure your Revit version supports the plugin to avoid compatibility issues preventing activation.
Conclusion
In conclusion, Revit plugins significantly improve modeling speed and workflow efficiency. They automate repetitive tasks and keep models organized and clean. Proper installation and management of these plugins in Revit ensures smooth project execution and teamwork.
Apart from that, when you want faster and quality rendering, consider using a professional render farm. Here we recommend Fox Renderfarm, which offers fast, reliable cloud rendering services to enhance your design presentation results with Revit plugins.