If you’re into 3D printing, you’ve probably spent hours scrolling online looking for the perfect 3D model. But sometimes you just can’t find exactly one quite fit your needs. That’s when you start thinking about making your own 3D models. For 3D printing hobbyists and creators, two programs often come up: Blender and Fusion 360. Both are powerful, but they work in very different ways.
Choosing the right one can be tricky, especially if your goal is to create models for 3D printing. Don't worry. In this guide, we’ll compare Blender vs Fusion 360, exploring their key differences, features, learning curves, and suitability for beginners and professionals.
1. What is Blender?
Blender is a free, open-source 3D modeling software created by the Blender Foundation. It started as a tool for artists and animators, and over the years it has grown into a full-featured platform for creating 3D content.
You can use Blender to build 3D models, create animations, design visual effects, or even make assets for games. With Blender, you can also render your scenes with realistic lighting and materials using its built-in rendering engines.
For anyone interested in 3D printing, Blender can be used to design your own printable models. You can sculpt objects, fix meshes, and export them as STL or other 3D formats ready for printing.

Image Source: Blender
2. What is Fusion 360?
Fusion 360 is a 3D CAD and CAM software developed by Autodesk. Unlike Blender, it was created mainly for engineers and product designers who need precise control over their designs.
Fusion 360 lets you build models based on exact measurements and constraints, and is widely used for designing mechanical parts, assemblies, and prototypes. So for engineers, makers, and anyone who want to design 3D models that will actually be manufactured or 3D printed, Fusion 360 is a perfect choice.
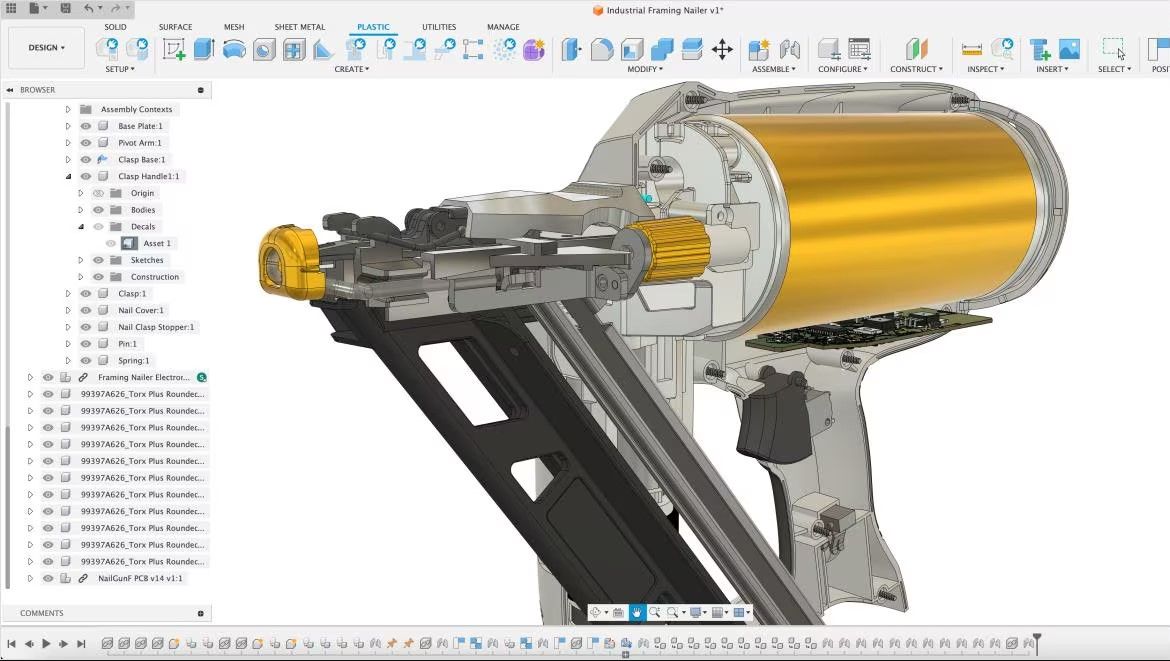
Image Source: Autodesk
3. Blender vs Fusion 360: Key Differences
When it comes to choosing Blender or Fusion 360, it helps to break down their main differences so you can decide which 3D model software fits your needs. Let’s look at the key points.
3.1 3D Modeling Approach
Blender focuses on free-form modeling. You begin with a simple mesh such as a cube or sphere, then shape it in 3D space using tools like move, extrude, or inset. You can also use its modifier stack, like a Subdivision Surface modifier or a Solidify modifier, and tweak or remove them whenever you want. However, Blender doesn’t provide the detailed step-by-step history that some CAD softwares do.
Fusion 360, on the other hand, uses a parametric approach: start with a 2D sketch, draw lines and shapes with exact dimensions, and then turn that sketch into a solid 3D object using tools like extrude or revolve. The most flexible part of this workflow is that you can go back and change any dimension at any time, like the diameter of a hole, and every related part updates automatically.
In short, Blender’s 3D modeling style tends to artistic and visual creation, while Fusion 360 is built for manufacturing and precision-driven design.
3.2 Use Cases
Blender is great for:
- Creating characters, monsters, props, or any organic and complex shapes.
- Making animations, short films, or game assets.
- Adding visual effects (VFX) to a project or doing cinematic rendering.
Fusion 360 is commonly used for:
- Product prototypes, mechanical parts, or precision components (like pieces prepared for 3D printing).
- Engineers, manufacturers, or makers designing functional parts.
- Generating CNC toolpaths, running simulations (stress or motion), and creating assemblies where multiple parts work together.
3.3 System & Hardware Needs
Blender:
-
- Windows: minimum Windows 8.1 (64-bit), recommended Windows 10 or 11.
- macOS: minimum macOS 11.2, recommended macOS 14.
- Linux: any 64-bit distro with glibc ≥ 2.28.
- CPU: minimum 4 cores (SSE4.2 support), recommended 8 cores.
- RAM: minimum 8 GB, recommended 32 GB.
- GPU: minimum 2 GB VRAM with OpenGL 4.3 support; recommended 8 GB VRAM.
- Internet: no Internet connection required.
- Storage: no installation needed.
Fusion 360:
-
- Windows: 64-bit (e.g., Windows 10 or 11).
- macOS: macOS 12 Monterey or later; some versions require Rosetta 2 on Apple Silicon.
- CPU: 64-bit processor (32-bit not supported), multi-core and high clock recommended.
- RAM: minimum ~4 GB, smoother experience with 8 GB or more.
- GPU: must support DirectX 11 (Direct3D 10.1+), recommended discrete GPU with 1 GB+ VRAM.
- Internet: some features rely on cloud services, so a stable connection is required.
- Storage: installation needs roughly 3–8 GB depending on version and cache.
3.4 UI & Workflow Layout
For beginners, Blender’s UI can feel pretty overwhelming the first time you open it. You’ll need some time to get used to the different layouts and modes, like Object Mode and Edit Mode. But once you get the hang of it, Blender’s interface is incredibly flexible.
It’s made up of multiple panels, like the 3D Viewport, Timeline, and Properties panel. You can drag them around or create multiple workspaces, one for modeling, another for animation. Most actions can also be done with keyboard shortcuts, like G to move, R to rotate, and S to scale.
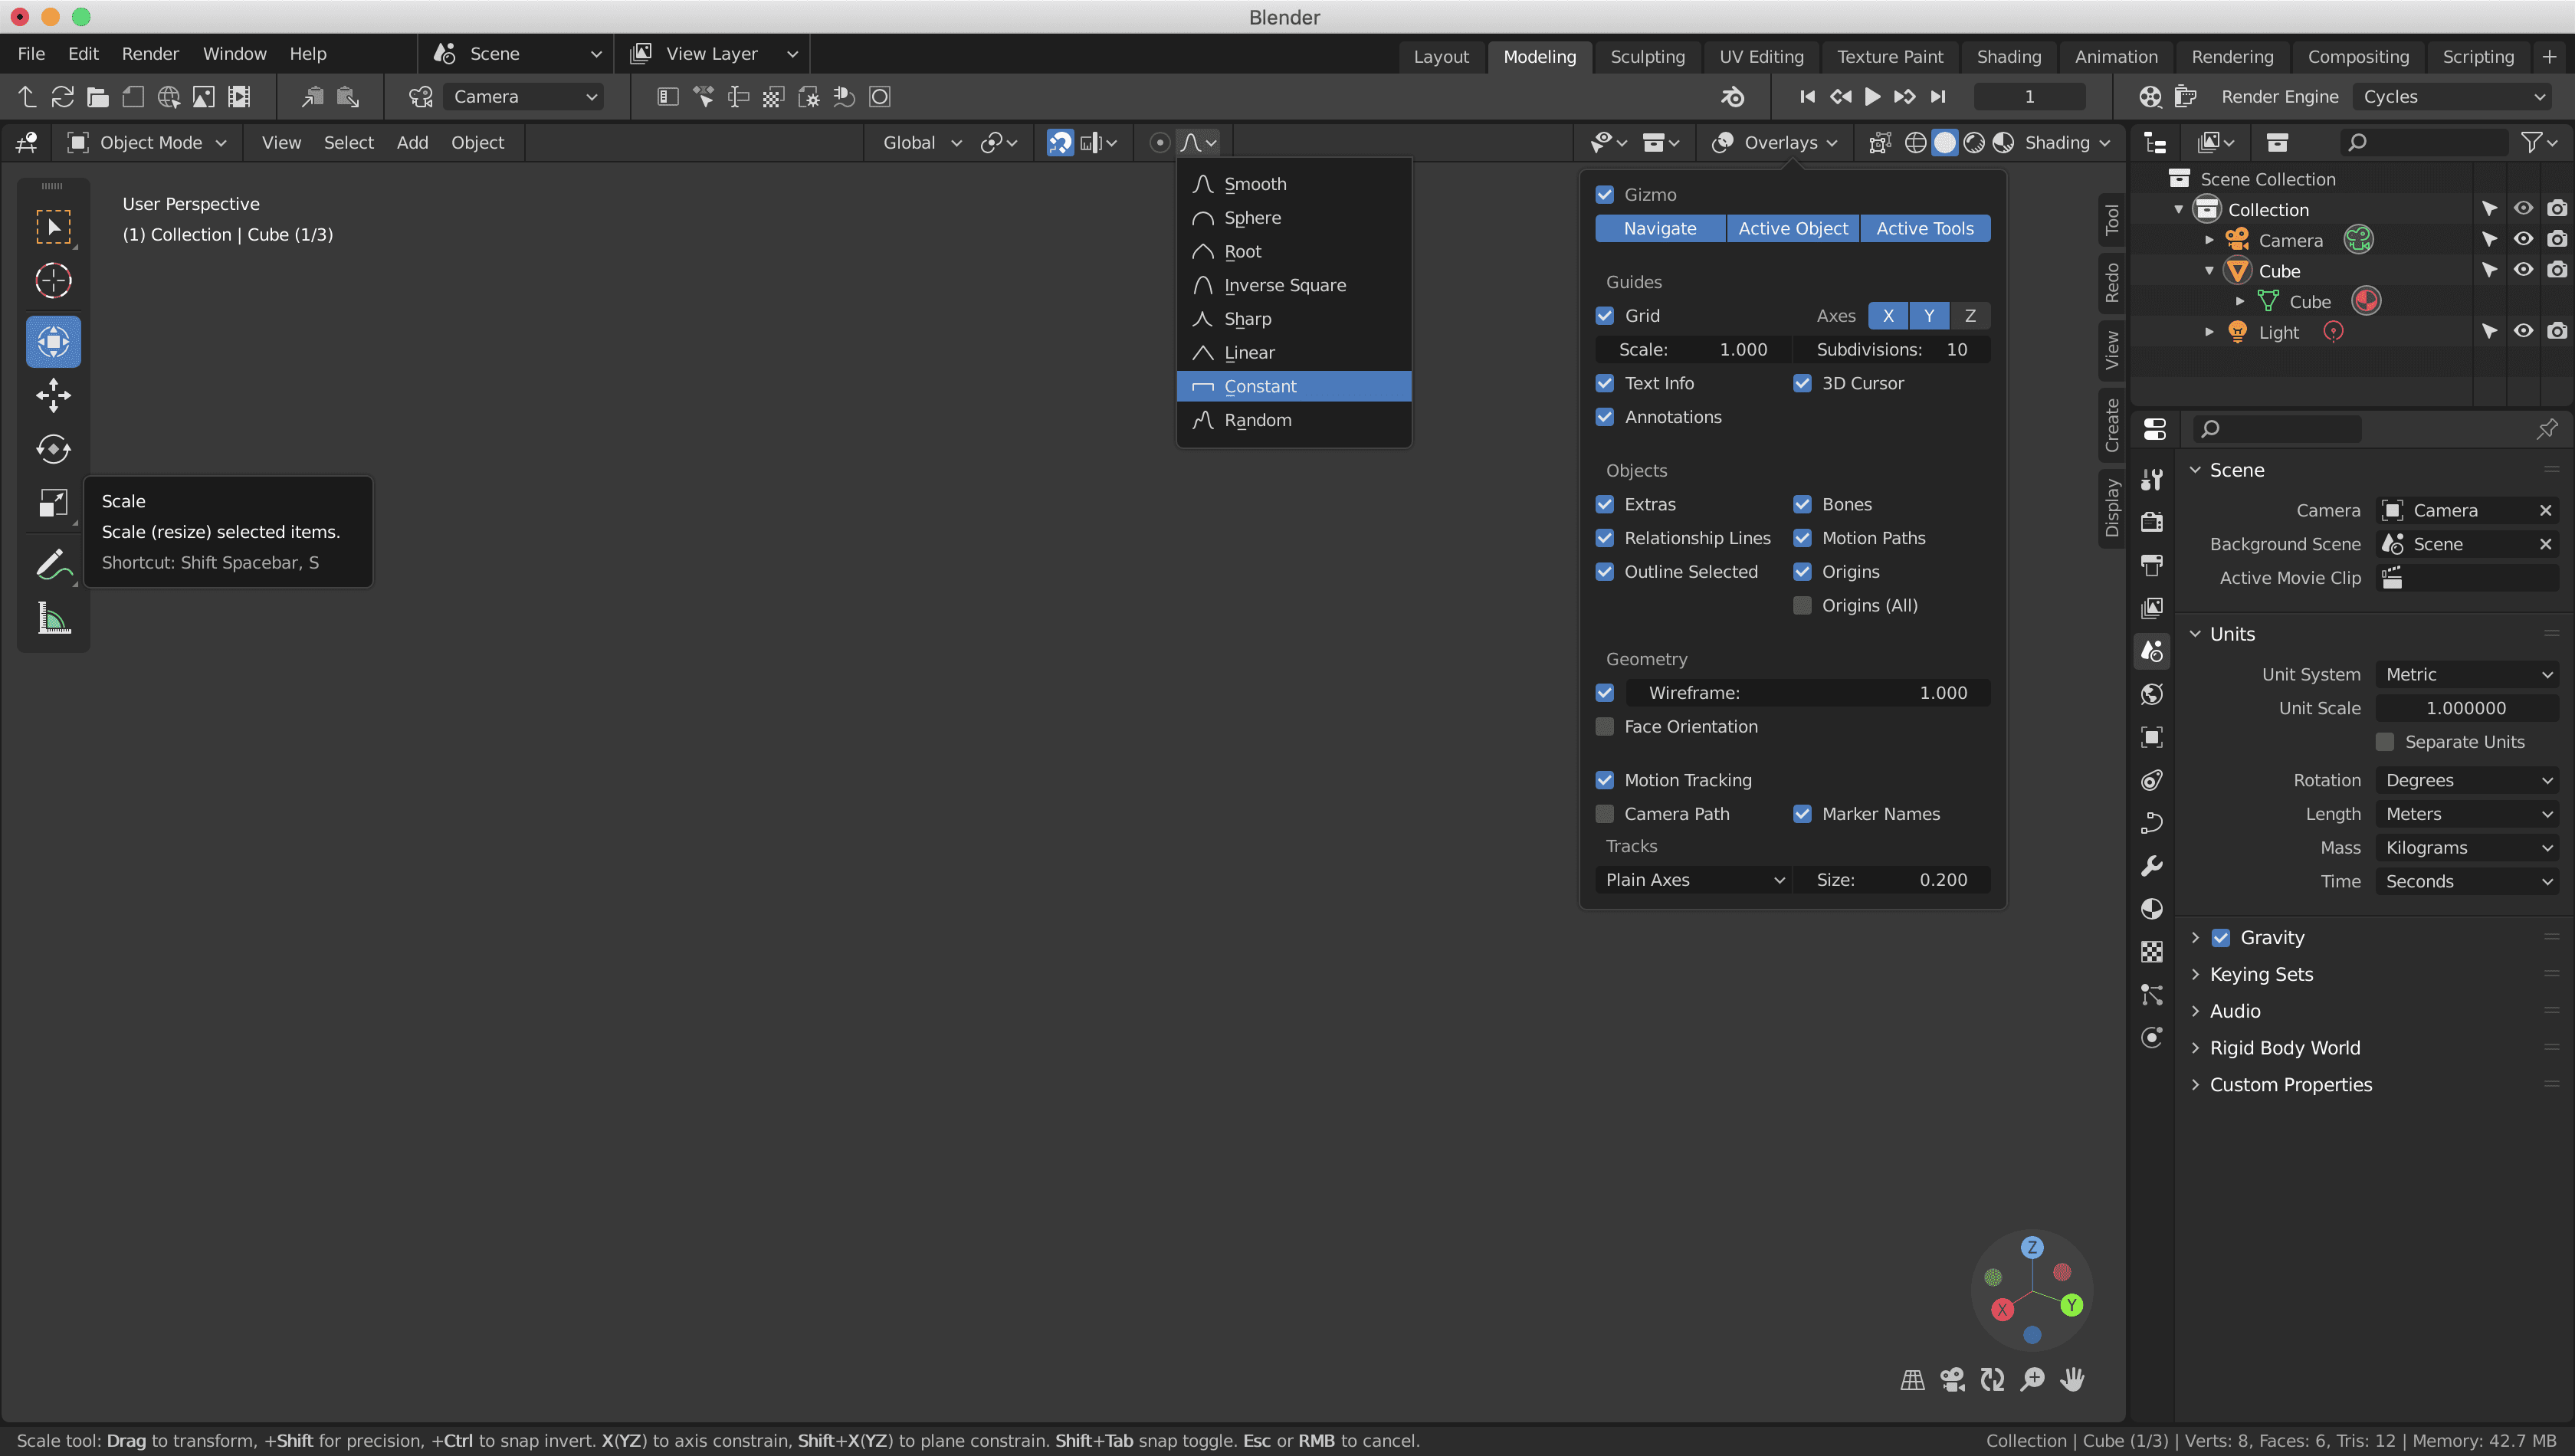
Image Source: Blender Devtalk
Fusion 360’s UI is more friendly if you’re new to CAD. It’s very structured, with a clear “Design → Simulation → Manufacture” workflow. When modeling, you work with Sketches, Features, or Assemblies. The left side usually shows the Browser, which displays the feature tree or timeline to help you manage each step of your model. The top has a Toolbar with common commands like extrude, revolve, or chamfer.
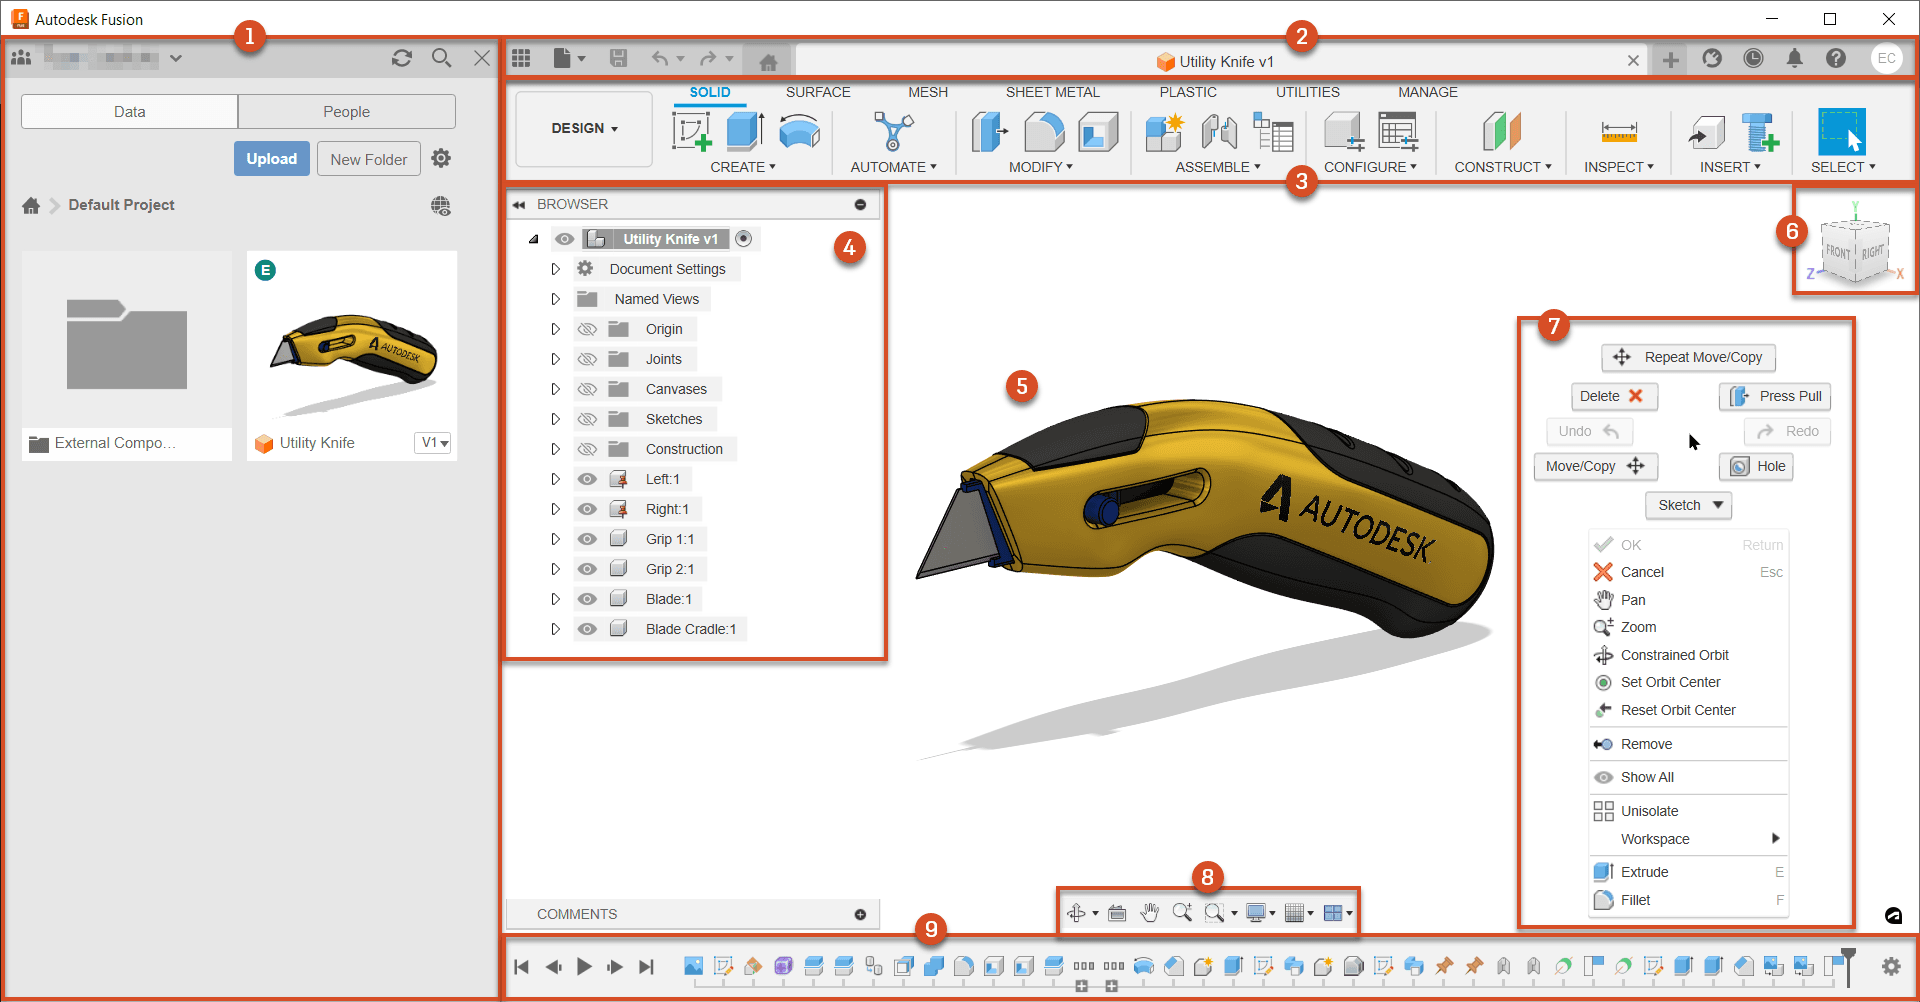
Image Source: Autodesk Product Documentation
3.5 Built-in Rendering Features
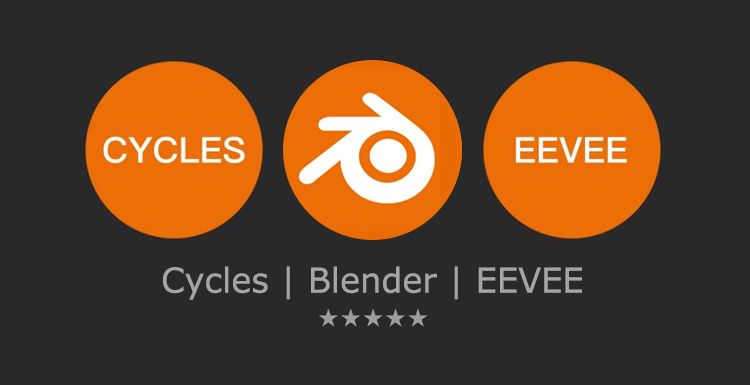
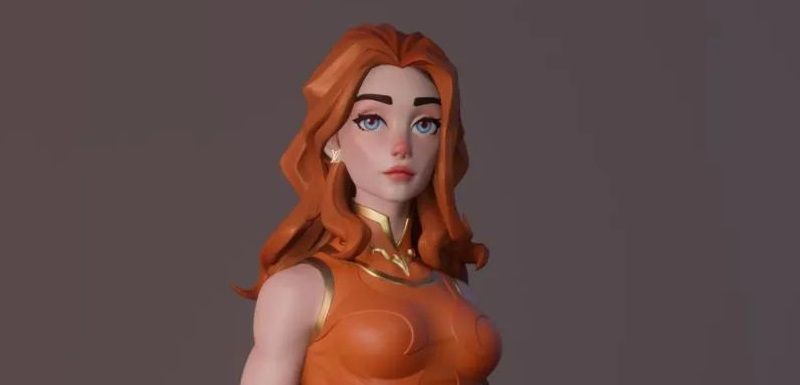
Blender comes with three built-in render engines: Cycles, Eevee, and Workbench. Cycles is a path-tracing renderer that produces highly realistic images with true-to-life lighting, shadows, and materials. Eevee is a real-time engine, offering instant feedback and suitable for quick previews, animations, or interactive scenes. Workbench is a professional viewport renderer mainly used for layout previews, letting you quickly check shapes and structure, but not intended for final image output.
If you plan to work on large Blender renders, a cloud render farm like FoxRenderFarm can help speed things up a lot without stressing your own hardware.
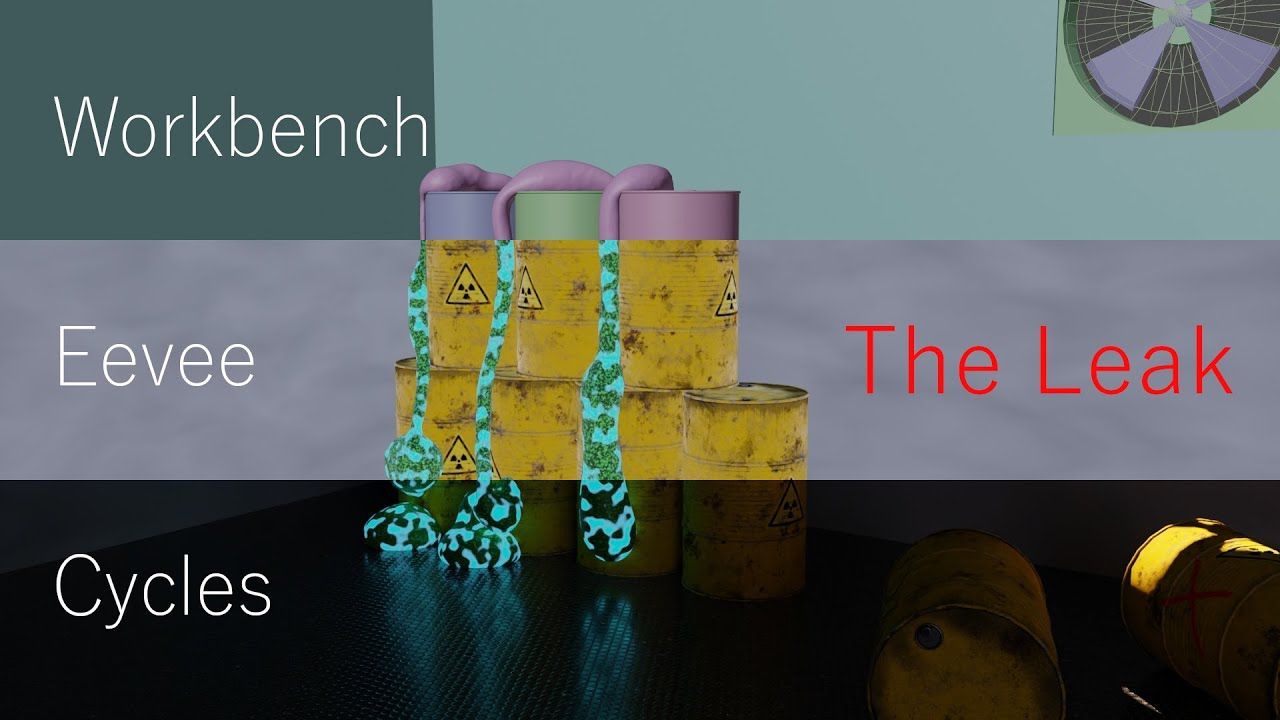
Image Source: Reddit The Leak
Fusion 360 also has a rendering workspace. You can add materials like metal or plastic, set up lights, then choose to render locally for free on your computer or use cloud rendering (paid) via Autodesk’s servers. Fusion 360’s rendering is mainly for product visualization, rather than focusing on complex animation or visual effects like Blender.
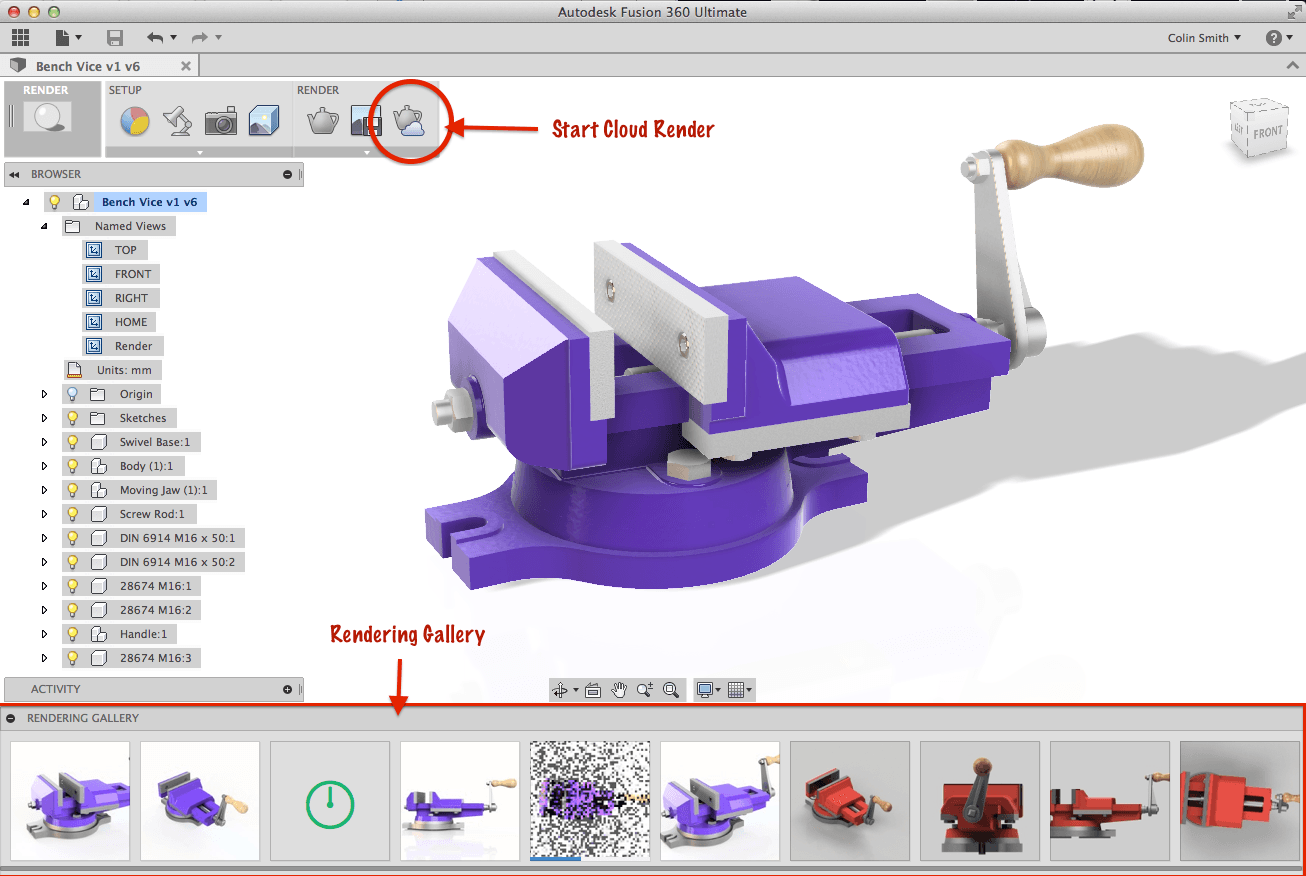
Image Source: Autodesk
3.6 File Outputs
Blender supports a wide range of common formats such as FBX, OBJ, and GLTF, and can also export STL, which is one of the most commonly used formats for 3D printing.
Fusion 360 supports manufacturing and CAD-oriented formats like STEP, IGES, and DWG, as well as STL. This makes it very suitable for exporting models for 3D printing or professional manufacturing workflows.
3.7 Learning Curve
Blender can be challenging to get started with so many interface options and complex features. If you’re a beginner, you’ll need to spend time learning the basic operation. But once you get the hang of it, you’ll have freedom to express creativity.
Fusion 360 is more beginner-friendly for those with an engineering or CAD background, as parametric modeling and the workflow (Design → Manufacture) are quite intuitive. For complete beginners, the basic sketching and feature operations are not too hard to learn, but mastering advanced functions like CAM may take more time.
3.8 Community & Learning Resources
The most valuable part of Blender is its community, Blender Artists, offering a vast amount of high-quality learning resources and beginner tutorials, as well as numerous plugins created by developers. On social platforms, the r/blender subreddit on Reddit is very active, with daily posts showcasing works, tutorials, and Q&A. YouTube has countless dedicated Blender tutorials channels, such as Blender Guru, CG Geek, and Ducky 3D.
The core of the Fusion 360 community is the official Autodesk forum. Although it’s not as large as Blender’s, it is highly professional. Many community members are engineers, mechanical designers, CNC operators, and manufacturers. In addition, Autodesk’s product managers, engineers, and support teams actively answer questions on the forum. Fusion 360 also has a App Store offering verified third-party plugins and resource libraries. On YouTube, there are also many Fusion 360 tutorial channels, such as Lars Christensen and Product Design Online.
3.9 Pricing
Since Blender is open-source, you can use all of its features completely free of charge, whether it’s for personal projects, education, or commercial work.

Fusion 360 offers both paid and free plans:
- The core commercial plan costs $85 per month, $680 per year, or $2,040 for three years. It also comes with a 30-day free trial, during which you can test all CAD/CAM/CAE/PCB features.
- Autodesk Fusion provides a free, limited-feature version for hobbyists earning under $1,000 per year, and a full-featured free version for verified students and educators.

4. Blender vs Fusion 360 Comparison
|
Category
|
Blender
|
Fusion 360
|
|
Cost
|
100% free for all uses.
|
Paid plans, with limited free versions.
|
|
Modeling Style
|
Freeform polygon modeling.
|
Parametric, dimension-driven
modeling.
|
|
Best For
|
Art, animation, visuals, organic
shapes.
|
Engineering, mechanical parts,
product design.
|
|
Precision
|
Not ideal for strict measurements.
|
Excellent dimensional accuracy.
|
|
Learning Curve
|
Harder due to complex tools.
|
Easier for beginners.
|
|
Rendering
|
Built-in Cycles and Eevee engines.
|
Built-in local and cloud rendering.
|
|
Manufacturing Tools
|
No native CAM or engineering
drawings.
|
Includes CAM, simulation, and
drawings.
|
|
File Formats
|
FBX, OBJ, GLTF and STL output.
|
STEP, IGES, STL, OBJ, and DXF
output.
|
|
Community
|
Huge global creative community.
|
Smaller but highly professional user
base.
|
|
3D Printing Use
|
Modeling artistic or organic 3D prints.
|
Mechanical prints, creating accurate,
functional parts.
|
|
Platform Support
|
Windows, macOS, Linux.
|
Windows and macOS.
|
5. Can You Use Blender and Fusion 360 Together?
In practice, combining Fusion 360 and Blender allows you to achieve precise engineering and creative modeling in one workflow. Fusion 360 handles precise structures, while Blender is used for refining shapes, adding artistic details, and creating high-quality renders.
Here is a workflow you can refer to:
Step 1: Create the Base Model in Fusion 360
In Fusion 360, create mechanical or parametric models, define dimensions, assemblies, and manufacturing-ready geometry, then export to common 3D file formats like OBJ or FBX.
Step 2: Import the Model into Blender for Styling and Artistic Editing
After importing, use Blender’s modeling, sculpting, and rendering tools to further refine the model. If needed, create UV maps, assign PBR materials, and set up lights and cameras for final stills or animation.
Step 3: Engineer and Final Output
If you need to ensure precise dimensions, return to Fusion 360 to check tolerances, with 0.2–0.3 mm being a common range. If you need to render, return to Blender and use Cycles or Eevee to produce the final images or animations.
6. FAQs about Blender vs Fusion 360
6.1 Can Blender be used for 3D CAD?
No, Blender lacks parametric CAD features like dimension-driven sketches, assemblies, and CAM workflows. So while you can model objects for 3D printing, it is not ideal for professional CAD engineering tasks.
6.2 Which is harder to learn, Fusion 360 or Blender?
Blender is harder to learn because of its complex interface, many tools, modifiers, and sculpting options. Fusion 360 is easier for beginners with an engineering background since its UI and workflows are more structured and intuitive.
6.3 What is the number 1 3D modeling software?
Your purpose determines which software is truly the right 3D modeling tool for you.
- For engineering and product design, Fusion 360 or SolidWorks win.
- For visuals, animation, and creative modeling, Blender is extremely popular due to its flexibility and free price.
- For professional VFX and film, Maya or 3ds Max are top choices.
7. Conclusion
In the end, choosing between Blender and Fusion 360 depends on your goals. Fusion 360 is ideal for mechanical parts, assemblies, and 3D printing with tight tolerances. Blender, on the other hand, is perfect for visuals, animations, and creative 3D printing projects.
For faster and high-quality renders, you can also try Fox RenderFarm, which fully supports Blender and speeds up your rendering workflow.