ZBrush Tutorial: Turning Images Into 3D Relief Models
ZBrush is a powerful 3D sculpting software that can quickly create various relief models. In this article organized by Fox Renderfarm, the best cloud rendering services providers and render farm, you will learn how to convert images into relief models using ZBrush.
How to Make:
1.Import the black and white map (alpha texture map) into ZBrush.

2.Click alpha-import and select the black and white image you just imported.

3.After input, Flip H/Flip V is the horizontal/vertical inversion switch. Rotate (rotation) and Invers (black and white inversion) can be used. MRes is the resolution of the generated model, here choose 2048. MDep is the model thickness, MSm is the degree of smoothing, DblS is the single and double-sided switch.
4.When the settings are finished, click Make 3D (Generate 3D Model) and a solid carved model with thickness will be generated.

5.Click Arraymesh in the menu bar, set the number of models (repeat) to 4. Click Rotate (select), set the number of degrees of y-axis rotation to 180.

6.Click Make Mesh to generate the following model.

7.You can also use the above method to import the height map of the stone.

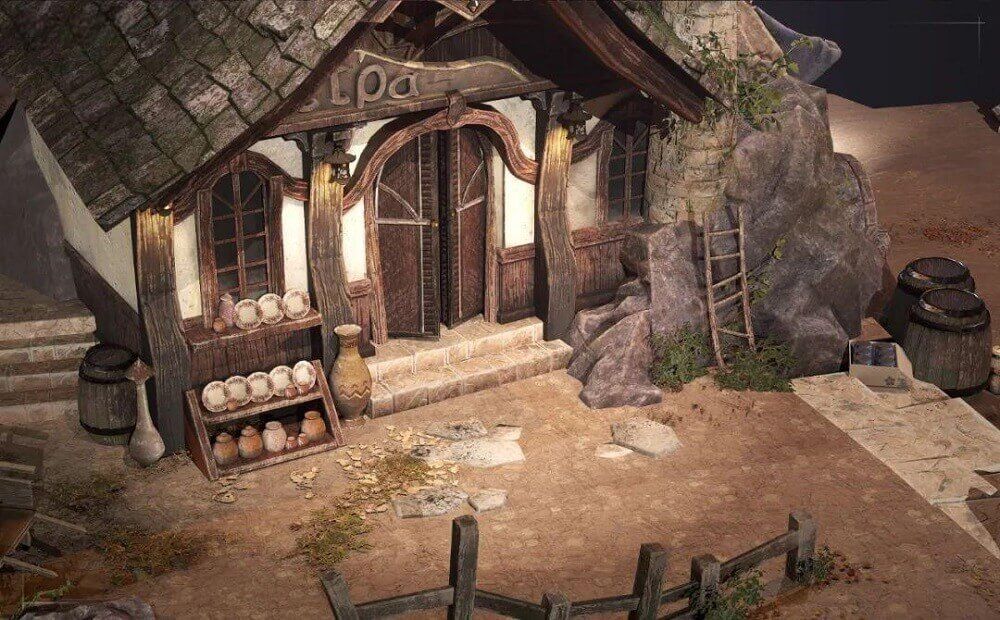
8.We can see the following texture effect created in ZBrush.

ZBrush can make a variety of textures and material effects, such as walls, stones, etc., by converting images to relief.
Fox Renderfarm hopes it will be of some help to you. It is well known that Fox Renderfarm is an excellent cloud rendering services provider in the CG world, so if you need to find a render farm, why not try Fox Renderfarm, which is offering a free $25 trial for new users? Thanks for reading!


