After Effects Plugin Submission
The plugin submission process for After Effects primarily consists of four steps:
1. Download & Install;
2. Launch;
3. Submit;
4. Rendering and download;
5. Uninstall the plugin.
In the following sections, we will provide a detailed description of each of these steps.
Step 1: Download & Install
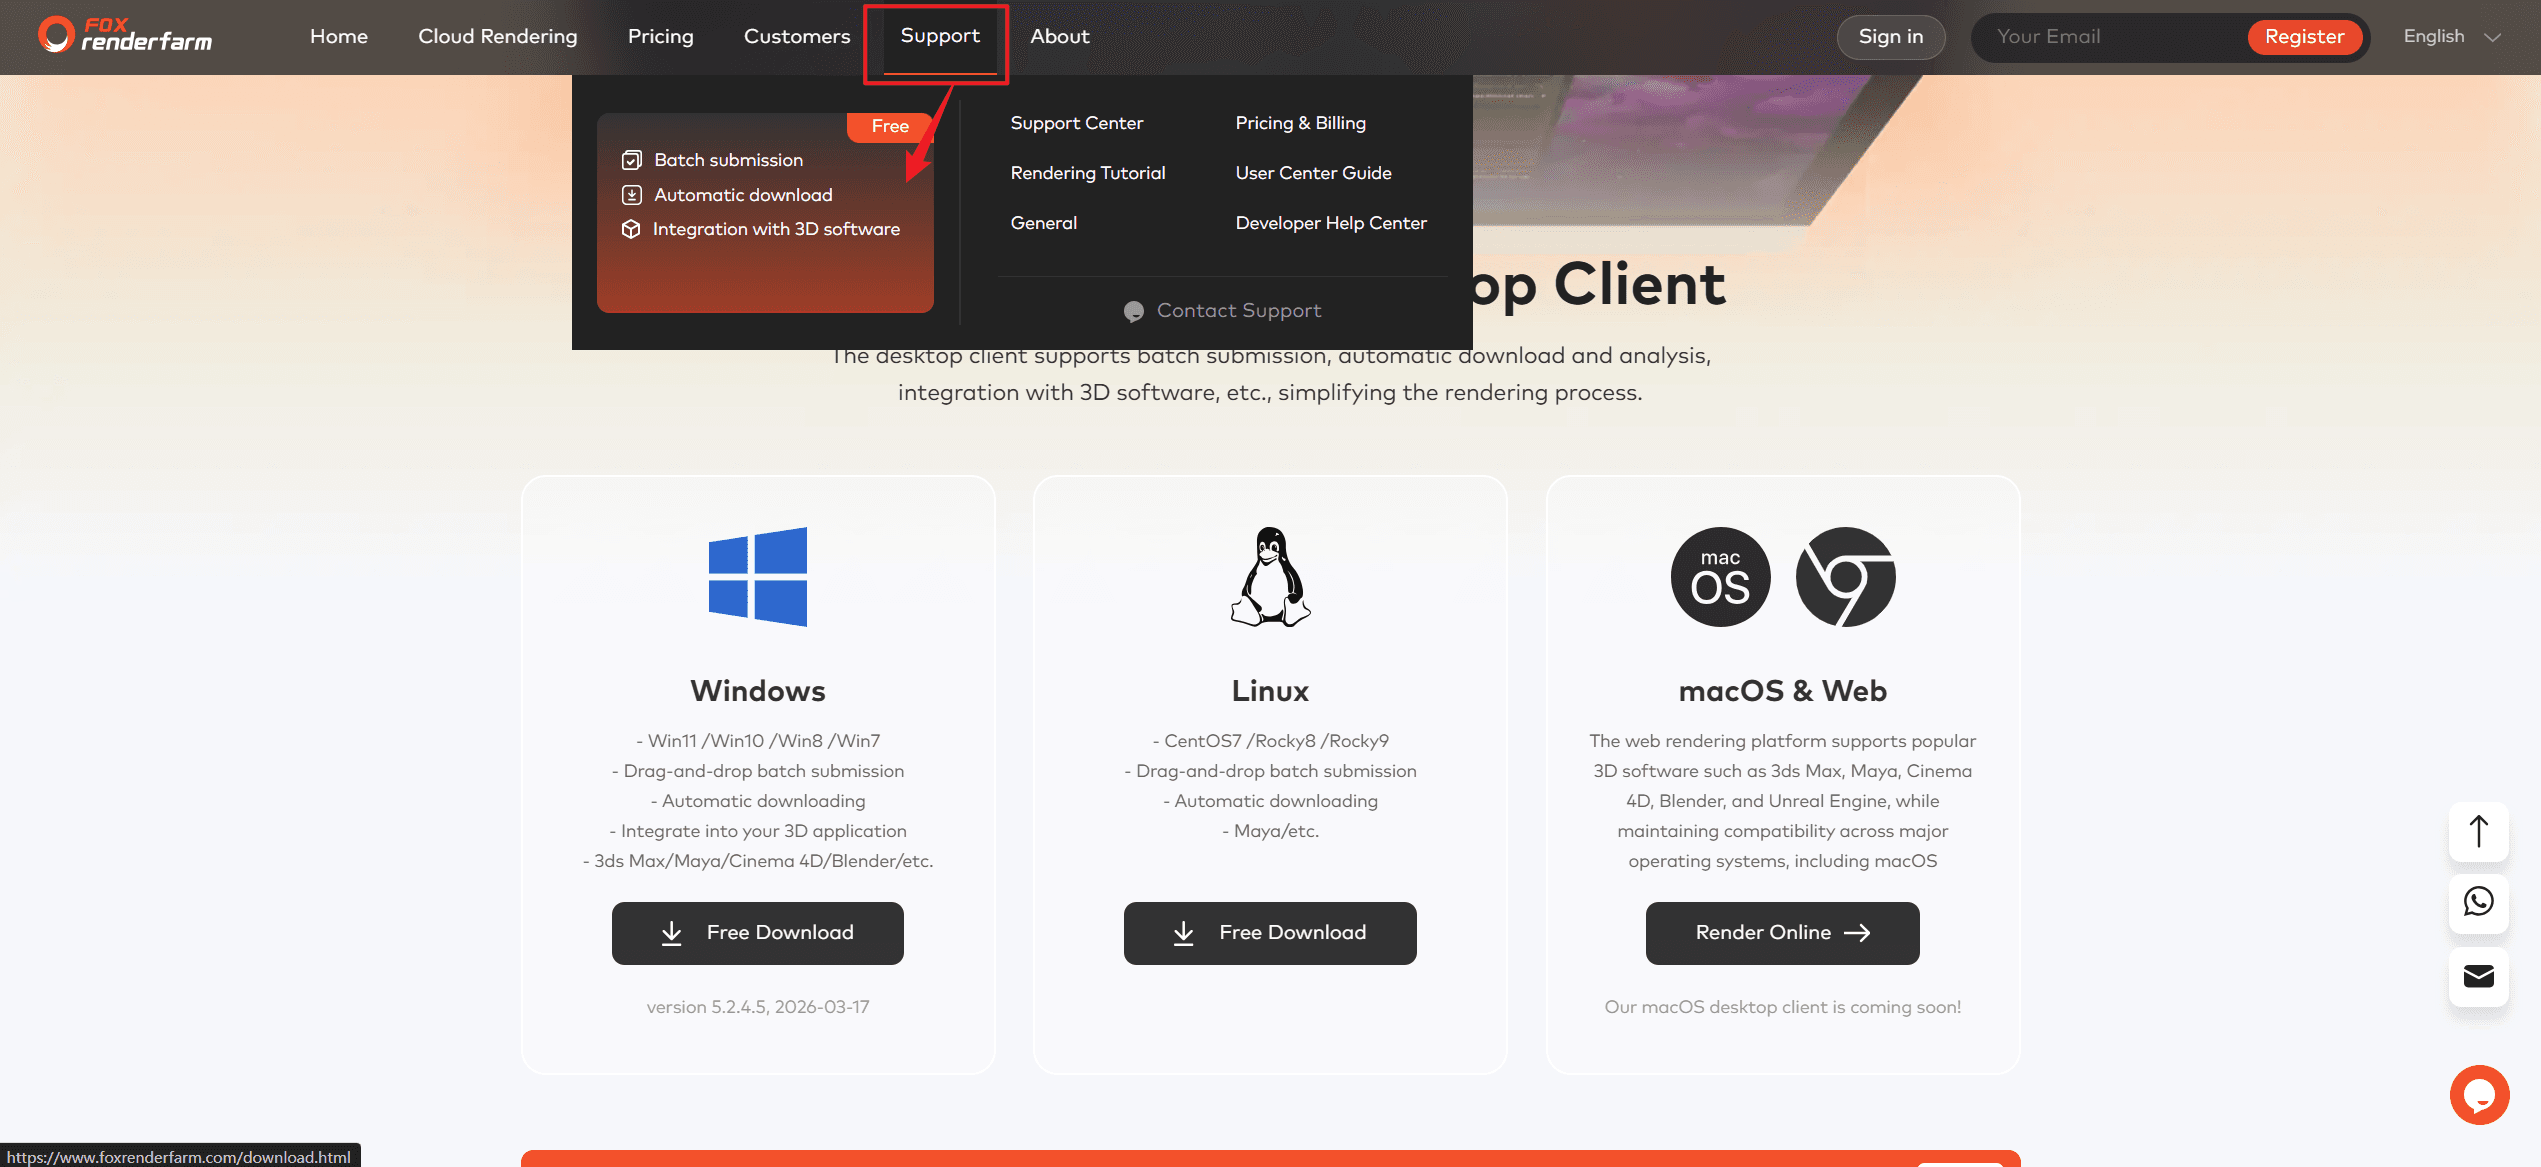
1. Visit the Fox Renderfarm website and download the client compatible with your local operating system.
After installation, go to the plugin installation directory and double-click the corresponding .bat file to start the service. Once started, the plugin's function entry will be displayed in After Effects.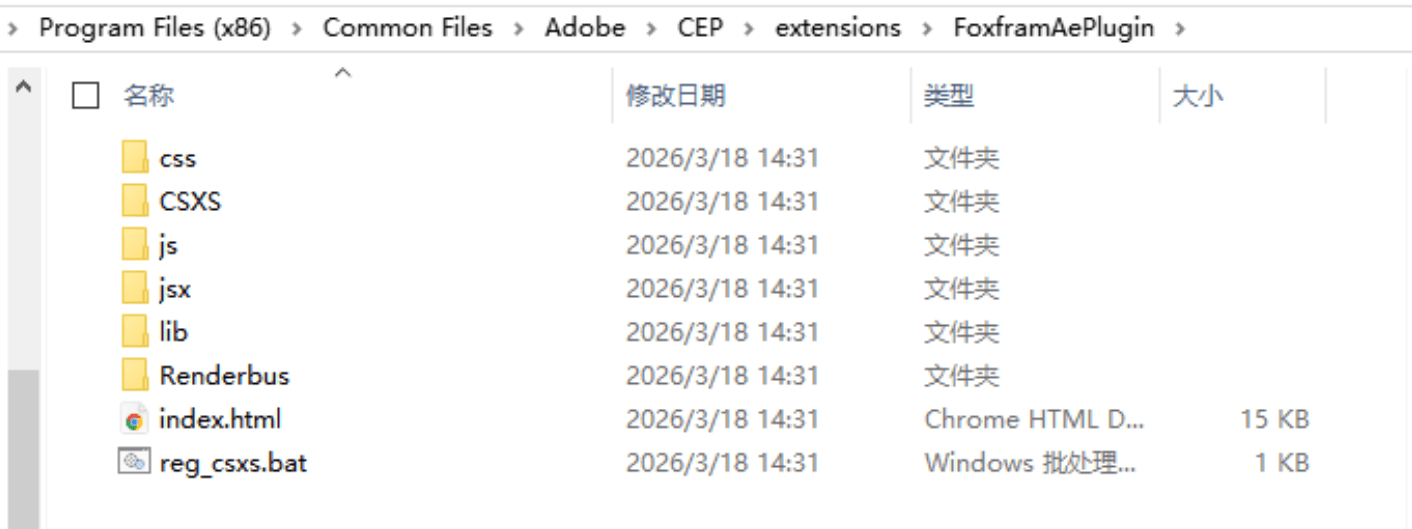
Step 2: Launch
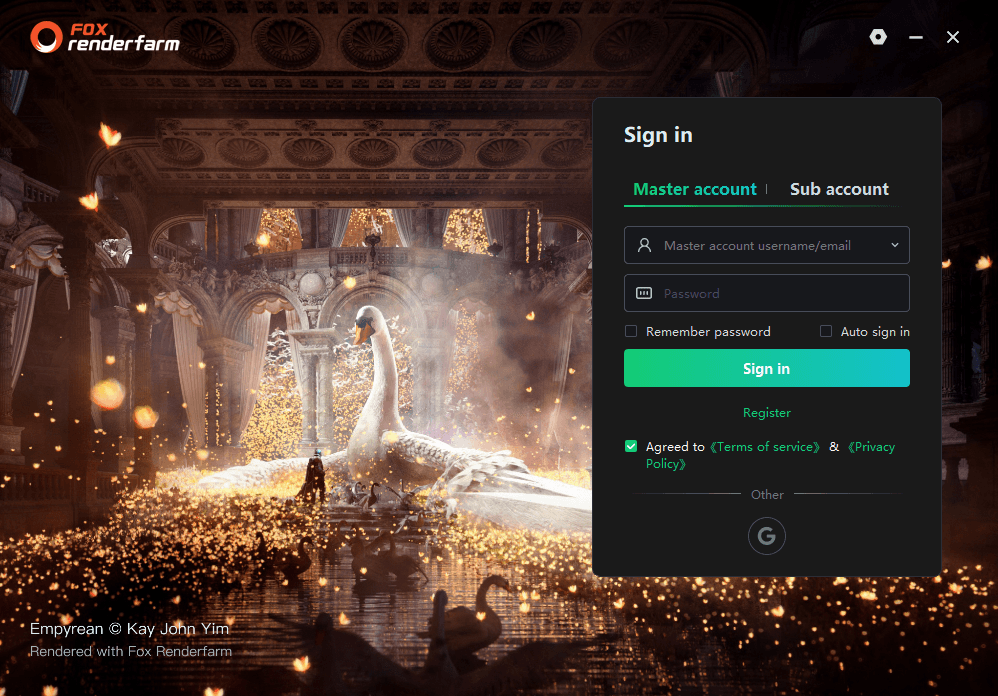
1. Log in to the Fox client app;
2. Open After Effects and find 【Extension->FoxRenderfarm s Ae Plugin】 in the menu bar.
Note: If you cannot find the plugin, please manually install it from the plugin management page in the client app.

Step 3: Submit
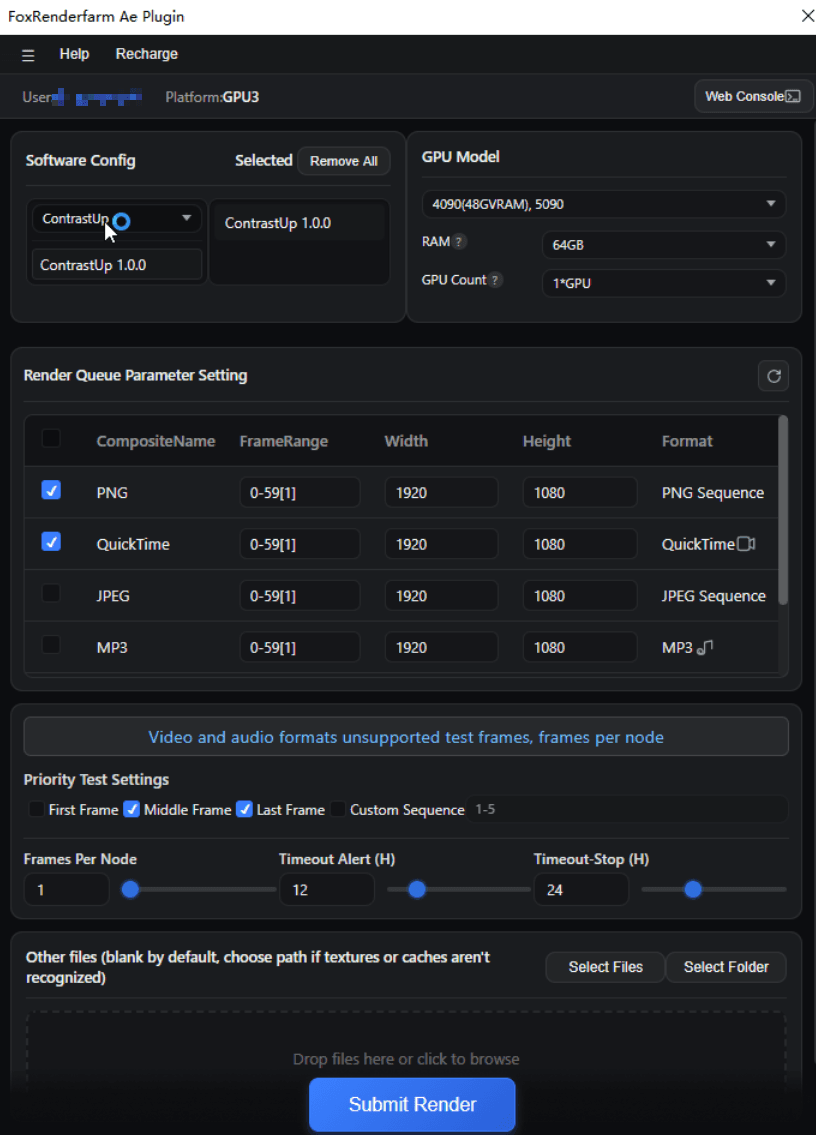
1. Rendering hardware
Choose a suitable hardware according to your needs. Higher configuration results in stronger rendering efficiency and faster speed.
2. Render Parameter Settings
Select the composition name, frame range, width, height, and output format to be rendered.
Note: Video and audio formats do not support priority frames or multiple frames per node.
3. Priority Test Settings
To ensure the correct results, it is recommended that you select a priority frame for testing before clicking "Submit Render". After the test frame rendering is complete, please confirm whether it meets your expectations. If all good, please go to the client or web interface and click "Full Speed Render" in the "Rendering" list.
3.1 By default, the first frame, middle frames, and last frame are selected.
3.2 Custom Frame Settings: You can manually input the required rendering frames, supporting up to 10 frames. If the input frame value exceeds the scene's preset rendering frame range, the system will display "Frames exceeding the rendering frame range will not be output," avoiding invalid configurations.
4. Frames per node
Set the number of frames rendered per node.
5. Timeout Alert (H)
An alarm notification will be sent when the rendering frame takes longer than the set time. Notification methods include: in-site message, SMS, email. The receiving method can be configured in the web interface -> Message Settings -> Job Message Receiving Configuration.
6. Timeout Stop (H)
The rendering frame will automatically stop and send a notification after taking longer than the set time. Notification methods include: in-site message, SMS, email. The receiving method can be configured in the web interface -> Message Settings -> Job Message Receiving Configuration.
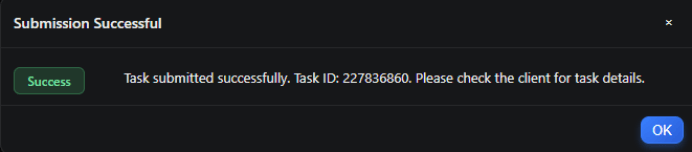
After submitting the task, you can view the job rendering progress details in the client app.
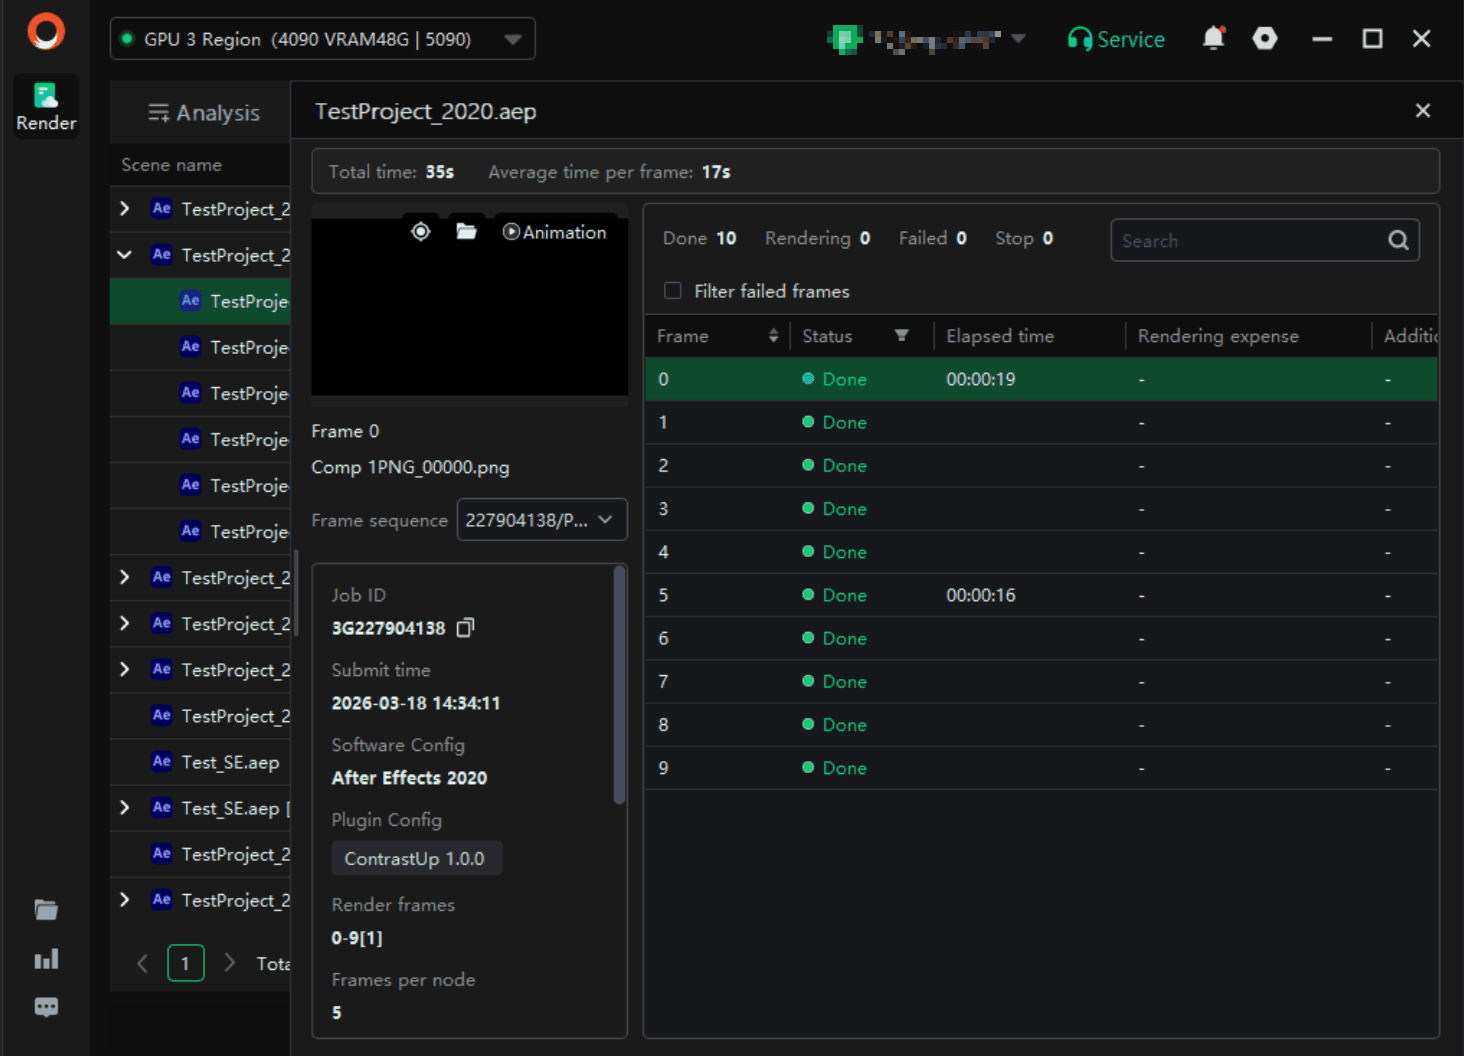
Step 4: Rendering and Download
1. During rendering, you can click on the job at any time to view rendering details;
2. Once rendering is completed, the output file will be automatically downloaded to your local computer.
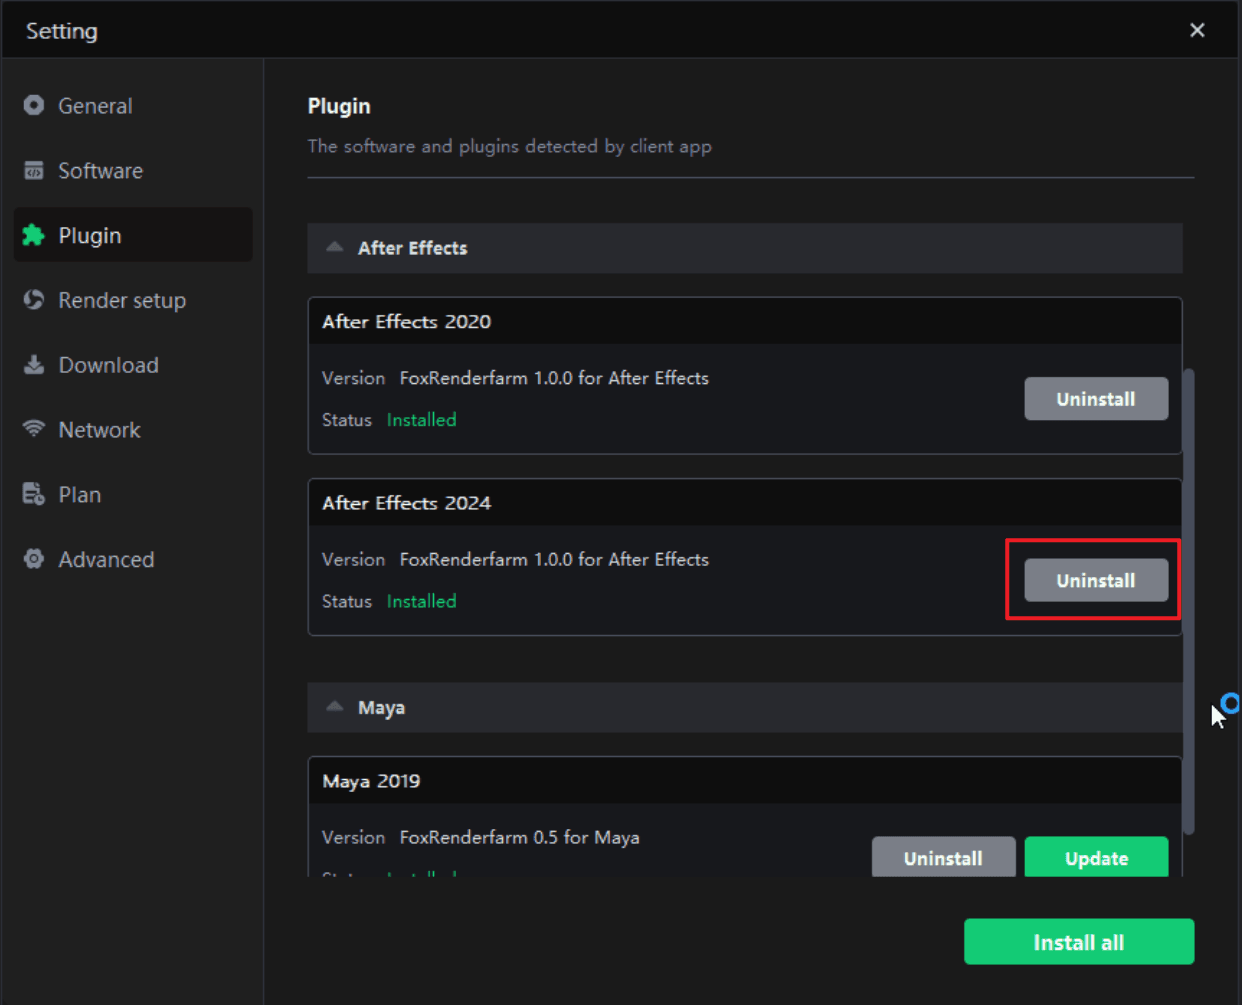
Step 5: Uninstall the plugin
Go to the animation client, click "Settings" -> "Plugin Management", select the plugin version you want to uninstall, and click "Uninstall". The uninstallation will be completed after the operation is finished.