


I have used Fox Renderfarm both in my profession and for projects I do as a hobby. I think the service is great! Especially when I get over-ambitious with a scene and my computer just can't handle it.
Lee DoddInterior Architect & 3D Artist
Render Blender animations and large scenes faster with Fox Renderfarm.
Optimized for Cycles, EEVEE, supporting both CPU and GPU rendering at scale.
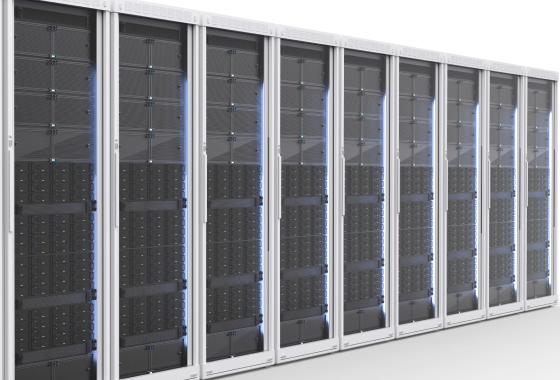
Fox Renderfarm is built to handle demanding Blender projects at scale. With thousands of high-performance rendering nodes and support for both CPU and GPU rendering, it delivers fast and consistent results for everything from single frames to full animation sequences.
Fox Renderfarm supports a wide range of Blender render engines and plugins, including Cycles, EEVEE, Redshift, V-Ray, and Turbo Tools, while also offering custom features and independent network configurations to fit professional and studio-level workflows.
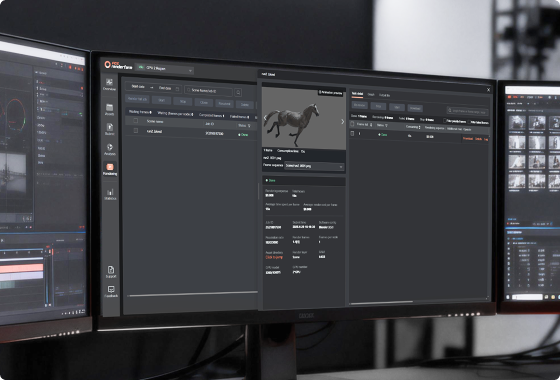
Fox Renderfarm streamlines Blender rendering workflows with one-click batch submission, allowing you to upload and manage multiple tasks quickly without repetitive setup. By creating multiple render subtasks from the same project file, you can reuse scenes efficiently and avoid unnecessary reconfiguration.
To further improve efficiency, it supports multi-frame rendering on a single machine to reduce scene loading time, along with the ability to modify render resolution before submission, giving you more flexibility to optimize output without slowing down production.

Fox Renderfarm is a TPN-accredited vendor with ISO 27001 certification, providing a security framework that meets industry and studio-level requirements. NDA agreements are available to ensure confidentiality when handling sensitive Blender assets and commercial production files.
To protect your data throughout the rendering workflow, Fox Renderfarm uses a proprietary secure protocol for data transfer, ensuring that Blender project files remain protected from upload to final output.
Fox Renderfarm provides 24/7 technical and customer support to help Blender users solve any problems quickly. The platform runs on more than 30,000 CPU and GPU servers, giving you enough computing power for animation, simulation, and large scenes.
Fox Renderfarm also helps you control rendering costs. New users can start with a free trial to test the service. Tools such as the online cost estimator, cost monitoring, and test frame rendering allow you to check estimate expenses before full rendering jobs.
Sign up and receive $25 render coupons for testing.
Log in and upload your projects to Fox Renderfarm.
Fox Renderfarm automatically analyzes and renders your projects.
Easy to download the rendered frames with just few clicks.


Yes. Fox Renderfarm fully supports Blender Cycles and EEVEE for both CPU and GPU rendering. Fox Renderfarm offers a Blender-integrated plugin, allowing you to submit render jobs directly from Blender with one click.
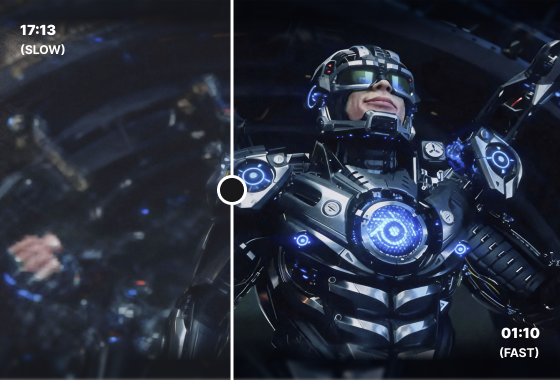
Rendering speed depends on your scene complexity, resolution, and whether you choose CPU or GPU nodes. In general, Fox Renderfarm can scale your jobs across hundreds or thousands of nodes, allowing large animation sequences or high-resolution stills to be rendered in hours instead of days.
Yes. Fox Renderfarm supports NDA for client and studio projects and follows strict data security standards. Your files are transferred via secure proprietary protocols, and projects are isolated within the rendering environment.
Yes. Every new registrant receives a $25 free rendering credit, allowing you to test Blender rendering performance, workflow compatibility, and output quality before making any purchase.
Yes. Fox Renderfarm provides 24/7 live customer care and technical support. If you encounter issues with Blender project submission, or render settings, you can reach support expert at any time to troubleshoot.
Pricing is based on multiple factors, including CPU or GPU rendering mode, number of frames, render time per frame, node configuration and concurrency and others. Fox Renderfarm also provides an online Cost Estimator, so you can estimate your rendering cost in advance and choose an appropriate configuration based on your budget and deadline.


