How to Use Blender's EEVEE Engine
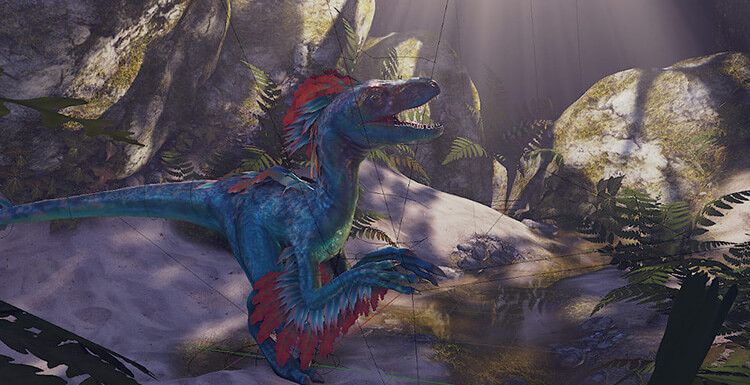
As the leading cloud rendering service provider and best Blender render farm, Fox Renderfarm, brings to you a tutorial about how to use Blender's Eevee engine.
Blender is a great 3D software with a real-time rendering engine - Eevee. Similar to unity3d and unreal, this engine can create, adjust, and represent 3D objects and materials by using PBR workflows.
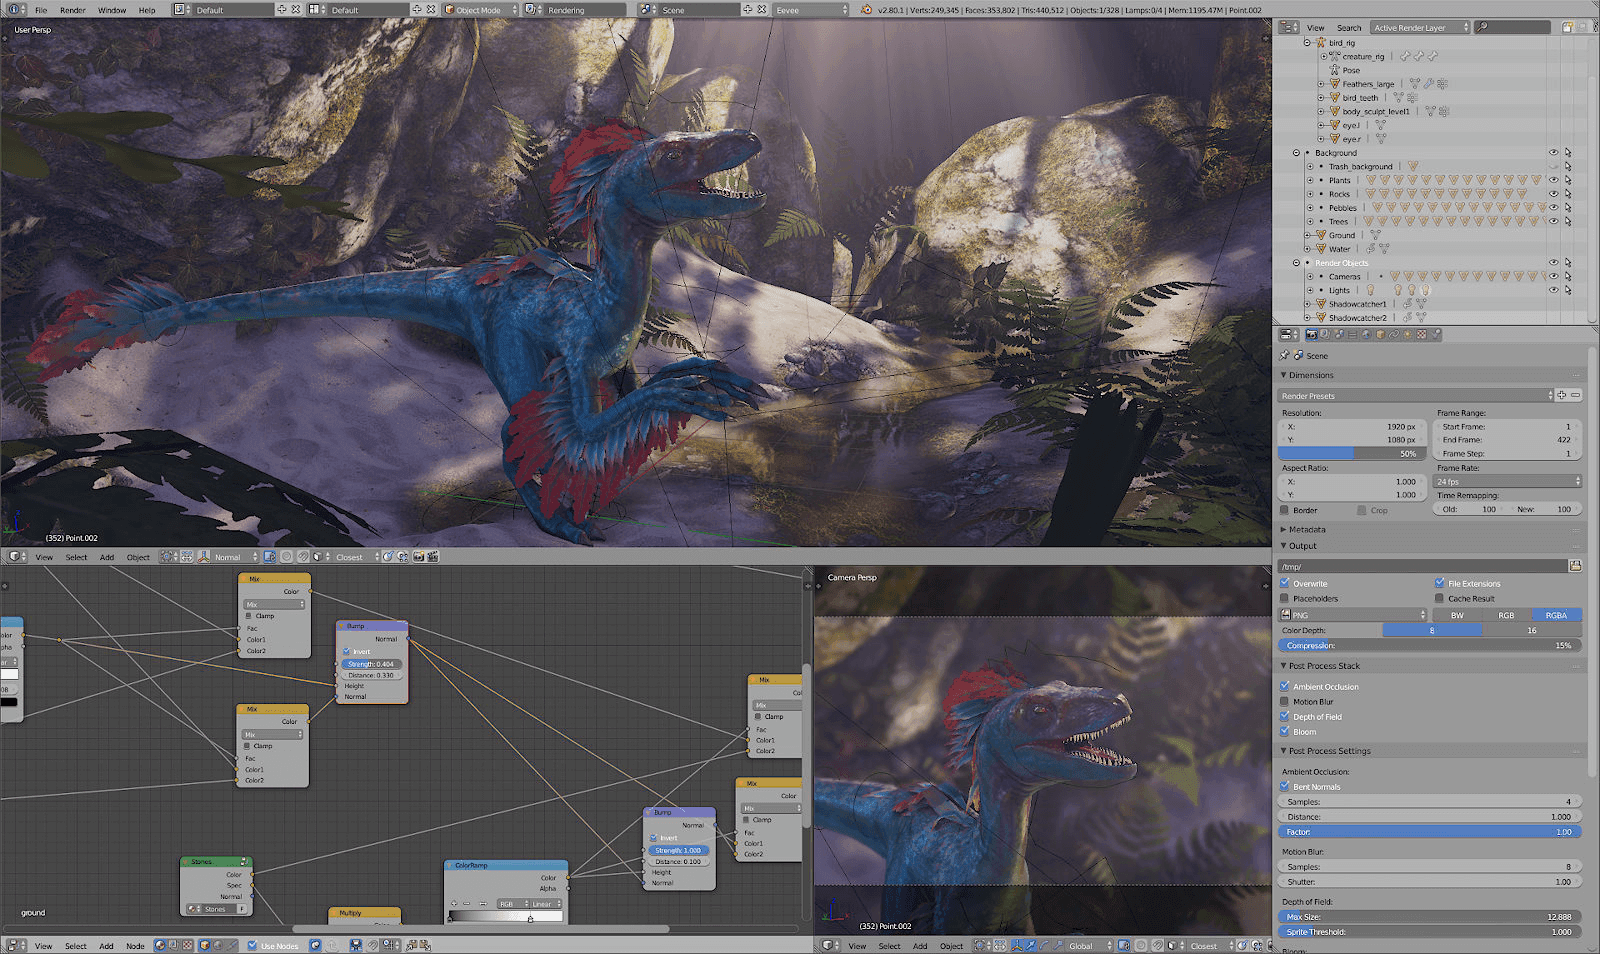
How to Use the EEVEE Engine:
EEVVEE uses the PBR workflow, which is the same as unity and unreal, and has both Metallic and Specular workflows. As shown below, you can choose the nodes you need:
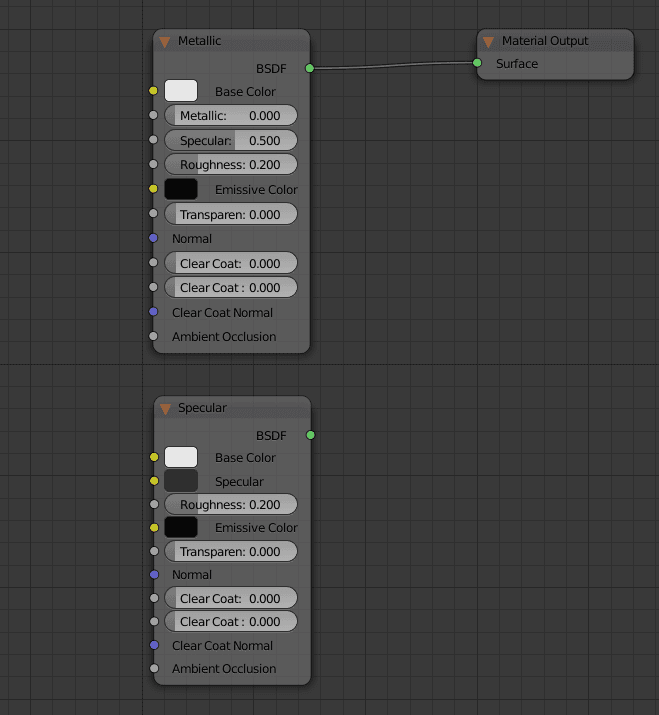
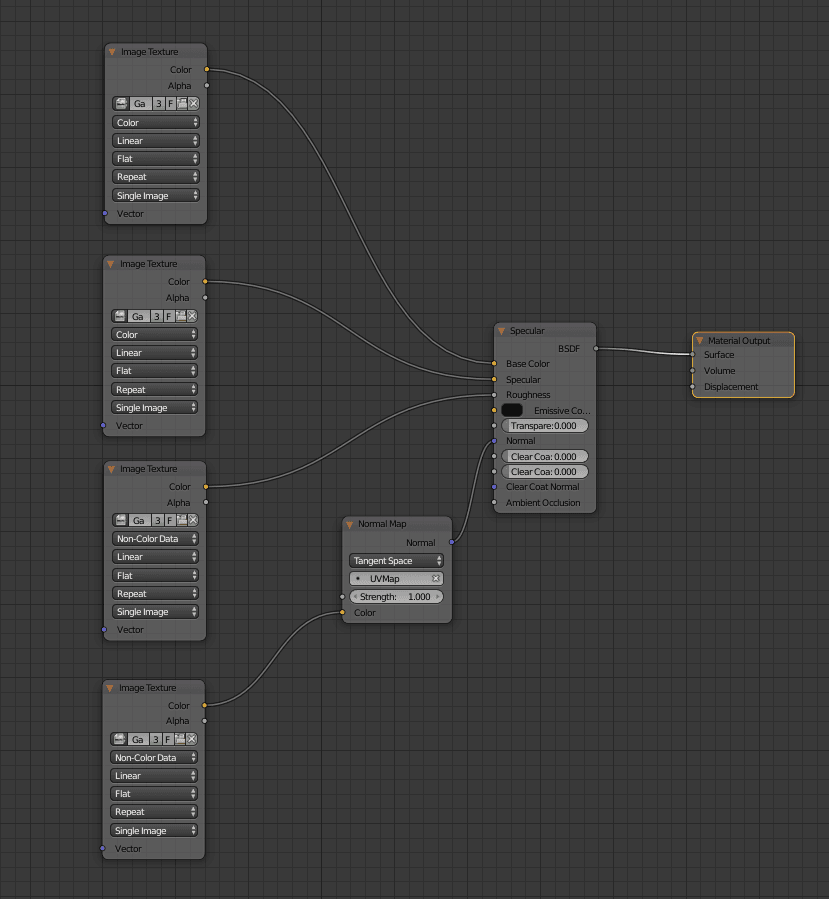
There are four textures required for the Metallic process:
-
Base Color
-
Metallic
-
Roughness
-
Normal
There are four textures required for the Specular process:
-
Base Color
-
Specular
-
Roughness
-
Normal
Of course, these four textures are basically required. If you have other textures, you can import them for free.
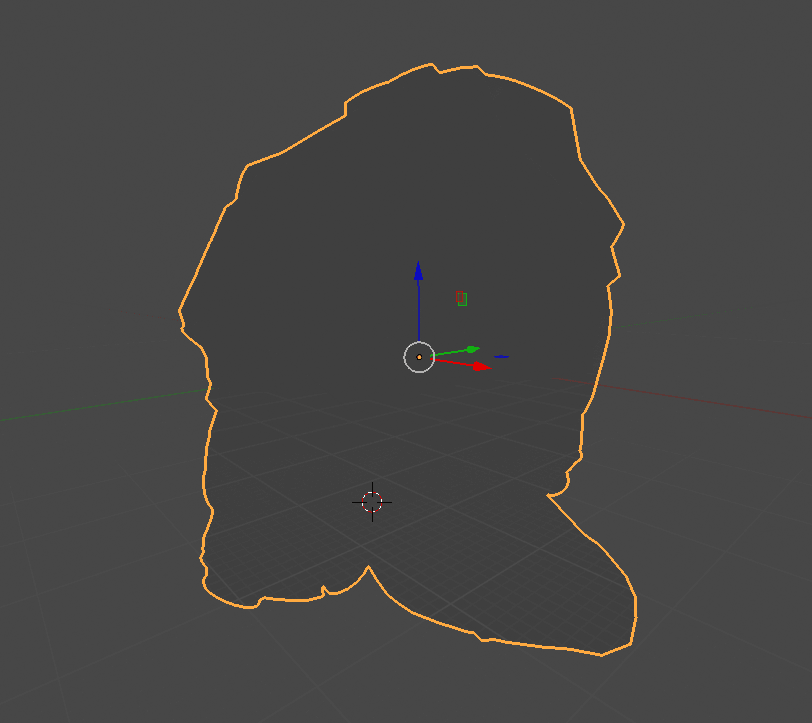
Below we import the model
Correspond to the texture, plus HDR map
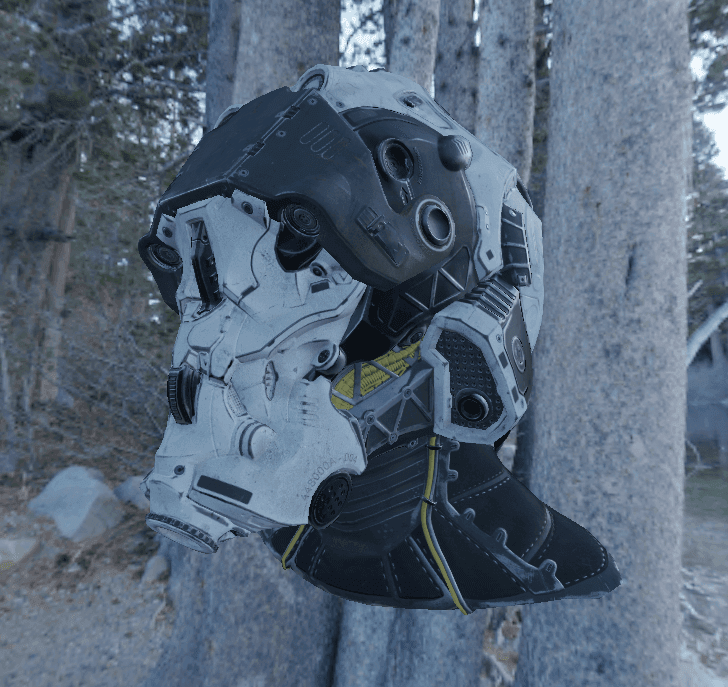
Well, the effect is not bad. But there are a few more features that make the picture look better, and then find the Post Processs Stack in the properties bar.

They are:
-
Ambient Occlusion Ambient Occlusion
-
Motion Blur motion blur
-
Depth of Field Depth of Field
-
Bloom glow
-
High energy part
Blender's latest version of the Cycle engine has joined the Principled node of the PBR process.
This node is used to render the material that uses the PBR process offline.
Already convenient, right?
However, after seeing a lot of official documents and trying, I found that the Principled rendering node, working in both the Cycle engine and the EEVEE engine, and the effect is close!
What does this mean?
The following two images are shown, which are the same model, the same set of textures, the same material nodes, and the same lighting. In short, the settings are the same, that is, the real-time rendering and offline rendering engine switching.
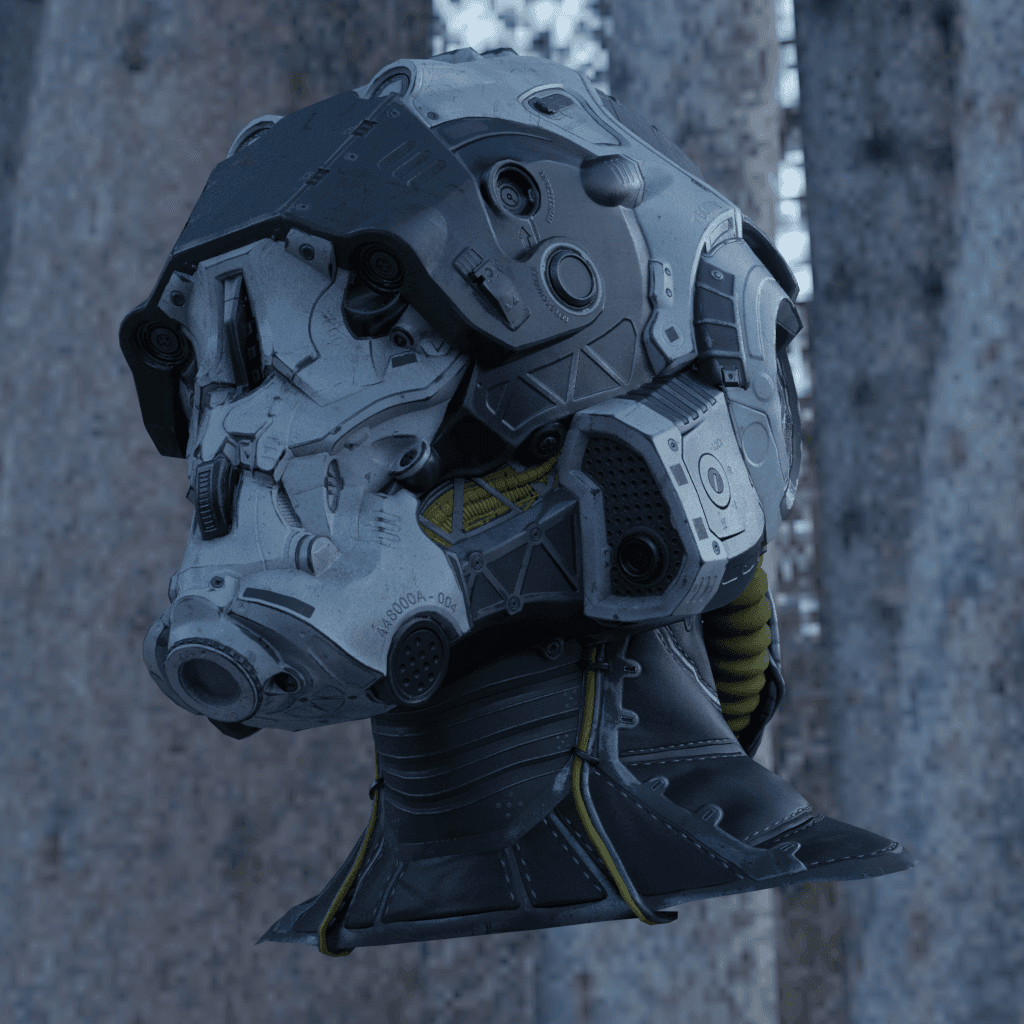
From-cycle
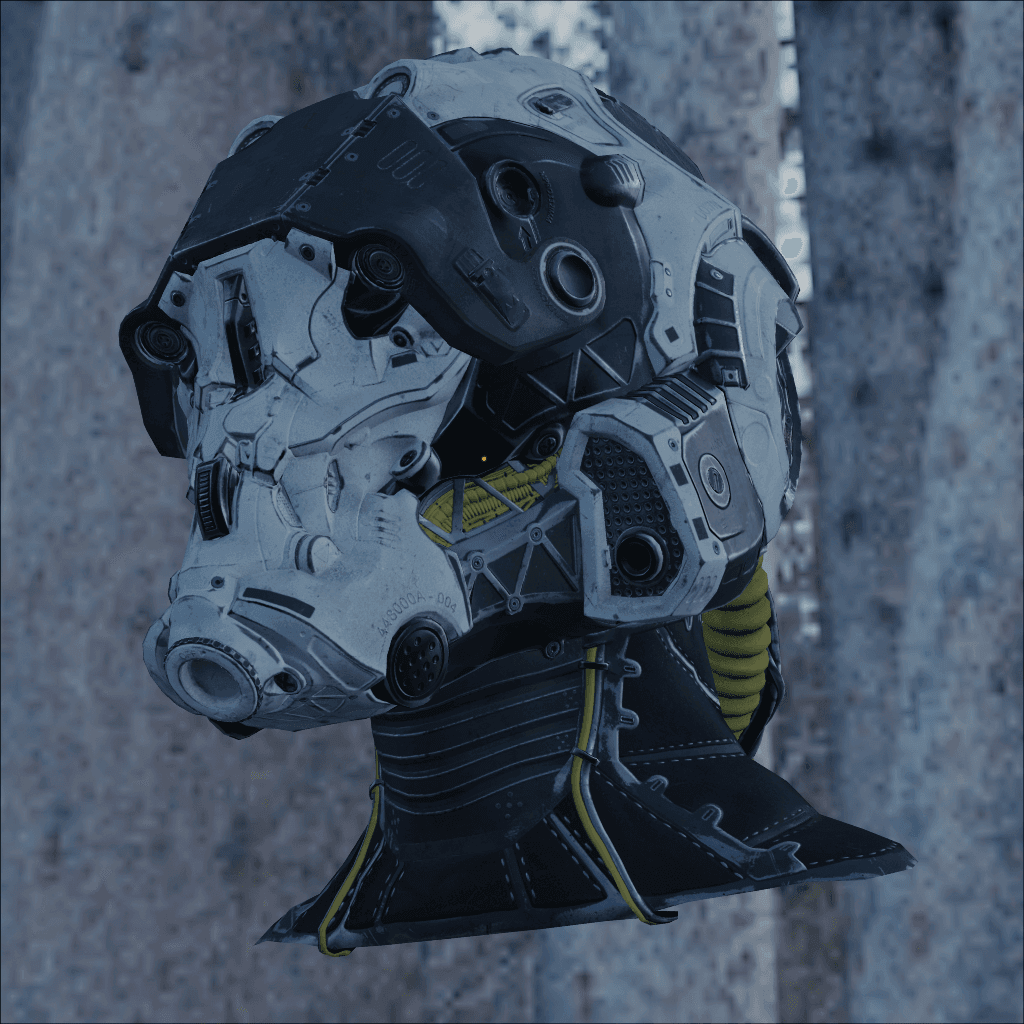
Eevee engine screenshot
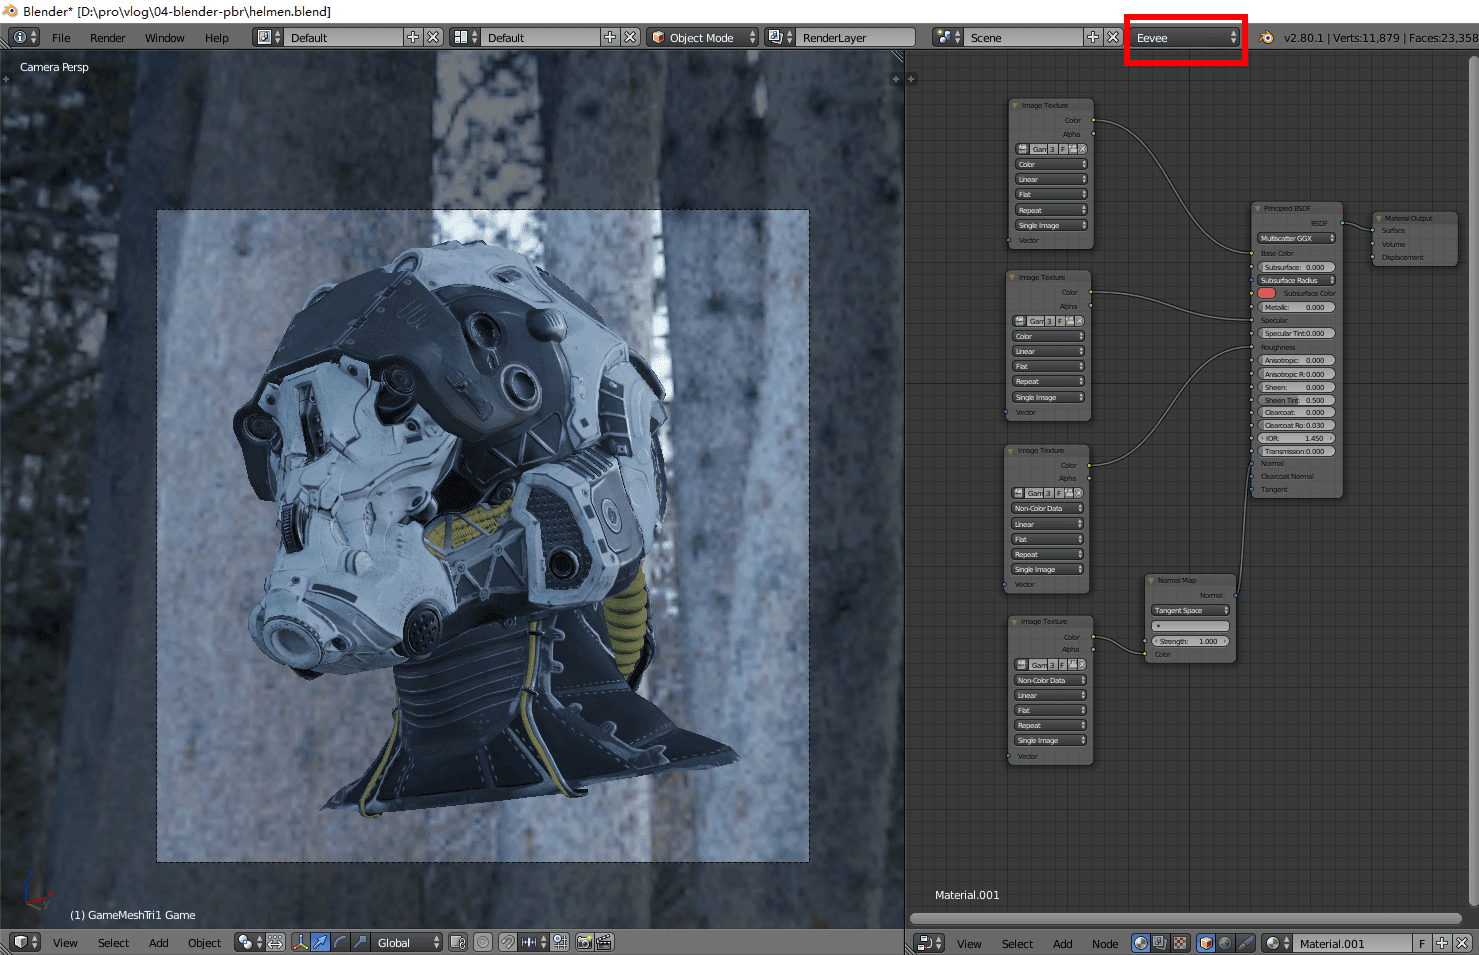
Only switch the Cycle engine and open the window for real-time rendering Although there are differences, they are basically similar.
The traditional rendering process is as follows:
Vray or Arnold for Maya
- Draw a texture
It may be a PBR process, perhaps a traditional process, in a substance painter, Quixel production, or other software. However, there is no guarantee that the material preview will be the same as the final render.
- Rendering test
Import textures into Maya and test renderings using Vray, Arnold, or other rendering engines. And confirm the final model material assets.
- Adjust the light according to the lens
The rendering staff lights in different movie scenes according to different environments. With Maya plus Vray Arnold, rendering tests can take a lot of time and eventually render the final film.
With Eevee's Blender, these four steps will reduce the time of production and are more friendly to the creator:
Blender_EEvEE_Cycle_workflow
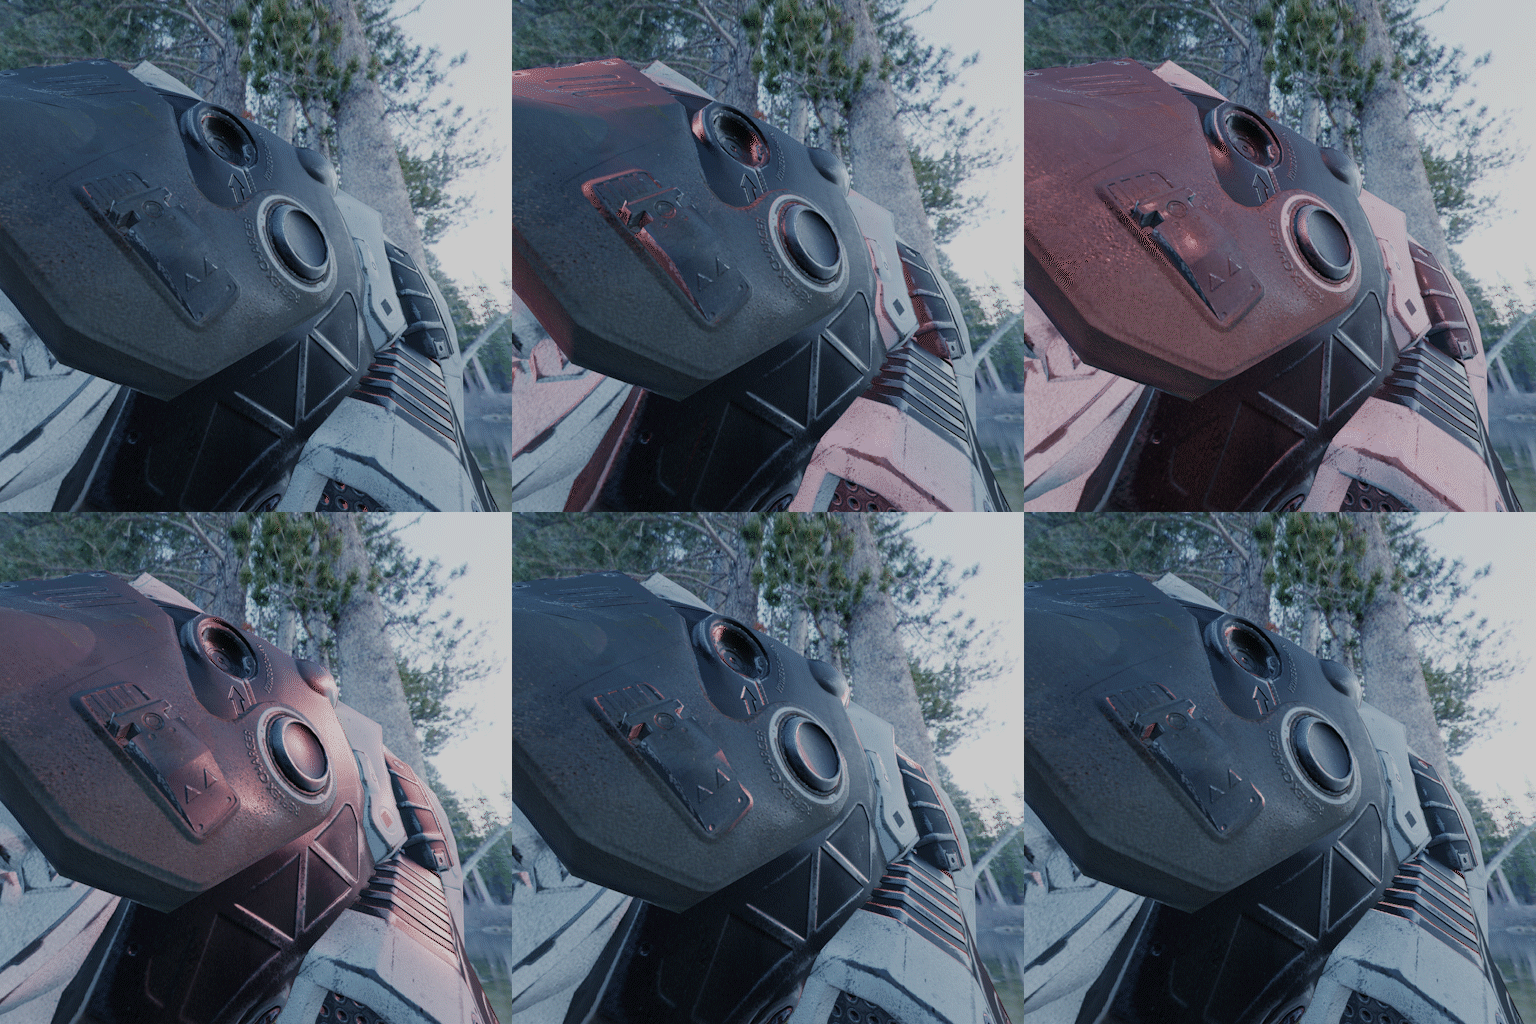
- Draw a texture
Whether you are making a texture in the substance painter or Quixel, as long as it is a PBR material, you only need to pay attention to the effect of the material at this time, because the effects of the EEvEE and Cycle engines will be basically the same.
- Rendering test
Importing the texture of the PBR process into Blender, whether it is EEvEE or Cycle engine, the performance is quite consistent with the software for making the material.
Here, you can use the EEvEE real-time rendering engine to quickly create a variety of lights, a variety of ambient light, and quickly view the interaction between your material and light.
And you can switch directly to Cycle without any adjustments and directly render offline. Cycle can also render in real time in windows, and it is very fast.
It also saves a lot of guessing and waiting time. It is more convenient to light up than before, and the effect can be seen directly, and the rendering is basically the same.
- Adjust the light according to the lens
In this step, the rendering can be quickly illuminated with EEvEE and interacted in real time. You can see the interaction of light with the surface of the object, closer to the final result.
Then directly switch Cycle offline rendering to further adjust the final rendering of the finished product, real-time and fast.
We hope this will give you some inspiration and help. Fox Renderfarm is an excellent cloud rendering services provider and render farm for Blender, so if you need to find a render farm, why not try Fox Renderfarm, which is offering a free $25 trial for new users.
Article From DigitalCat
Recommended reading
Top 9 Best And Free Blender Render Farms of 2025
2024-12-30
Revealing the Techniques Behind the Production of Jibaro "Love, Death & Robots", Which Took Two Years to Draw the Storyboard
2025-02-10
Top 10 Free And Best Cloud Rendering Services in 2025
2025-03-03
Top 8 After Effects Render Farm Recommended of 2025
2025-02-10
Top 5 Best and Free 3d Rendering Software 2025
2025-02-10
Shocked! The Secret Behind Using 3D to Make 2D Animation was Revealed!
2025-02-10
How to Render High-quality Images in Blender
2024-12-04
Easy Cel Shading Tutorial for Cartoon in Blender Within 2 Minutes
2025-02-10
Partners
Previous: Best Cloud Rendering Services of 2025
Next: The Best Free Render Farm Recommended in 2025
Interested
