ZBrush Tutorials: The Making of Hard Surface Models(2)

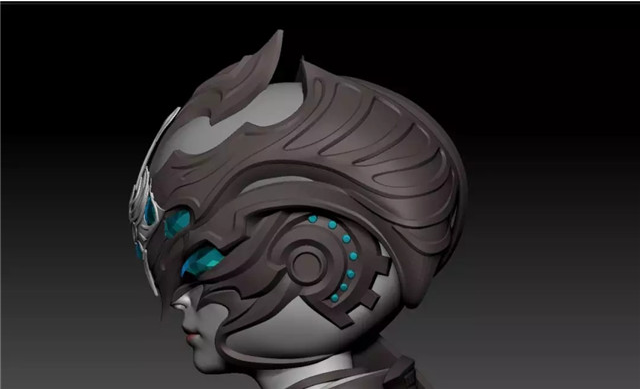
Follow part one, Fox Renderfarm, your best cloud rendering services provider, still share the process of using hard surface technology to make a sci-fi style head model in ZBrush from 3d Artist ZX.
The following part explains the production process,
1. Drawing reference
In this step, ZX uses the standard brush. First, remove the sculpting function of the brush, turn on RGB, select red, and draw the hard edge part of the helmet that needs to be made as a reference.

2. Topology
When the reference line of the edge is drawn, you can refer to it for retopology. Personally, ZX likes to use Zbrush's tool topology. It is easy to use, fast and the final result is good, which can improve ZX's work efficiency. Of course, the explanation here is not about topology on ZSphere, but topology on the basis of brushes, which can also keep files concise.

The usage is simple, just use the brush to draw on the helmet model, simple and easy to use.

After the red line is drawn, we only need to click on the model part to generate a thick model from the red line.

For the hard surface model that needs to be made on the corners of the helmet, in addition to the thickness, it also needs to have a concave-convex structure. With a structure, it will be more abundant from other angles.

3. Crease
We also need to add some lines to the corners of the crease to keep enough lines to support the hard surface. Then ZX used the ZModeler tool, selected the line mode, and selected crease.

In this process, we can select crease, Edge, EdgeLoop Partial, EdgeLoop Complete. Hold down the alt key and click to delete the edge.

The function used together in this process is the crease pg. If we don't want the effect of the crease, we can also use an increase to remove the crease.

4. Preview
We can press the d key to preview our hard-edged effect, and we can cancel the preview by shift+d when we don't need it. Smooth Subdiv can be used to adjust the model smoothly.

The above is an introduction to the process of making the entire model. If we are not particularly familiar with the ZModeler tool, this step can be made in 3ds Max or Maya. However, if time permits, please try Zbrush's topology tool, it is really good to use.
One of the most troublesome parts is that Zbrush does not support 5-sided, so many places need to be adjusted, which is more cumbersome.


