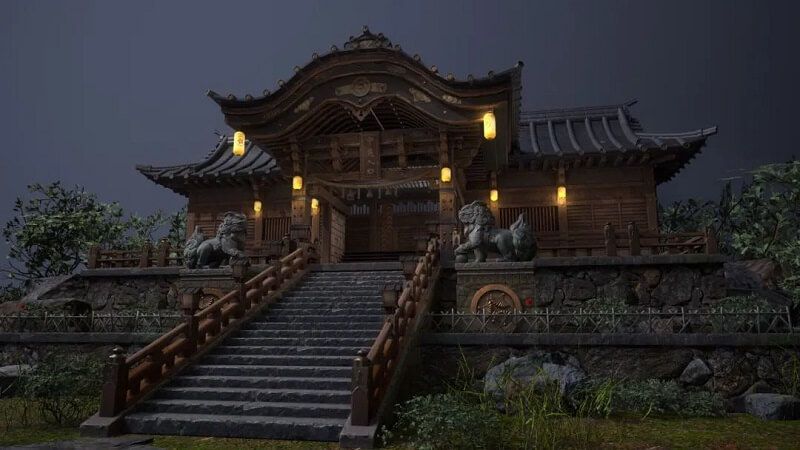
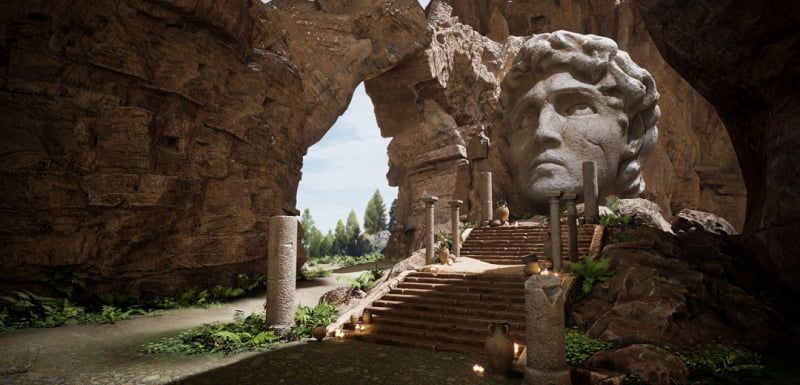
3ds Max Tutorial: How to Make a Cyberpunk Environment

In this article, Fox Renderfarm, the best could rendering service provider, will share with you a 3ds Max tutorial about how to make a cyberpunk environment. This tutorial is written by 3d Artist Liu. In this tutorial, He will show the full production process from concept to final work.

Reference
Concept map and task assignment
If you look at the concept map carefully, there are actually many things in it that can be reused, including houses and small props.


Layout
This part is mainly to determine the size of each house and the general location of each house in the scene, and to prepare for the unification of resolution afterwards. This is also to speed up the speed of placing the props after the model is made.
Because the scene is based on the allocation of each house as a unit, during the integration, a small integration will be carried out with each house as a unit, and finally all the houses will be assembled for adjustment. Therefore, when building the general layout, I don't plan to build a rough model like a small scene, but a rough construction with BOX as the main body, which can achieve the initial purpose.

Making the mid-poly model
Now start the production of the mid-poly model. You can modify the high-poly model and craft it carefully or you can directly use the low-poly model you built before. It can be seen that its importance, a good mid-poly model wiring will make it much easier to add details to the model in the subsequent production.
Making the high-poly model
Since the mid-poly model is well done and there is no problem at all, the only dissatisfaction is that the production of these models does not use the sculpting function of ZBrush at all. Because the concept map does not see too many details, we spent a relatively long time in the first large-scale integration, which is also related to the high number of high-end surfaces and the number of houses.

High-poly Model
Making the low-poly model
In order to save rendering time, we need to make a set of models with a relatively low number of faces. For the house, we mainly delete some lines and faces, and then do the baking work. The main problem with the production of those trivial props is the seam problem of baking. We can only address the problems that arise individually.
Material
To make materials, we use as close as possible to be as detailed as possible, while far away places do not need to be so detailed, everything is mainly based on the camera's perspective. Because materials can be shared in some places, before production, each of us made some basic materials and converted them into smart shaders, and then integrated them for everyone to use. This also saves us a bit of time, which we can then make adjustments and add details on.'


Composing and rendering
After the struggle and integration in the early stage, it is finally time for the exciting rendering. If the scene is very large, the naming of the shaders and textures is very important. About 300 textures were sorted out in almost an hour and a half, and then the lighting was finished.

First Render
After that, under the guidance of the teacher, the effect increased exponentially. This time, the lighting is mainly based on the main light source, fill light, and contrast between cold and warm. First, use the main light with shadow as a whole, and then use the overall reflected light. This fill light needs to close the shadow and form a warm and cold contrast with the main light source, so that the overall picture will not be too dim. After that, continue to add light sources where needed to make changes in light and shade and color to highlight the sense of hierarchy. Finally, go to the camera options to add post effects, increase vignetting, adjust focus, and more.

Second Render
Conclusion
After the whole process, communication and cooperation between the teams are the most important. Problems that cannot be solved by one person can definitely be solved by a bunch of people. And the difficulty of the whole scene is relatively small, and the amount of repetitive work is large, but it is not difficult to complete. Thank you very much for reading it too.
Recommended reading
Top 9 Best And Free Blender Render Farms of 2025
2024-12-30
Revealing the Techniques Behind the Production of Jibaro "Love, Death & Robots", Which Took Two Years to Draw the Storyboard
2025-02-10
Top 10 Free And Best Cloud Rendering Services in 2025
2025-03-03
Top 8 After Effects Render Farm Recommended of 2025
2025-02-10
Top 5 Best and Free 3d Rendering Software 2025
2025-02-10
Shocked! The Secret Behind Using 3D to Make 2D Animation was Revealed!
2025-02-10
How to Render High-quality Images in Blender
2024-12-04
Easy Cel Shading Tutorial for Cartoon in Blender Within 2 Minutes
2025-02-10
Partners
Previous: How to Make a Core-shell Structure in Cinema 4D
Next: Tutorial: How Does Pixar Create Great Characters (2)
Interested


