A Sharing of the Process of Copying the Scenes of Uncharted: The Lost Legacy
In this article, the best CPU & GPU render farm service provider, Fox Renderfarm, will share with you the whole process of creating scenes of the Uncharted: The Lost Legacy by a team of students studying 3D art. The team, which consisted of six people, had no experience and encountered a lot of difficulties as it was their first time working on a set, but the final result was good.
Final result:


Part 1. Reference and Task Allocation
This scene was created using the PBR (Physically-Based Rendering) process, using 3DS MAX for the frame and base, ZBrush for the high poly model sculpting, Substance Painter for the textures, Photoshop for the materials and Marmoset Toolbag 3 for the final rendering.
As it is a multi-person collaboration, assets need to be allocated upfront, and the scene assets are divided into 5 parts by analyzing the original paintings:
- Principal object and vegetation;
- Pillars & Grounds;
- Side fences with canopies and props;
- Top wall;
- Dome and set decoration.
They completed these tasks separately first and then combined them in the correct proportions. To ensure that all the proportions remained correct, they first built the whole scene using a simple model.

Part 2. Modeling & Sculpting
The Main Part: The stone elephant is the most important object in the scene. I first used 3DS MAX to create the Blockout and then went directly into ZBrush for high poly modeling. The difficult part of this process was the physique of the statue and the decoration of the body.
Pillar and Ground Sections: Using 3DS MAX to create the stone pillars and ground. The stone pillar and the ground are the parts of the scene that take up the most space. The stone pillar also determines the height of the scene, so the pillar needs to be carefully compared with other objects in terms of scale to get a relatively accurate size. The floor is made up of many bricks and is relatively simple, so making the floor was relatively easy.
Side Fences and Canopies and Props Sections: This part of the model was all made using 3DS MAX. The important thing about the fence section is the dimensions. As the fences need to be attached to the stone columns, the length of each different fence has to be analyzed.
The Dome and Scene Decoration Sections: the Dome and Scene Decoration Sections: they were made in 3DS MAX throughout, with the size of the dome model determined by the frame and the smaller statues sculpted directly in ZBrush.

Most of the high model production is sculpted in ZBrush. For some simple fragmented models, the high poly models were first made in 3DS MAX and then the details were sculpted in ZBrush. As some of the models in the scene have a large number of patterns on them, these are sculpted.
Stone Statue Sculpting:

The most important thing about the stone statue is the proportions. The head is separate from the limbs to make it easier to adjust the proportions. The hand prop is made in 3DS MAX, when making the hand you need to pose the way you want, a separate model is easier to adjust (you can take a photo of your own hand for reference). PS: Be sure to pay attention to the accuracy of the scale of the model.
Pillar and Other Props Sculpting:


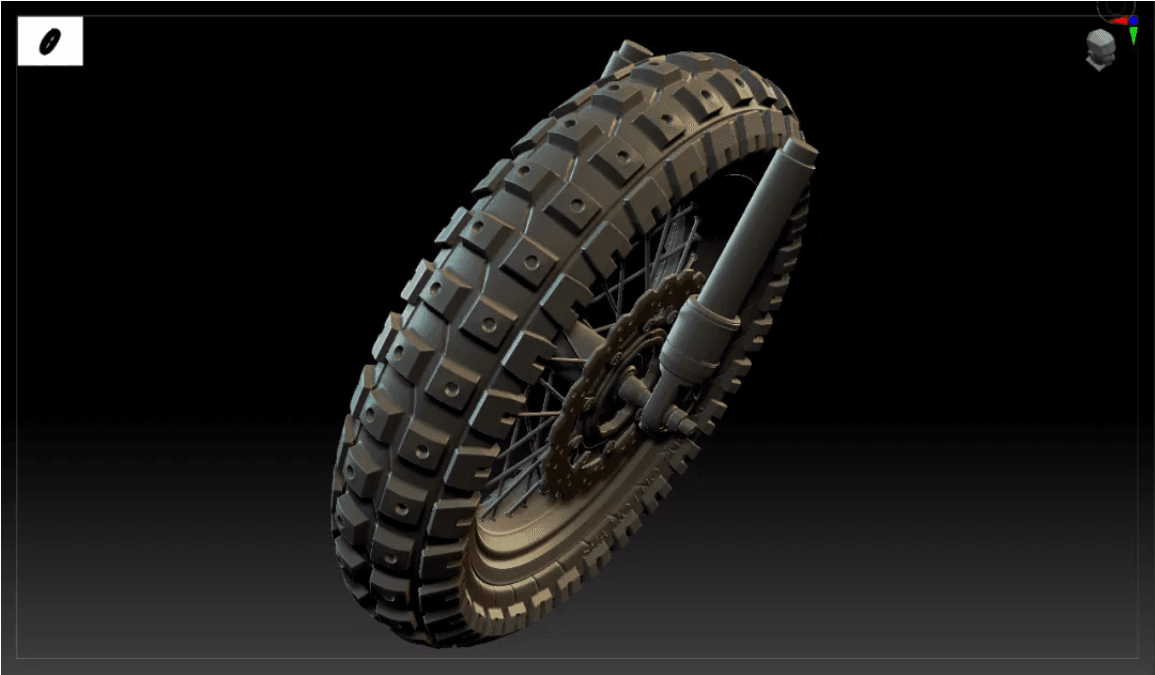
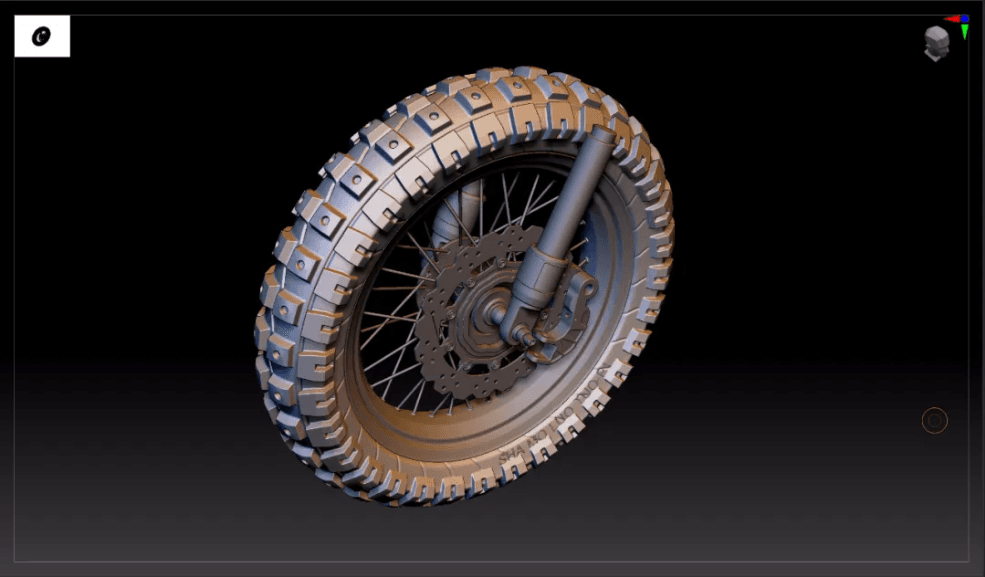
The models sculpted in ZBrush, they are made with so much detail that the number of faces of the model is very large:

topology
In order to make the final integration smooth, they need to create a clean topology of the model and in order to have a perfect topology, a lot of patience is needed to achieve the best model with the minimum number of faces.
There are a few points to note:
-
Make a little more face number of external surfaces and not to make some small internal structures.
-
Try to make the wiring as neat and easy to modify as possible.
-
Minimum face number!

For this kind of cylindrical model you can just adjust it in 3DS MAX, deleting the extra lines that do not affect the structure.

After subtracting the excess lines and surfaces it is time to work on the UVs. The most important thing is to make the UVs of the models in the visual center and those with a lot of details larger, in order to ensure that the textures are clear. After this, the most difficult part is the baking of the normal maps, which will affect the rendering results.

Part 3. Material Production
The materials were made using Substance Painter and Photoshop, but the majority of them were made using Substance Painter. The main materials are stone and brass.


The materials are divided into several parts, and if you get the basic materials right, there will be no major problems with the rest, and the final render will not be bad.
1. Basic Materials:
The basic materials are the most crucial, if the basic materials are not done well, then a lot of things are wasted. The basic materials need to be distinguished from the textures, such as it is iron, bronze, wood, painted metal, stone, etc. The role of the material is to give a sense of the texture of the model.
2. Surface Wear
To create traces of use of the material, some wear and tear bumps are added to give the model the look of time.
3. Relationships
Pay attention to the relationship between objects and objects. Make the area where the two parts link a little more natural, and also highlight the volume of the model.
4. Roughness Variation
The same thing with different variations of roughness will make the prop material more realistic and rich.
5. Stains
The main purpose of stains is to show the detail of the object and also to emphasise the relationship of the object. Everyone's habits are different so it's not always the best approach. Making materials is still quick. Volume, roughness variation, texture and detail are like painting. You need to know how they relate to each other in order to create small details.
6. Rendering

For the rendering they used Marmoset Toolbag 3, and there are some things to be aware of in terms of lighting. For example, the lighting should not appear in places too dark and try to make the subject as bright as possible.
A three-point light source is not really just three lights, a three-point light source is three things:
- Primary light source
- Auxiliary light source
- Backlighting
There are several lights in each of these three points. As in the case of auxiliary light; we see a white reflector in addition to the light from the sun when taking photographs. The auxiliary light serves to make a natural transition between dark and light areas, and also to reflect the details of the dark areas, so the auxiliary light source is equivalent to a reflector. But when rendering the light you can play more lights to illuminate the dark parts, not just one light alone.
Backlighting is actually contour lighting, it's all about making the outer contours come through. The way to do this is to put it on the back, and this can be done by trying to add a couple of spotlights to brighten up the important areas.
In addition to this, you can also vary the colour of the lighting to give a contrast between warm and cold scenes, or to create atmosphere. For example, if you want to highlight the subject, then add a warm light above the subject thus giving it a little color change.
Conclusion
That's all the information about the production of the scene of Uncharted: The Lost Legacy that the leading cloud rendering service provider, Fox Renderfarm has shared with you. We believe that anyone who encounters difficulties and then solves them will definitely keep moving forward. Thank you for reading!
The final result:

Recommended reading
Top 9 Best And Free Blender Render Farms of 2025
2024-12-30
Revealing the Techniques Behind the Production of Jibaro "Love, Death & Robots", Which Took Two Years to Draw the Storyboard
2025-02-10
Top 10 Free And Best Cloud Rendering Services in 2025
2025-03-03
Top 8 After Effects Render Farm Recommended of 2025
2025-02-10
Top 5 Best and Free 3d Rendering Software 2025
2025-02-10
Shocked! The Secret Behind Using 3D to Make 2D Animation was Revealed!
2025-02-10
How to Render High-quality Images in Blender
2024-12-04
Easy Cel Shading Tutorial for Cartoon in Blender Within 2 Minutes
2025-02-10
Partners
Previous: Cinema 4D Tutorial: Three Ways to Create Pixel Art
Next: How to Make a Beautiful Elf Mage in 3ds Max Step by Step?
Interested


