Create A 3D Scene of Middle-earth: Shadow of War
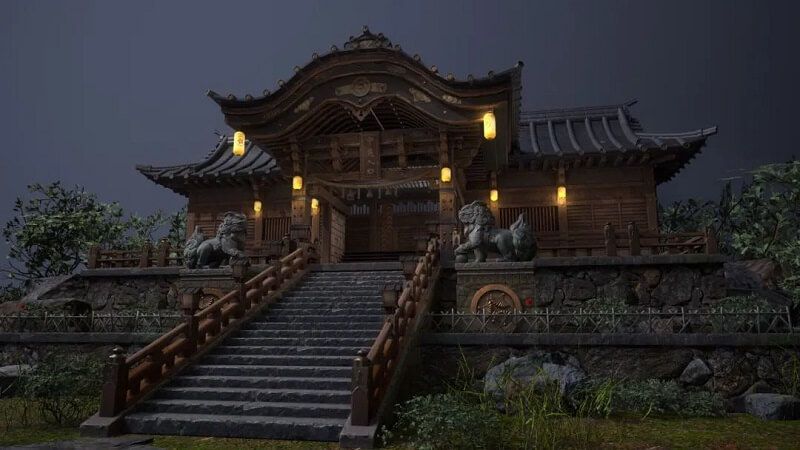
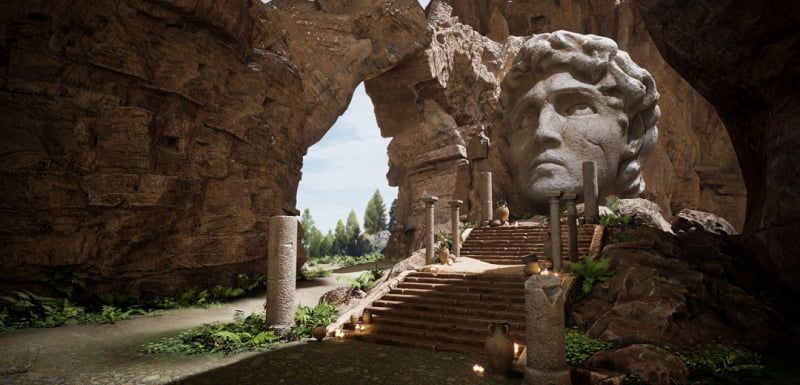
In this article, Fox Renderfarm, the leading cloud rendering service provider and render farm in the CG industry, brings you a tutorial of a 3D scene for Middle-earth: Shadow of War, which is produced by a team of students in 4 weeks.
Final results:

1. Observe and Analyze Original Paintings & Asset Allocation
This is a case of PBR process, complete the mid-poly model in 3ds Max; sculpture high poly model in ZBrush; use topogun to make low-poly topology; use Substance Painter to add material; finally perform light rendering in Marmoset Toolbag.
Be sure to divide the work before production and clarify the specific tasks between each member to reduce possible conflicts among group members during the process of creation.
First of all, the team leader needs to build a rough model to determine the scale, and then the group members can use the time to collect references and analyze how their items should be modeled to determine their own ideas. This step is very important, because it is the first time we all cooperate to make the scene. The group members will make the scale with reference to the large scale built by the group leader, so the group leader cannot be lazy. Likewise, group members who do not have sufficient time to think about their tasks can cause the project to stop. So be sure to communicate well.
2. Mid-Poly Modeling
After analyzing the original paintings, we have developed a new understanding of some of the model assets. The wall can be done with only one sheet in order to save resources.
Considering the problem of resource saving and asset sharing, some of the wall tiles and patterns are made into a single decal, and the production is completed by using consecutive double-square and four-square principles later.


3. Making High-Poly Model
Statue sculpture:

About the statue part of the character, you can directly use the initial bare model; use 3ds Max to make the mid-poly model of clothes, and after that, turn it into high-poly model; finally, use ZBrush to sculpt. The difficult part is the sculpting of the clothes fabric. You have to first make the folds of the fabric, after which you can use the pushing brush to show the hardness of the stone, and finally add the cracks and noises.
4. Making Low-Poly Model
It is only for irregular models that we use topology to create low-poly models, such as statues, candles and other assets.

Topology is a long process and requires patience. Try to create the topology manually by yourself, because the one-click topology method using plugins has a lot of drawbacks. Creating topology manually can better grasp the number of faces and shape silhouette.
After the topology is done, it is time to move on to the baking normal session. This part is mainly about finding errors, looking for all kinds of wrong information about your assets and correcting them. For example, polygon point, polygon surface, free point, UV overlap, AO light and shadow information error and other problems. After solving these problems, you can enter Substance Painter to make materials.
5. Making Materials
The production of materials is related to the final effect.
There are also a lot of tricks to make materials, especially for assets with the same material, just one cross-texture link can make different models with the same material. That is, you only need to make one material, and the others only need to be fine-tuned, which can save a lot of time.
The first step in making the material is to find the base color first. If the base color is too different, the production of the later will also be out of the original painting. If you want to show the excellent texture of the stone material, you have to make AO first, because the light and shadow effect of AO can make the statue more three-dimensional. First give it a mask, then add a generator to it, use the AO generator to calculate its light and dark parts. Only after that is to find the relevant material texture to overlay on it, then change the color of the details, etc. Finally, sharpen it to give it a better effect.


6. Rendering
For the rendering we used Marmoset Toolbag 3. The ray tracing of Marmoset Toolbag 4 consumes the computer configuration and is heavily exposed. Our scene is on the dark side, so the overall sense of atmosphere is more important. Especially the sky light, must be expressed, and the color should be a little warm, forming a contrast between warm and cold.


The effect of the fog is also important, not too heavy and not too soft. And also the fog should be gathered in the distance, because too close will lead to blurring.

From: Thepoly
Recommended reading
Top 9 Best And Free Blender Render Farms of 2025
2024-12-30
Revealing the Techniques Behind the Production of Jibaro "Love, Death & Robots", Which Took Two Years to Draw the Storyboard
2025-02-10
Top 10 Free And Best Cloud Rendering Services in 2025
2025-03-03
Top 8 After Effects Render Farm Recommended of 2025
2025-02-10
Top 5 Best and Free 3d Rendering Software 2025
2025-02-10
Shocked! The Secret Behind Using 3D to Make 2D Animation was Revealed!
2025-02-10
How to Render High-quality Images in Blender
2024-12-04
Easy Cel Shading Tutorial for Cartoon in Blender Within 2 Minutes
2025-02-10
Partners
Previous: Offer that you CAN'T miss! Earn up to $200 with Fox Renderfarm
Next: Maya Tutorial: The Making of Rocket Flame
Interested


