Making a Japanese-style Scene in 3ds Max(3)

Continue the Making a Japanese-style Scene in 3ds Max(1) and Making a Japanese-style Scene in 3ds Max(2), the fastest GPU & CPU cloud rendering services provider, Fox Renderfarm still shares with you Making a Japanese-style Scene in 3ds Max(3).
Model placement
After the low model is completed, place it according to the set camera angle in the entire scene. The position and size of the model need to be exactly the same as the original image. After the placement, the ID is separated according to the material. Note that the name of the material needs to be the same as the name of the model. Then add a shader, and finally export the scene resources to Substance Painter to make textures.
Texturing
Before making the texture, we need to make all the UVS of the low mode well. Note that the accuracy of the UV needs to be consistent with the whole scene. After dividing the UVS, match it with the high-poly to make the two models completely overlap and bake the normal, And then open the exported model resources in Substance Painter, and bake the remaining textures in Substance Painter.
It should be noted that the texture of the house needs to be made with seamless textures, while the billboard UVS needs to be done in Substance Painter for the content and colors of the advertisement, and then mapped to the model.
Let's share the basic process of material with the shark head.
-
For the production of basic colors, the shark head is divided into several parts, eyes, teeth, black part, and white part of the shark head, as well as the tongue, gums, and oral cavity.
-
Create different layers and give black masks, and use the UVS fill in the geometry fill to select the range. It should be noted here that when the model is made and when the UVS is split, it is necessary to think about the wiring between different materials on the same object in advance. When making shark heads, there is the wiring between different materials, so that we can cut along the line when we develop UVS. And we can choose the range while making the material. We can also add a brush tool to draw after using the mask, select the range or make the ID map in 3ds Max, and select the color in Substance Painter. Specific materials are selected according to different models and materials.
In the basic step, not only the color, roughness, and metallicity of the model shall be adjusted, but also filters, color levels, etc. shall be added to the background color according to the material of the object to enhance the texture of the object. Use some procedural textures or masks, combined with brushes to draw dirty marks. Carry out some detailed descriptions, through procedural textures, generators, etc., to increase some surface details such as scratches, damage, stains, dust, etc., which can be adjusted by adding a brush.
Rendering


Due to a large number of scene props, the workload is heavy. The Marmoset toolbag was used for test rendering at the beginning, but the effect was not very good, and the screen display was slightly shiny and rendered. There is also a certain difference between the atmosphere of the whole scene and the original painting. Finally, the V-ray renderer is used, and the still frame rendering scheme is adopted, which can improve the rendering quality of the scene.
After learning some basic rendering operations of V-ray, I decided to rearrange some parts.
- Texture: Due to the difference between the V-ray texture process and Substance Painter's PBR scene channel, it was tested many times in the early stage, and finally the texture was mapped to the correct path one by one.
Lighting: V-Ray has a rich variety of lighting. The main light source I use is V-Ray Sun, and there are some auxiliary light sources, area lights, and point lights. I encountered many problems when adjusting the light, such as choosing the type of light, controlling the intensity of the light, and the placement of the position. The most important thing is to gradually test the effect of the shadow.
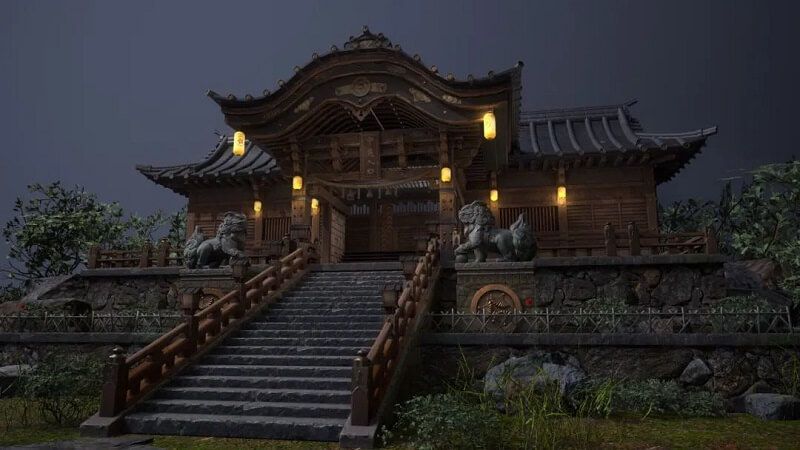
Texturing effect:

Environment fog: The environment fog is a difficult problem in the scene. The environment fog is arranged in the last step before rendering. The parameters are also very complicated. After debugging for a long time, I also asked the teacher some questions, and finally found that the main thing is to adjust the height of the fog. The three parameters of distance and color are arranged to have an effect similar to the original painting.


Recommended reading
Top 9 Best And Free Blender Render Farms of 2025
2024-12-30
Revealing the Techniques Behind the Production of Jibaro "Love, Death & Robots", Which Took Two Years to Draw the Storyboard
2025-02-10
Top 10 Free And Best Cloud Rendering Services in 2025
2025-03-03
Top 8 After Effects Render Farm Recommended of 2025
2025-02-10
Top 5 Best and Free 3d Rendering Software 2025
2025-02-10
Shocked! The Secret Behind Using 3D to Make 2D Animation was Revealed!
2025-02-10
How to Render High-quality Images in Blender
2024-12-04
Easy Cel Shading Tutorial for Cartoon in Blender Within 2 Minutes
2025-02-10
Partners
Previous: FGT Art November Winner Announced
Next: Making a Japanese-style Scene in 3ds Max(1)
Interested


