The Creation Analysis And Sharing of Work ‘Lotus Flower Is Immortal’
Introduction: In February 2017, 3D Artist Liu Jingjing participated in the V-Ray Rendering Competition organized by HXSD and Chaos Group. She won the competition and shared the process of creating this work. She also analyzed the success and insufficient of the work. Software: 3ds Max, ZBrush, V-Ray, Photoshop
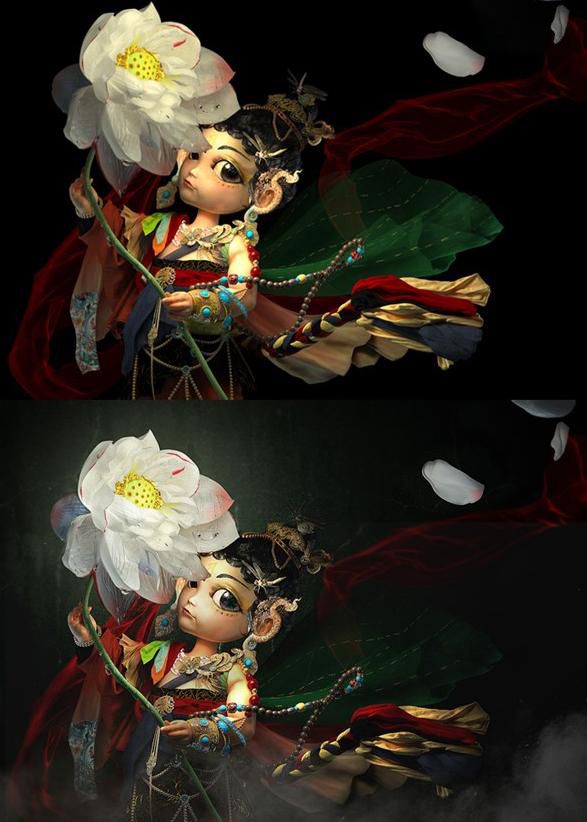
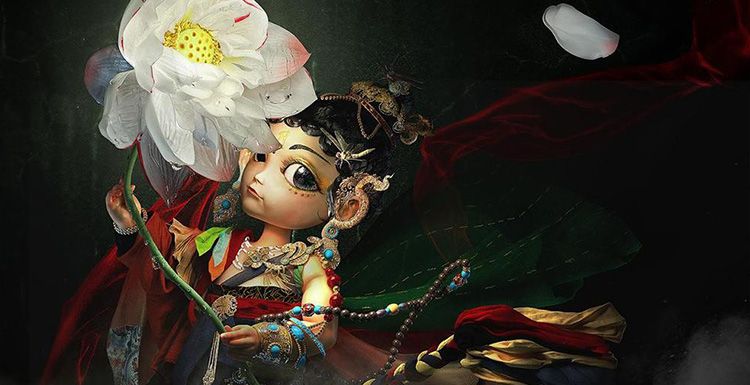
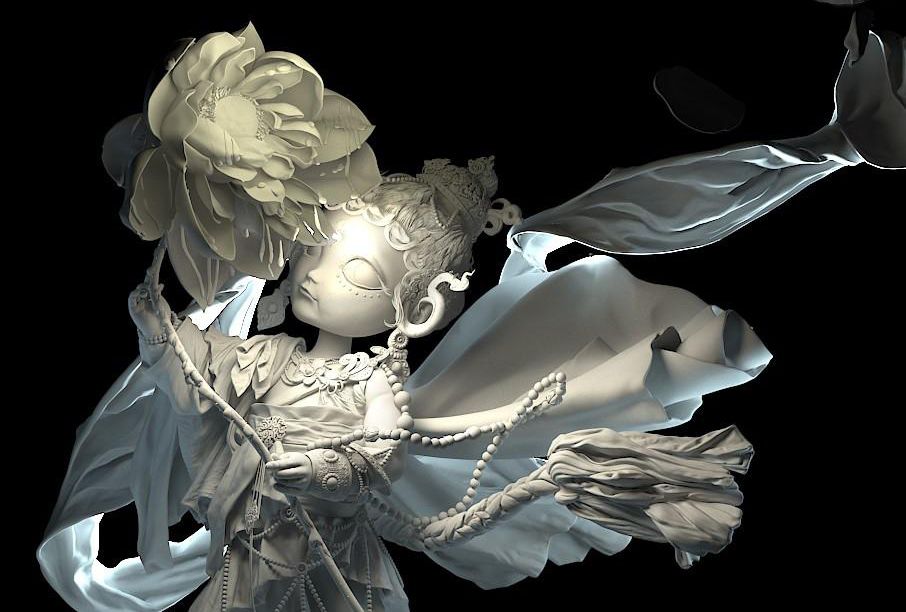
Final renderings:

About the topic
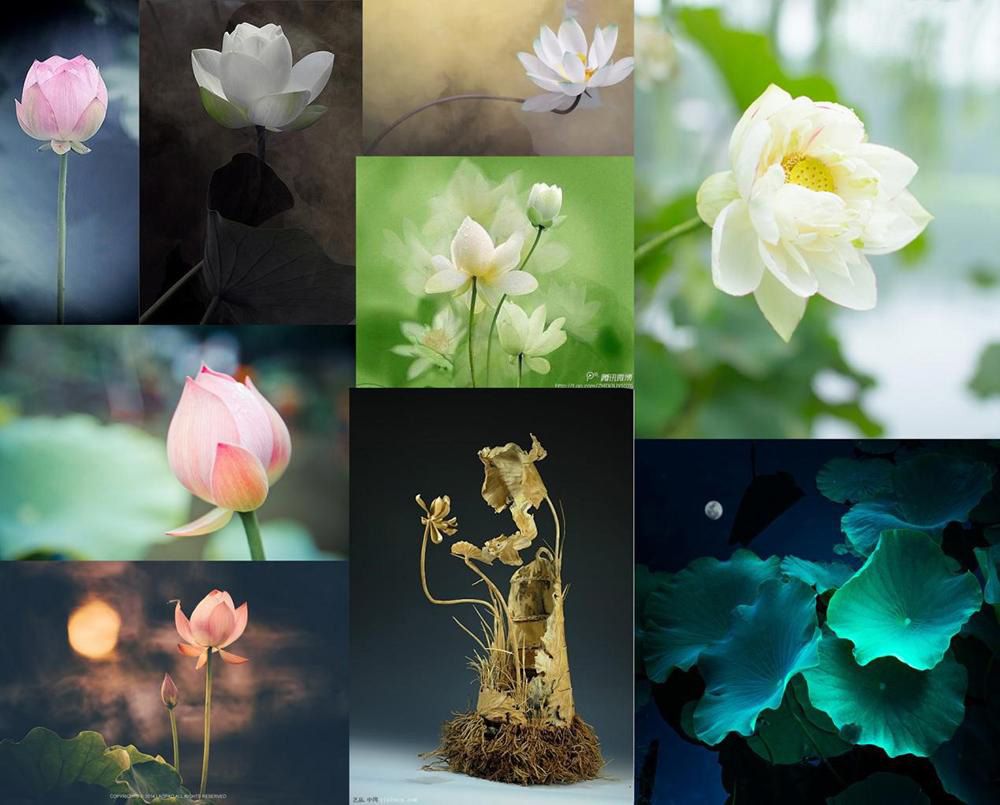
This work is based on the Chinese style and uses lotus as the entry point. The 3S material characteristics of the lotus flower are very remarkable, and the light transmission is opaque, which should be a good performance object. With the original intention of creation, the theme of the work is set.
What was originally done in the role was a little monk.
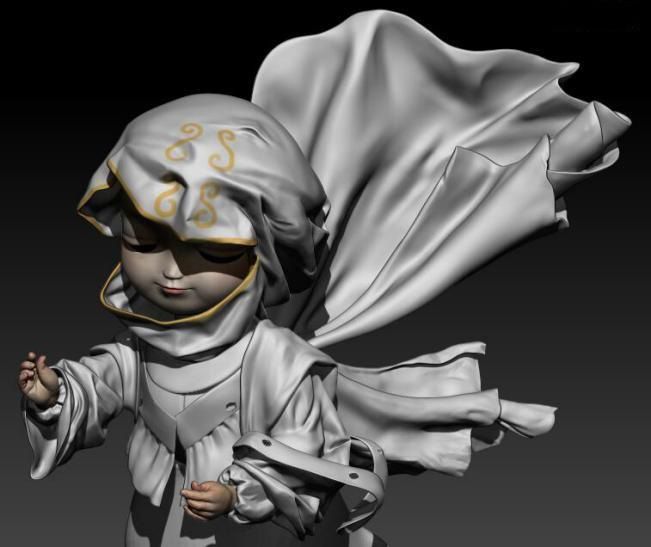
Early little monk...
After the model was built, it was discovered when the material was made in 3ds Max. The dress of the monk was too plain, the lotus flower was white, and the clothes were all the same color. It felt that they could not set off each other very well, so the character model was almost completely re-made.
Modeling
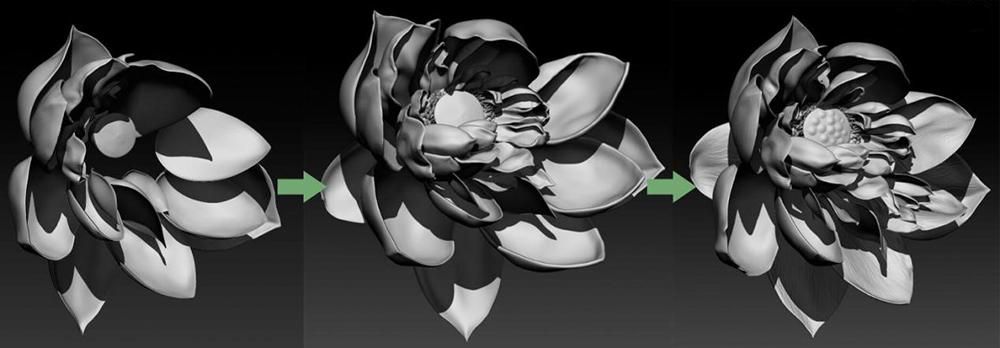
1. Lotus model
A lot of pictures of lotus were collected and one of them was chosen as a reference.
The lotus model is all done in ZB. The work of adding petals is more complicated. The shape of all the petals is almost the same. You can add some faint bump texture on the top to give the lotus some details. These textures can then be converted to bump maps for use.
2. Character Model
The character is to use Dynamesh in ZB to quickly create head, hand and body fabrics. High-mode engraving after the topology. Because it is a child, the hand will be fatter, referring to the baby's hand and arm.

Apsaras costumes are an important reference for me. 
There is no special skill in modeling, patience, just do it one by one, cloak, skirt, belt...
When you are carving a high mold, it is very fast. The piece of cloth is not too much to be scrutinized. There should be improve.

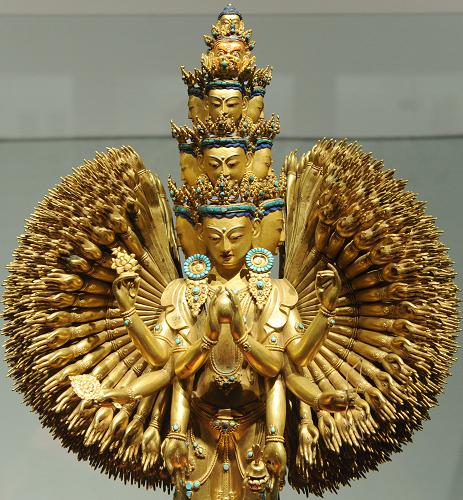
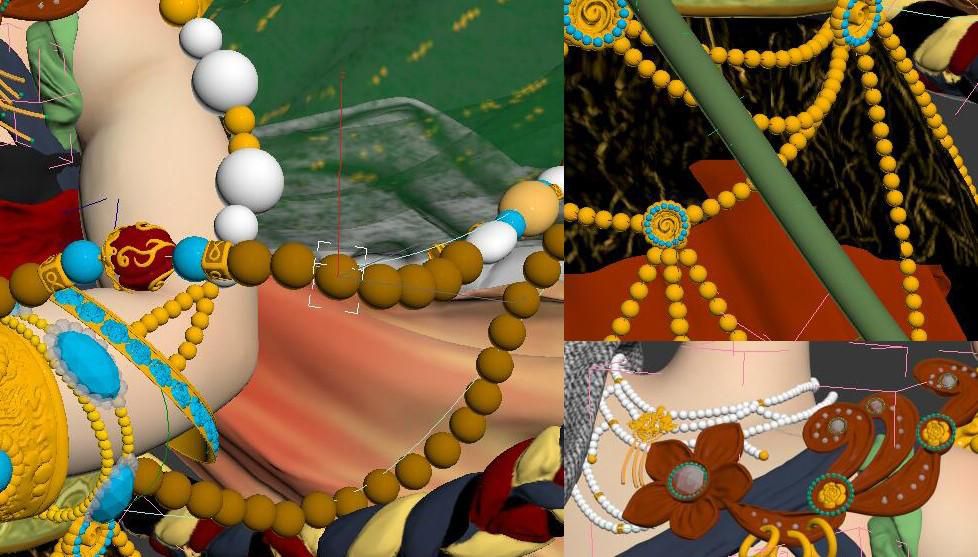
 3. Decoration
The shape of the ornament is relatively simple. The beads, earrings, boutonniere and headwear are mostly large in 3D Max, and some are imported into ZB for engraving. The characters' decorations draw on the elements of Tibetan Buddhism, such as red, green and yellow colors, turquoise, and bead earrings.
The decorations are added step by step as the work draws to a close, and new decorations are added while making.
UV expansion and mapping
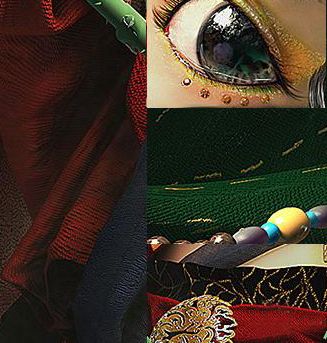
There are very few textures in this work. Most of the models are solid colors with a little bump, and UV uses ZB's own plug-in UV Master to automatically expand. If you have more textures that need to be carefully mapped, you still need to manually expand them.
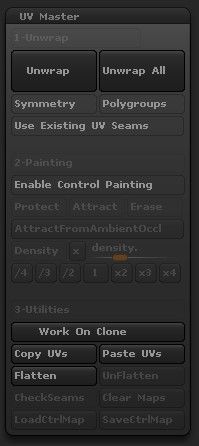
Lotus, face, hand, and a small number of fabrics require a diffuse texture, and the drawing is still in ZB. After all is done, reduce the high modulus, output to Max, prepare the next lighting material and render.
Lighting, materials and rendering
The lighting material rendering is the focus, I hope that there is contrast in the picture, the white and bright lotus vs color is strong (relatively dark) character. So I put the main light source close to the lotus and added a lot of light assistance to the character.
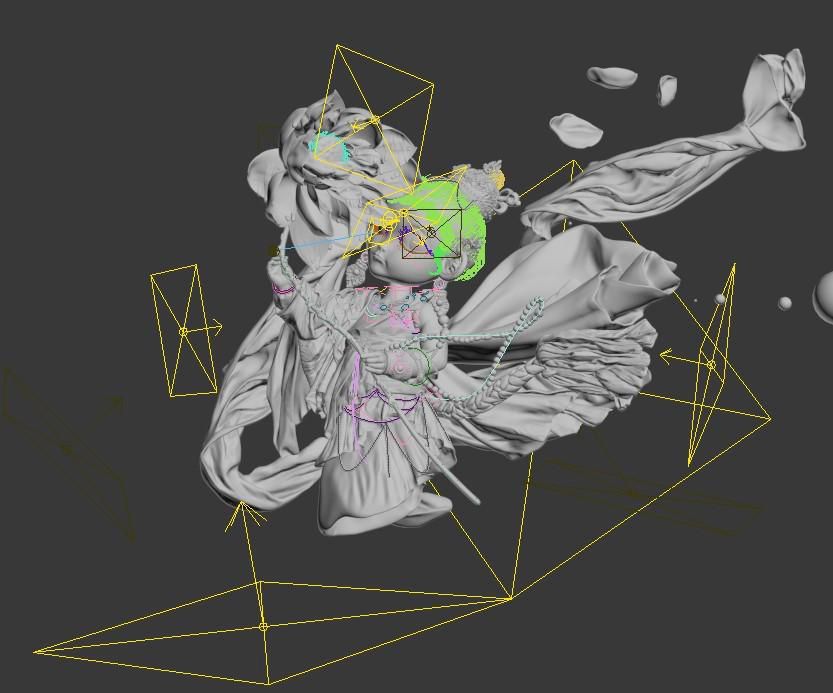
This may seem like the lotus is too dark, the character's head is too bright, this is - repeated test of the light, gi value, and the results of the material and texture.
The material of the lotus flower is made of V-RayFastSSS2 material, which is adjusted with the position and intensity of the light for crystal clear effect.
I hope that the lotus is a little self-illuminating, so I explored adding V-RayMtlWrapper on top of the 3S material to enhance its GI generation value and test an acceptable result.

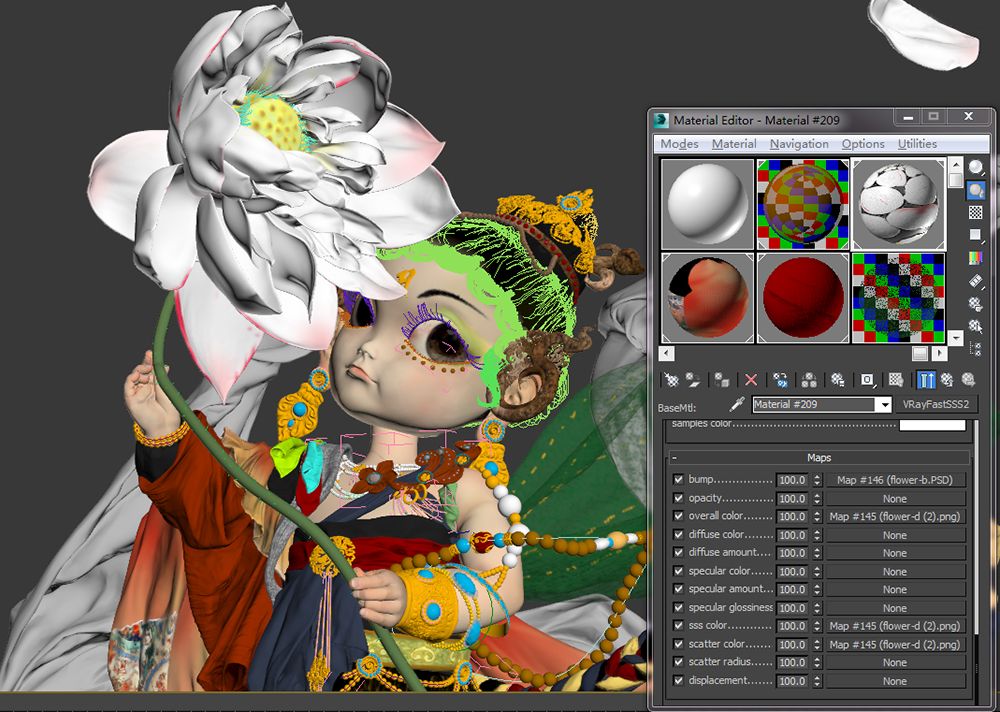
The materials in other parts are easier to add, such as color, texture, bump, reflection, translucency, etc.
Hair and other
The character's hair is draped, and the hair is not difficult. Here is the use of Ornatrix, the current popular hair plugin.
Finally, add two small dragonflies to play a decorative role.
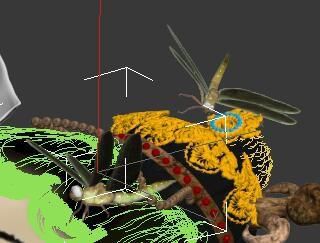
Add water drops to the lotus.

Post-production
Adding a simple background, smoke, and the apsaras should be naturally flying. Finally, the entire image is toned and partially shaded, contrasted, and adjusted to the satisfaction of yourself.