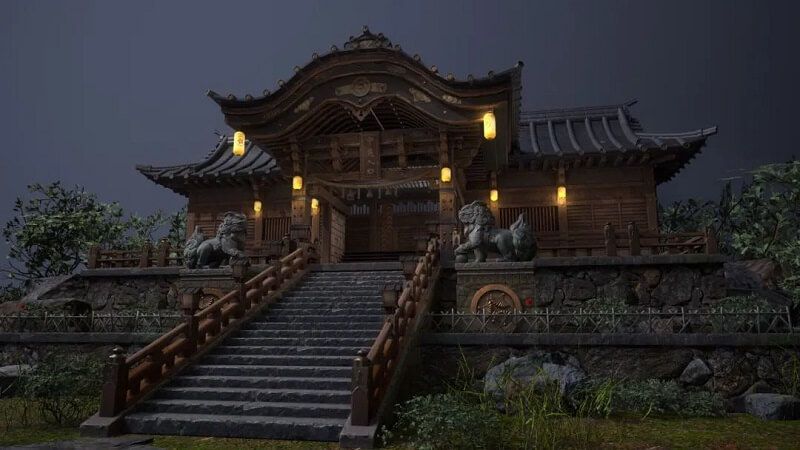
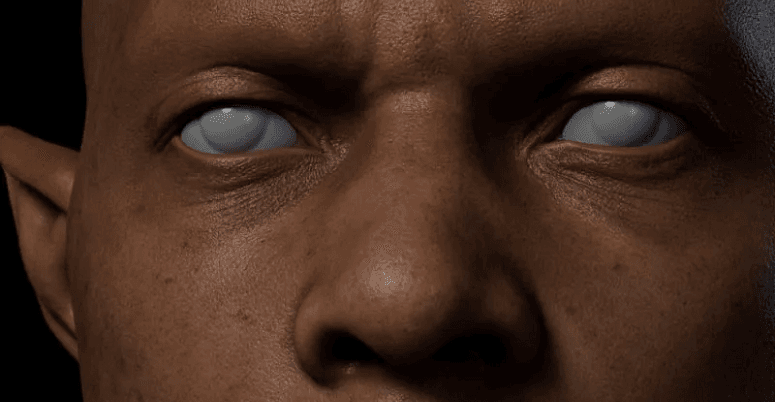
3D Tutorial: Creating a Next-Generation Scene 'Attic'

In this article, the leading cloud rendering service provider and render farm in the CG industry, Fox Renderfarm will present you with the production tutorial of a next-generation scene, "Attic," which was created through the collaborative efforts of a student team. Here are the specific production ideas and processes:
Final result:


1. Standardized Processes
The PBR workflow was adopted for this scene. After determining the theme, we first divided the scene assets into different areas and assigned them relatively evenly to each team member. Then we used 3ds Max to create a basic framework with simple geometric shapes to determine the proportions of buildings, roofs, and objects' positions and sizes. We continued to work on making mid-poly and high-poly models in 3ds Max, and then used ZBrush to perform detailed sculpting, such as creases and folds on sofas. The fabric was created using Marvelous Designer, and materials were made in Substance Painter and Photoshop. Finally, the scene was rendered in UE5.
2. Create a Basic Framework
First, use simple geometric shapes to build the overall structure of the house to determine the approximate placement of objects and their proportional relationships. This step plays a crucial role in the entire project, as it facilitates model replacement and project summarization.
This stage focuses on achieving a grand effect, and it is necessary to repeatedly compare the original painting from multiple angles to avoid getting caught up in the placement of small objects and details and losing sight of the big picture. In addition, this stage also requires careful planning for the texture mapping accuracy of the models. We commonly use the method of placing small cubes with a size of 1m3 and a texture map resolution of 512x512 as a reference benchmark to confirm the accuracy.

3. Make Mid-poly Models
The creation of mid-poly models is a fundamental yet vital step in the entire project workflow. By building the mid-poly model, we can essentially determine the approximate final effect of the model. Therefore, ensuring the accuracy of the mid-poly model's structure, proper wireframe layout, and correct differentiation of smooth groups are all crucial components of modeling work. Completing this step well can lay the foundation for the smooth progression of the subsequent workflow.


4. Make High-poly and Low-poly Models
Considering that the model style in the project is generally regular, we chose to use spline and TurboSmooth in 3ds Max for our high-poly modeling process, followed by object edge damage sculpting in ZBrush to ensure higher production efficiency.
For some cloth simulations, we choose to use MD software to obtain the high-poly model through object collision and then reduce its faces to obtain the corresponding low-poly model.
The low-poly model can be reduced in face count while preserving the object's overall outline, and then the object's symmetry axis, naming, and materials should be linked and packaged. Otherwise, errors and objects flying around can easily occur when the project models are merged, resulting in additional integration work. Therefore, it is essential to keep one's files organized and standardized to minimize future complications.


5. Make Materials
Materials are created in Substance Painter, and when working on materials, attention should be paid to objects within the same set in the scene, such as a desk and a bookshelf in the distance. Because these two objects happen to be made by different team members, communication during the material creation process is crucial to ensure consistency in color and texture. For example, if different shaped cardboard boxes in our scene are assigned to different students for modeling, these two members need to communicate well, or else the materials may appear jarring when placed together due to different material handling. Additionally, refinement and improvement of overall materials can proceed once the above issues have been roughly coordinated.


The finished material textures are rendered in UE5.
6. Lighting and Atmospheric Rendering
Rendering in UE is the biggest challenge in the entire stage. During this process, we enhanced the tranquility of the beam of light shining into the window and added texture details such as text on sticky notes on the computer desk, graffiti hanging on cardboard boxes and eaves, etc., to increase the storytelling and association of the image.
During this process, we wanted to achieve a translucent and glowing effect for the window illuminated by light and asked our instructor for advice. We found that it was difficult to achieve the desired translucent material effect in UE5, where it was either fully translucent or semi-transparent. Finally, we chose to simulate the translucent material effect through dynamic jitter, and then reduced the jitter noise by increasing the rendering resolution. For some stubborn noise that couldn't be removed without affecting the overall image quality, we used Photoshop for modification to ensure the final result of the image was not impacted.

In addition, we also added some particle effects to show the dust under sunlight and used glowing textures to create the scene outside the window. To handle the edge light of the curtains, we tried many different directions of light sources and adjusted the values of ray tracing to achieve the desired effect. Because the tone of the attic image became particularly warm after adding direct light, we chose to add auxiliary cold light to balance the picture. After taking high-definition screenshots, we modified the color balance, curve levels, etc. in Photoshop, and then imported the color card into the LUT filter function of the post-processing box to achieve the desired effect as much as possible.

We also used volumetric fog in UE to create the effect of volumetric light formed by the light source shining into the room through the window.
7. Conclusion
The above is a detailed description of our project production process. During this project, we learned a lot. This was the first time we had participated in a collaborative scene project, so we encountered many problems, including coordination between team members and related techniques for modeling and rendering. However, with everyone's efforts, these problems were successfully resolved. Although there are still many shortcomings, we have all put in our best efforts for this project. Finally, we hope that this sharing can bring inspiration and help to all model making enthusiasts.
Source: hxsd
Recommended reading
Top 9 Best And Free Blender Render Farms of 2025
2024-12-30
Revealing the Techniques Behind the Production of Jibaro "Love, Death & Robots", Which Took Two Years to Draw the Storyboard
2025-02-10
Top 10 Free And Best Cloud Rendering Services in 2025
2025-03-03
Top 8 After Effects Render Farm Recommended of 2025
2025-02-10
Top 5 Best and Free 3d Rendering Software 2025
2025-02-10
Shocked! The Secret Behind Using 3D to Make 2D Animation was Revealed!
2025-02-10
How to Render High-quality Images in Blender
2024-12-04
Easy Cel Shading Tutorial for Cartoon in Blender Within 2 Minutes
2025-02-10
Partners
Previous: A Sharing of 3D Scene Reproduction from 'For Honor'
Next: 3D Tutorial of Next-generation Scene "Magic Book Room"
Interested


