How to Render Large Scenes with Redshift in Cinema 4D

How to manage large scenes in Cinema 4D's Redshift renderer, how to optimize things in the scene, and how to optimize rendering settings in the Redshift renderer. These are relatively far-reasonable things. How to optimize them is very helpful for scene management.
- Proxy file
For the Redshift renderer, you can generate proxy files from the scene and export them before rendering. For trees, the scenes with a lot of flowers and grasses are very suitable for the Redshift renderer. This is the theme that the leading cloud render farm in the CG industry, Fox Renderfarm, brings to you in this article.

How to generate a proxy file? Now you need to generate the proxy file and export the Redshift Proxy (*.rs) to where it is needed. Proxy settings: after the ‘Add’, ‘Proxy to Scene’ are checked, the generated proxy file will generate a proxy file in the location where you want to export the file. If the exported file is animated, then ‘Range’ must be changed to ‘All Frames’. Then the generated proxy file will not occupy too many scene resources, and the production software operation will be smooth. And if you use a proxy file for replication, it will also reduce the resources of the system.


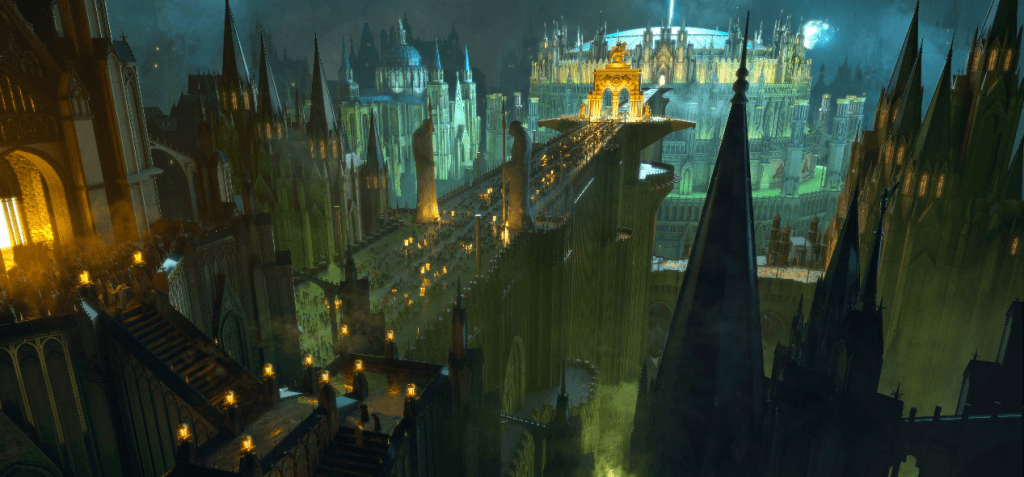
Like the scenario below, most of the models are proxyed, so the rendering resources needed are even more economical. Take the following scenario as an example. Its number of faces is very large, and it will be stuck when it is operated. And all the models in the scene do not use proxy files, so you must optimize the rendering settings.

- Sampling
Before optimization, you must have a certain understanding of the working principle of Redshift. In the default case of Redshift, it does not emit light to the object through the light to show the light and dark effect. Redshift is the light emitted by the camera, hit on the object, and then the object will look for the source of the light to present the light and shade, which is somewhat different from other renderers.

The two values in the picture below are generally used to reduce noise. Samples Min means that the minimum amount of light emitted from the camera is four, and the value below Samples Min can adjust the secondary reflection of the object.

<p class='img-source'>Sampling principle

<p class='img-source'>Noise
The Samples MAX value, if adjusted too high, the camera calculations consume more resources, rendering time will increase a lot. In general, the values are around 64. However, if the motion blur is turned on, then the value should be at least 256 or so.

<p class='img-source'>Samples Min=4, Samples MAX=256

<p class='img-source'>Samples Min=4, Samples MAX=16
If the noise is obvious, try to adjust the ‘Brute Force GI/Number of Rays’ under GI.

<p class='img-source'>GI adjustment
The ‘General/Primary GI Engine’ under GI is a primary feature, and the Secondary GI Engine controls the number of bounces.

Calculating the GI information of the scene under /Primary GI Engine/Irradiance Caching will be faster. The number of light carried by Num Rays, Adaptive Amount represents the attenuation ratio of divergent rays. If Num Rays is 200, then Adaptive Amount 0.8 will decay by 80%.

The above are several ways to optimize large scenes and rendering. By optimizing the scene and rendering settings, you can save more time and resources during rendering, and better complete the scene production.
Fox Renderfarm hopes it will be of some help to you. As you know, Fox Renderfarm is an excellent CPU&GPU cloud rendering farm in the CG world, so if you need to find a render farm, why not try Fox Renderfarm, which is offering a free $25 trial for new users? Thanks for reading!