How to Use ZBrush and Maya to Make A Stylized Character "The Dark Knight" (1)

Hi there, your best cloud rendering service provider, Fox Renderfarm, this time we will share with you the production process of how to use ZBrush and Maya to make the stylized character "The Dark Knight" from 3D Artist Mars.
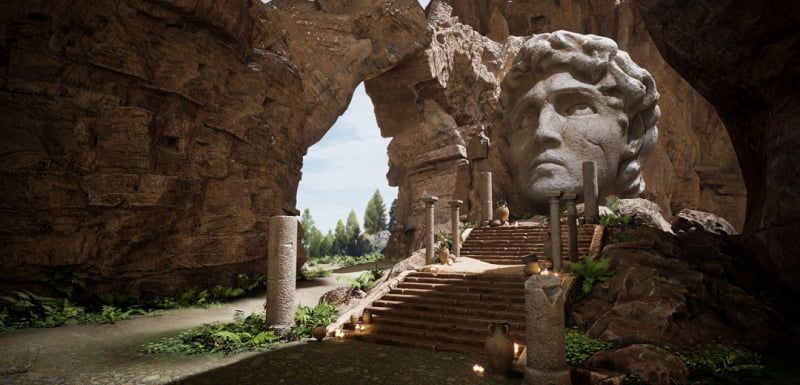
Mars divides the entire production process into pre-reference search, and then makes high-poly model sculptures such as mannequins and clothing, armors, baking and UV splitting, Substance Painter texture production and final rendering, I hope you will like it.
Reference
This part is very interesting. When looking for information, I mainly found facial references and a lot of information on medieval costumes and armors. The preparatory work is very important, which directly determines whether the subsequent work process can proceed smoothly.

Model Making
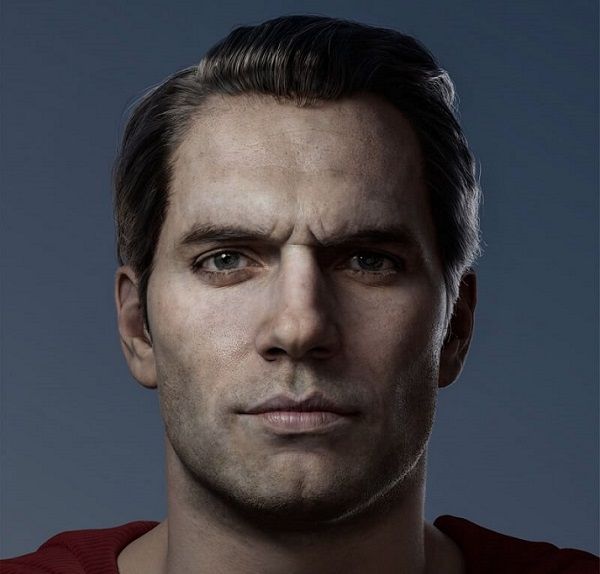
Because the character itself wears a lot of armor, the focus of the character model is on the sculpture of the head. I made some settings before production, and set the age of the character to around 35 years old, and he is very good at fighting. Because the body is covered by clothing, I just made a rough muscle structure to facilitate the post-production of the correct shape of the clothing.

Add Pores
After the head was made, I added facial pore details with the XYZ material, and all the pore details were made in ZBrush, not Mari. XYZ officially provides a set of materials with area numbers that can be directly dragged onto the surface of the model, as follows:

To make pores, now switch the displacement brush of ZBrush, import the XYZ channel material, and finally change the MID of the Alpha material to 50, and then start to sculpt the pores by dragging.

Clothing production, import the body model into Marvelous Designer for clothing production. The body model is imported into Marvelous Designer, and it is made to make a board (clothing production is mainly based on the effect of 3D display, and there is no need to consider some principle issues of clothing design. After that, the model is exported, and the plane style and 3D are exported here. The style is convenient for retopology for clothes.


Topology
I imported the flat-layout model into ZBrush and used tools for automatic topology, and then used Maya's topology transfer to wrap the topological model onto the 3D model, and then transferred the re-topological model through Maya's topology to transfer the 2D style again. To the surface of the 3D style, a uniform and smooth 3D clothing model is obtained, which is convenient for subsequent sculpting and modification in ZBrush.


Armor Making
The armor is made by using different shapes of faces and pieces, and then extruding the edge part and then detailing the model until all the work is completed.


After importing the model into ZBrush, I once again sculpted the whole part of the outfit. Here I first sculpted the underwear part, and the sleeve part was especially important. This part of the work is to remove the unnatural part of the solution in Marvelous Designer and add smaller wrinkles. The main brush used is the Standard brush.

In order to make the UV of the neckline model straighter, then import it into ZBrush to add surface texture (note that the subdivision level of the model should be as high as possible, the details will look better, here I give it 7 levels), and then add the displacement texture On the surface of the model (add it through Noise under the Surface menu, and change the projection mode to UV mode).

I directly use the Slash brush to sculpt the armor pattern. Because the pattern design is already fixed and the material cannot be used, I can only sculpt it manually, which is time-consuming (you can open the ZBrush storage transformation before engraving to facilitate the use of Morph pens. Brush to erase and modify the pattern), the folds of the edge are carved with the help of brush materials to simulate the edge of the leather.

Now please follow the best CPU&GPU render farm to our next part: [How to Use ZBrush and Maya to Make A Stylized Character "The Dark Knight" (2)](https://www.foxrenderfarm.com/share/how-to-use-zbrush-and-maya-to-make-a-stylized-character-the-dark-knight-2 "How to Use ZBrush and Maya to Make A Stylized Character "The Dark Knight" (2)").
Recommended reading
Top 9 Best And Free Blender Render Farms of 2025
2024-12-30
Revealing the Techniques Behind the Production of Jibaro "Love, Death & Robots", Which Took Two Years to Draw the Storyboard
2025-02-10
Top 10 Free And Best Cloud Rendering Services in 2025
2025-03-03
Top 5 Best and Free 3d Rendering Software 2025
2025-02-10
Top 8 After Effects Render Farm Recommended of 2025
2025-02-10
Shocked! The Secret Behind Using 3D to Make 2D Animation was Revealed!
2025-02-10
Easy Cel Shading Tutorial for Cartoon in Blender Within 2 Minutes
2025-02-10
How to Render High-quality Images in Blender
2024-12-04
Partners
Previous: C4D Tutorial: How to Make Dynamic Wallpaper
Next: How to Use ZBrush and Maya to Make A Stylized Character "The Dark Knight" (2)
Interested


