Top 9 meilleures fermes de rendu Blender gratuites
2026-03-26


11 Ways to Fix Blender Crashing When Rendering
Blender
Learn how to fix Blender render crashing issues with simple steps like lowering settings, updating drivers, and improving system performance.

Best Blender Render Farm in 2026: Detailed Comparison
Blender Render Farm
Compare the best Blender render farms in 2026. Check pricing, speed, and pros & cons of top Blender cloud rendering services for animation and 3D projects.
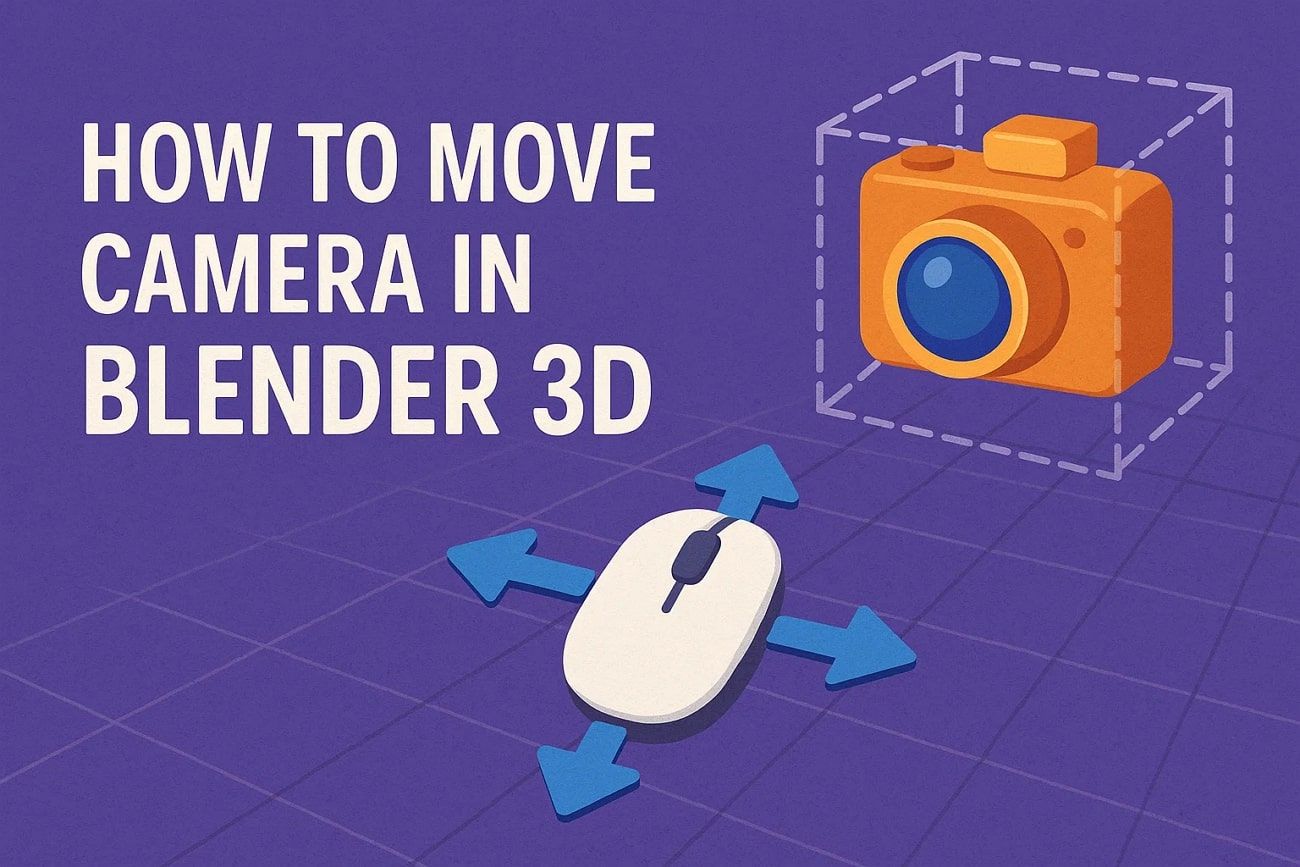
Step-by-Step Guide for Smooth Blender Camera Movement
3D Rendering
Wonder how to move camera in Blender? This guide helps you create smooth Blender camera movement and solve common issues for better scene framing.

Eevee vs Cycles: Which Blender Render Engine is Right for You?
Blender
Compare Eevee vs Cycles to find the best Blender render engine. Learn differences and suitable project types for fast previews or realistic rendering needs.

Easy Cel Shading Tutorial for Cartoon in Blender Within 2 Minutes
Blender
Blender is not only suitable for making 3D models, but also renders well. Here, the best CPU&GPU cloud rendering service provider, Fox Renderfarm is going to share an easy cel shading tutorial for cartoon in Blender in just 2 minutes.
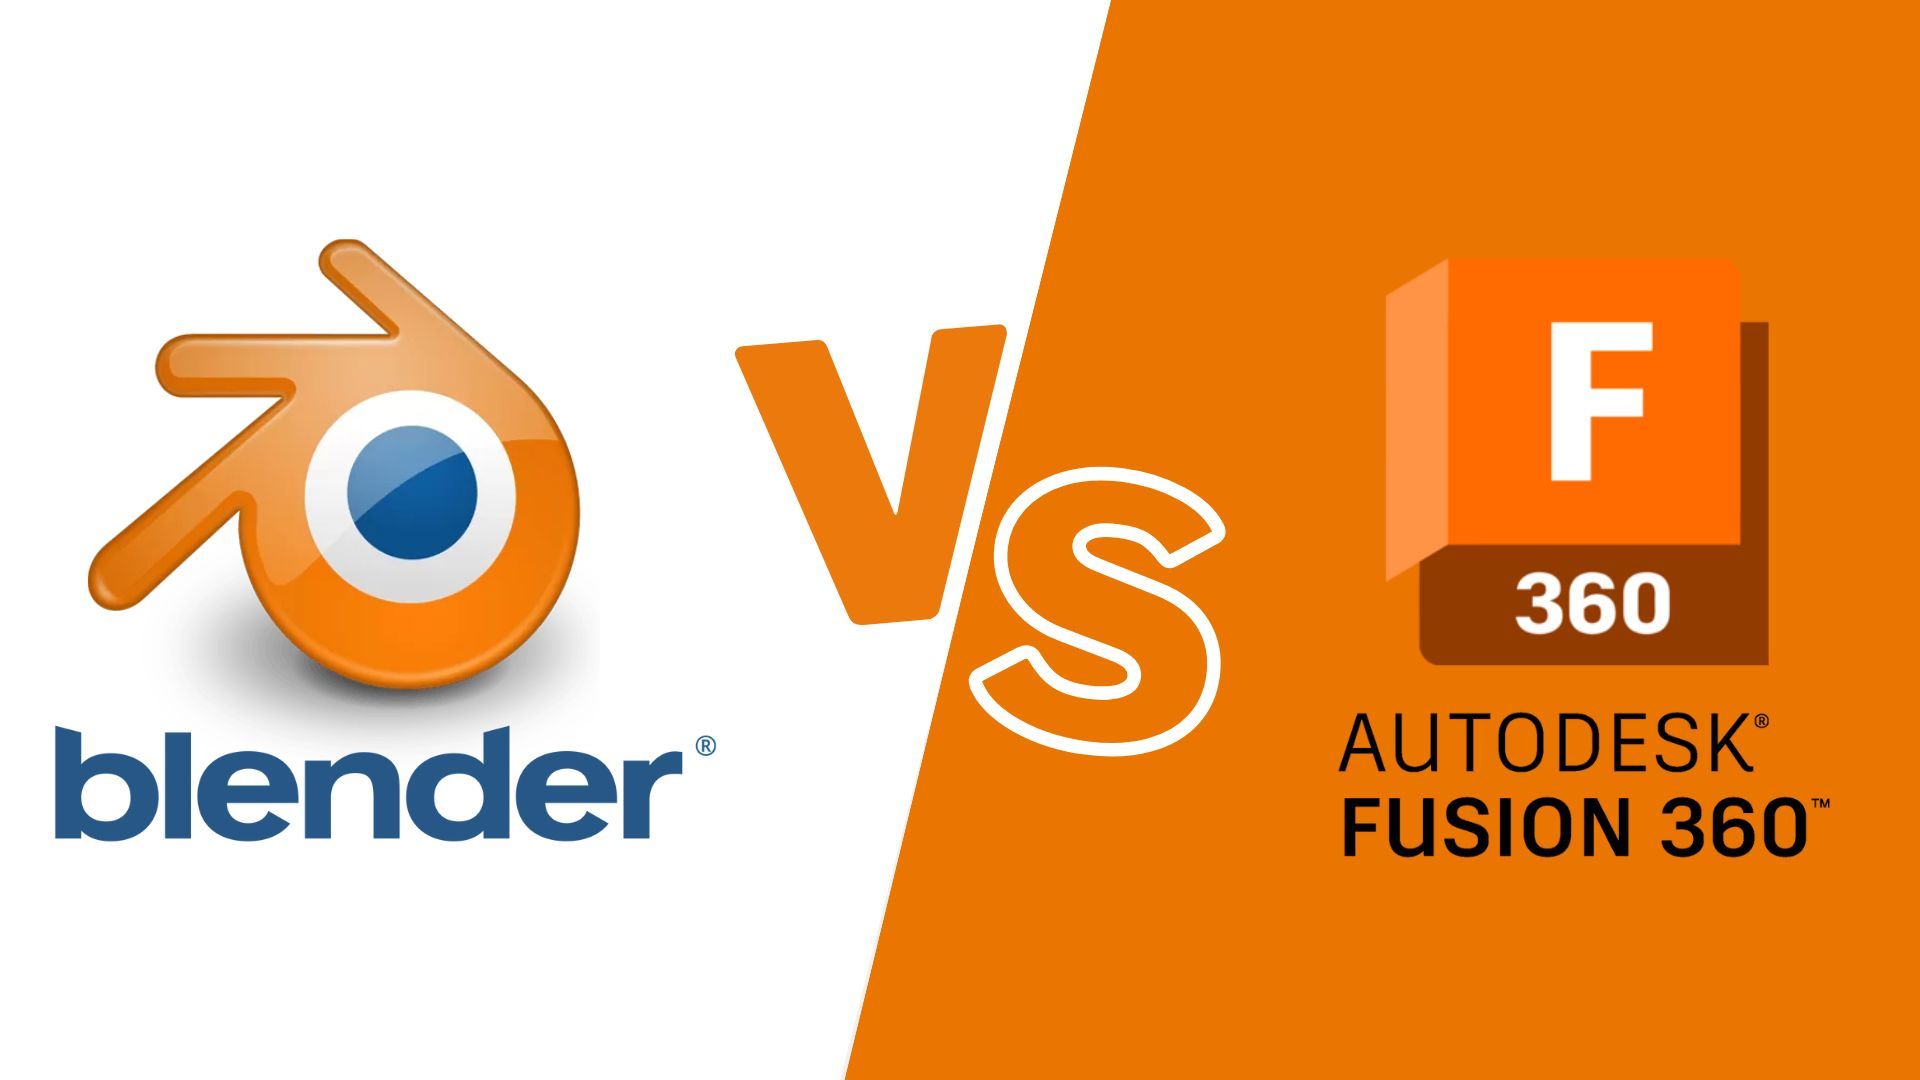
Blender vs Fusion 360: Full Comparison for Beginners in 2025
Blender
Trying to choose between Blender and Fusion 360? This guide explains their key differences, features, pricing, pros and cons, and expert suggestions to help you choose the perfect 3D software.

Let's Take A Look At Blender's Growth In 25 Years!
Blender
Blender, an open-source 3D animation software, is 25 years old. Fox Renderfarm is the world's leading visual cloud rendering, supporting a variety of CG software and plug-ins, including Blender. Fox Renderfarm is here to present a birthday greeting to Blender.

Creación de Humanos en Blender: Una Guía Definitiva
Blender
Conozca los secretos para crear los personajes humanos fotorrealistas en Blender. Aprenda las técnicas esenciales, los consejos y las herramientas para lograr un realismo impresionante en sus modelos 3D, mejorando sus habilidades artísticas y la calidad de sus proyectos.

Rendu architectural avec Blender : Techniques pour des rendus époustouflants
Blender
Découvrez les techniques de rendu architectural avec Blender, pour débutants et professionnels. Maîtrisez la modélisation, l’éclairage et le rendu photoréaliste avec Cycles et Eevee.

6 Formas de Renderizar Más Rápido en Blender
Blender
Este artículo le presenta las 6 formas de renderizar más rápido en Blender, incluyendo cómo cambiar la configuración de renderización, cómo usar una granja de renderización, y otras opciones.
Einfaches Cel Shading Tutorial für Cartoons in Blender in 2 Minuten
Blender
Blender eignet sich nicht nur für die Erstellung von 3D-Modellen, sondern auch für das Rendern. Die Fox Renderfarm, der beste CPU & GPU Cloud Rendering Anbieter, zeigt Ihnen hier ein einfaches Cel Shading Tutorial für Cartoons in Blender in nur 2 Minuten.
Wie man in Blender qualitativ hochwertige Bilder rendert
Blender Render Farm
Wie man in Blender qualitativ hochwertige Bilder rendert, ist eine Frage, die häufig gestellt wird. Wir wollen lernen, wie man Bilder mit dem in Blender integrierten Renderer Cycles rendert.