Top 9 meilleures fermes de rendu Blender gratuites
2026-03-26
Top 6 Arnold Render Farms in 2025
Arnold Render Farm
A great way to reduce Arnold's rendering time is to use the Arnold cloud rendering services through the Arnold render farm, which greatly speeds up rendering and gets the job done.

The Best Arnold Render Farm | Fox Render****farm
Arnold
GPU & CPU rendering are both available in arnold render farm for 3ds Max, Maya, or Cinema 4D .
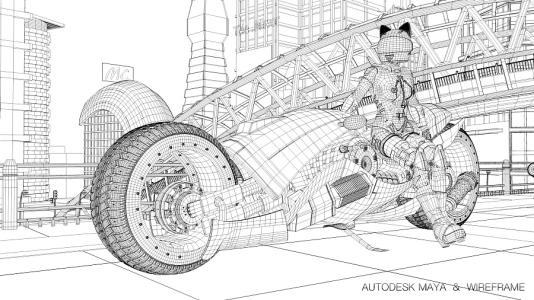
Arnold for Maya Tutorial: How to Render Wireframe
Arnold for Maya
When making some work, we need to render some special effects, such as only showing the wireframe of the model. In this article, Fox Renderfarm will show you how to use Arnold for Maya to show the model in the wireframe.
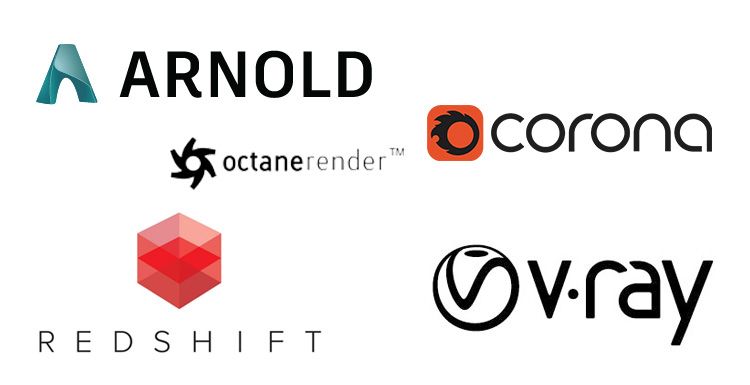
Arnold\ V-Ray\ Octane\ Conora\ RedShift, Which Is The Best 3D Renderer?
V-Ray Cloud Rendering
Which is the best 3D renderer? Fox Renderfarm will tell you the pros and cons of Arnold, V-Ray, Octane, Conora and RedShift. You can choose the best renderer for yourself.

The Essential Thinking Of Roughness And Anisotropy (4)
Arnold Render Farm
As a leading cloud rendering service provider and CPU &x26; GPU render farm, Fox Render****farm, published an article about “The Essential Thinking Of Roughness And Anisotropy (3)”, and we have understood that the essence of roughness is bump. Then we finally have to start the theme of our issue - use roughness to restore the bump effect of the ring scratches.Using a rendered flowmap image, use this

How To Use PBR Process In Film And Television Rendering
Arnold Render Farm
In the past two years, the game art industry has ignited a fierce PBR boom, which is as hot as the "secondary era" back then. Many friends have a lot of doubts about the PBR process which almost redefined the game art. For example, why the effect of PBR looks so good, and whether it is necessary to learn and use PBR process in film and TV industry. If yes, how should we use it?

Learn What is Arnold GPU
Arnold Render Farm
Arnold is one of the most popular renderers in animation and film production, the software and renderers supported by Fox Renderfarm including Arnold, we are also an Arnold render farm**.

How Does Maya Make Arnold Render Transparent Textures (Tutorial Step by Step)
Maya Render Farm
How Maya makes Arnold render transparent textures may be a question that has been bothering you for a long time. This article uses leaf as an example to show you how to render transparent backgrounds in Maya with Arnold.

Arnold for Maya Tutorial: Ice Cube Material
Arnold for Maya
Fox Renderfarm is known as a powerful but affordable render farm** in the CG industry. This article is about the knowledge of ice cube material in the basic material related learning in the Arnold tutorial. I hope it can be helpful for your learning of Arnold.

An Amazing CGI Personal Project Sharing Of Liu Yifei Likeness As Mulan
Arnold for Maya
We based on the movie Mulan to create techniques such as creating realistic and delicate skin textures and high-quality 3D character model rendering in Maya, Arnold, ZBrush, Substance Painter, Mari.

How to Render a Make-up Product in Cinema 4D With Arnold
arnold for c4d
The best cloud render farm, Fox Render****farm will share with you a tutorial made by 3D artist J. The rendering case shared this time is relatively simple, without very complicated scenes and cool visual effects, focusing on the details and reality of the product.