Top 9 Best And Free Blender Render Farms of 2025
2023-05-06


KeyShot 10 Tutorial: How to Render a Perfume Bottle
render farm for keyshot
Today, Fox Renderfarm, the best could rendering service provider and render farm**, will share with you a KeyShot 10 tutorial about how to render a perfume bottle. This tutorial is written by 3d Artist Joy, hope this article will help you in the KeyShot learning.IntroductionI am going to render a perfume bottle. The rendering software used is KeyShot. The model of this perfume and leaves are downloa
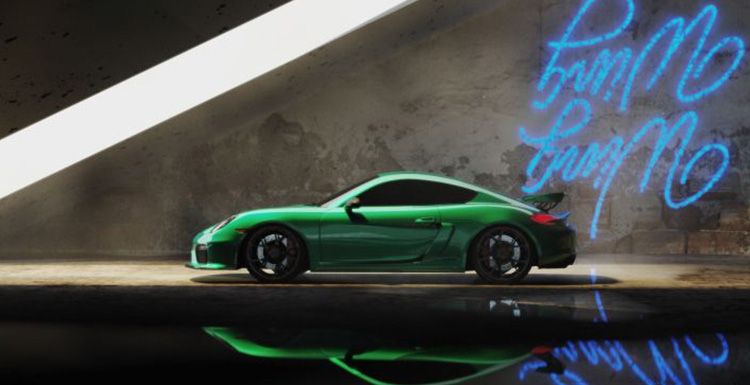
How To Make A Car Rendering Fog Scene With KeyShot 8
render farm for keyshot
As the leading cloud rendering service provider and render farm, Fox Render****farm, will show how to make a car rendering fog scene. The scene uses an already-built car scene. In the picture below, a bunch of white light produces some smog, or a sly beam, but this is added in photoshop, so it looks a bit Rigid, lacking some changes, it looks a bit fake.Compare the effect of direct use of KeyShot 8 ne

How to Use KeyShot 9 to Render Christmas Scene - Tutorial
Keyshot
This article is a 3d rendering tutorial about Christmas scene shared by 3d artist Drown. The article is organized by Fox Renderfarm, the leading cloud render farm** in the CG industry. Because there are so many items in the scene, this tutorial will focus on the lighting of the scene and the skills to create a Christmas atmosphere, and the adjustment of the material will be briefly described.Use Key

KeyShot Tutorial: How to Render Realistic Ice
Keyshot
The best cloud rendering services provider and render farm, Fox Render****farm will share with you a tutorial about how to use KeyShot to render realistic ice.Tip: To create the ice art shown in the figure, in addition to using KeyShot, we should also know how to create 3D models, using SolidWorks and Photoshop.ModelingUse SolidWorks to create a model. Since we are focusing on KeyShot realistic render
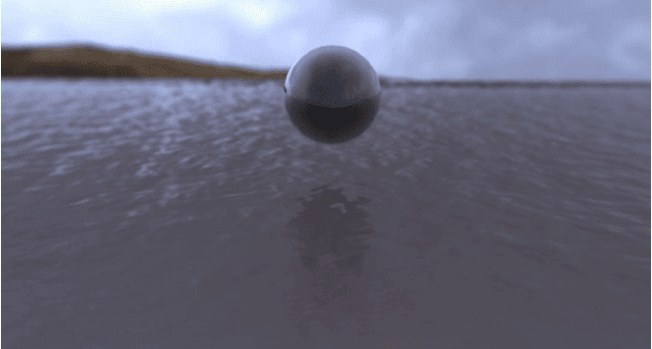
How to Render Water Surface in KeyShot?
render farm for keyshot
Fox Renderfarm, as the best render farm** and cloud rendering services provider in the CG industry, we will often share some production skills and some of the industry's latest and hottest information, hoping to be helpful to your 3D learning. This time we will share how to render the water surface in KeyShot. I hope you like it.Many people think that in the CG production steps, rendering water is a
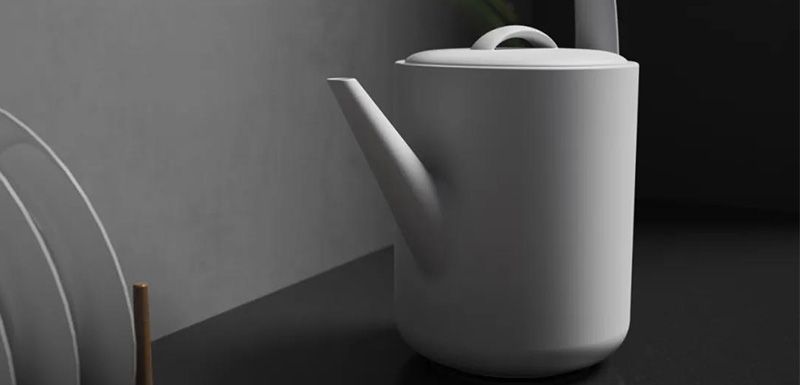
KeyShot Tutorial: How to Render a Teapot in KeyShot 9
Keyshot
In this article, the best render farm and cloud rendering services provider, Fox Render****farm will share with you a tutorial from 3d artist Drowm about how to render a teapot in Keyshot 9.IntroductionCreative products are one of the product categories that students need to do at present, so we will render a creative teapot today.Rendering ProcessPrepare the model to be rendered, and then import flow

3D Tutorial: How to Make a Gamepad with Damage Effect in KeyShot
render farm for keyshot
IntroductionIn this tutorial, the best render farm and cloud rendering service provider, Fox Render****farm, will invite 3D Artist Zem to show you how to make a small scene that renders a gamepad in KeyShot. Zem used a model from a previous project to place the small scene. In the process, He'll explain in detail how to make textured lights for the handle, as well as broken and stale effects, using so

How to Make a Train Head Model in KeyShot (2)
Keyshot
Add a line in the middle of the body, and adjust the part of the cockpit in the middle of the body. The cockpit part is not visible in the picture, we need to find other angle references. Then copy the other two lines and adjust to the part of the cockpit foreign aid.Create a surface from the three curves and adjust the size.Copy the middle curve of the double-track surface again; adjust the curve

Top 6 Best KeyShot Render Farms
Keyshot
Are you looking for a suitable KeyShot render farm to speed up rendering? Then Fox Render****farm, the leading cloud rendering service provider and render farm, will introduce to you 6 best render farms for keyshot.What is KeyShot?KeyShot is a 3D rendering software developed by Luxion. It supports ray tracing and full area light rendering. KeyShot supports multiple plugins and can be used on Mac or Wi

How to Make a Train Head Model in KeyShot(1)
Keyshot
Fox Renderfarm, your TPN-Accredited render farm** and cloud rendering service provider, will share with you this tutorial article about How to Make a Train Head Model in KeyShot. KeyShot will be used to make a 3D model of the train head, and the problems encountered in the production will be shared. Although this model looks very simple, there are still many details that need attention, such as the

How to Make The Hard Surface of Firearms
render farm for keyshot
The production of high poly is an important part of the 3D modeling, especially for the production of hard surface models such as inorganic materials. There are many ways to achieve it. Fox Renderfarm, your TPN-Accredited render farm** and cloud rendering service provider share a article about How to Make The Hard Surface of Firearms. In this article, I will explain how to use Zbrush and 3ds Max to

KeyShot 9 Tutorial: Leather Chair Rendering Guide
render farm for keyshot
Fox Renderfarm, a powerful and affordable cloud render farm** and leading cloud rendering services provider, organizes the leather chair rendering guide from artist Zolmo's tutorial on KeyShot 9. This is the process of using KeyShot 9 to make the final rendering of a leather chair. The chair is made of slightly worn-out leather material, with cloth weaving hem material and wooden chair frame, especi