Top 9 meilleures fermes de rendu Blender gratuites
2026-03-26


5 Best Redshift Render Farm: Maximize Speed and Efficiency
Redshift
Discover the best Redshift render farms in 2026. Compare cloud GPU rendering platforms by RTX hardware, VRAM, scaling, security, and Redshift workflow support.

トップ 6 のベスト Redshift レンダーファーム
Redshift Render Farm
Redshiftは非常に使い勝手の良いプラグインです。Redshiftのクラウドレンダリングサービスを提供し、レンダーファームのリーディングカンパニーであるFox Renderfarmが、レンダリングを高速化するためのRedshift用レンダーファーム6選をご紹介します。
Top 7 Redshift Cloud Rendering Services
Redshift Render Farm
Popular for its speed, efficiency and scalability, Redshift has become the preferred choice of many professionals and studios. In this article, we will explore the top 7 Redshift cloud rendering services.
Top 6 Best Redshift Render Farms
Redshift Render Farm
Redshift is a very good plugin to use. Fox Renderfarm, the leading Redshift cloud rendering service provider and render farm**, will introduce to you 6 best render farm**s for Redshift to speed up your rendering.
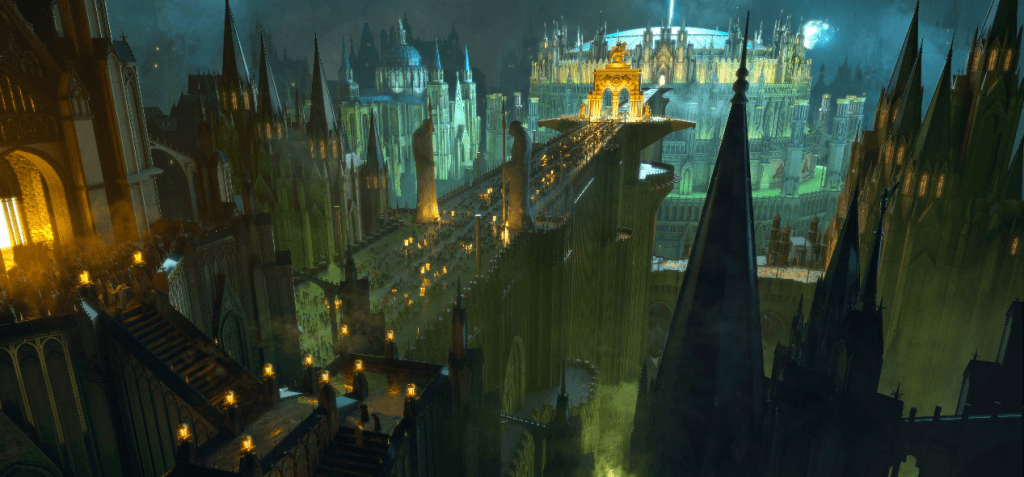
A Redshift Production Breakdown and Experience Sharing from Lighting/Rendering Artist Jiaxuan Wang
Redshift
In this article, Fox Renderfarm, the best could rendering service provider, will share with you a Redshift production breakdown and experience sharing from lighting/rendering artist Jiaxuan Wang.
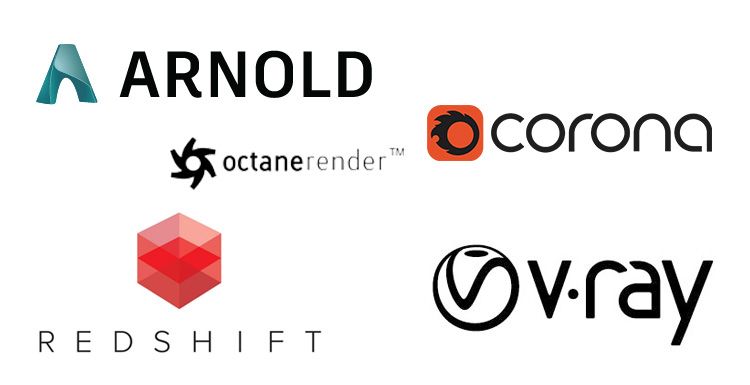
Arnold\ V-Ray\ Octane\ Conora\ RedShift, Which Is The Best 3D Renderer?
V-Ray Cloud Rendering
Which is the best 3D renderer? Fox Renderfarm will tell you the pros and cons of Arnold, V-Ray, Octane, Conora and RedShift. You can choose the best renderer for yourself.

Redshift Tutorial: What is Redshift Round Corners?
Redshift Render Farm
What is Redshift Round Corners? Recent test results show that Round Corners technology can be very useful in many cases and is a technology that is seriously underestimated. So here the Redshift render farm, Fox Render****farm, will introduce Redshift Round Corners to you.

The Essential Thinking Of Roughness And Anisotropy (2)
Redshift Render Farm
The rougher the reflection, the better the texture with a higher bump strength is solved, let’s continue to discuss the roughness and anisotropy.

The Essential Thinking Of Roughness And Anisotropy (4)
Arnold Render Farm
As a leading cloud rendering service provider and CPU &x26; GPU render farm, Fox Render****farm, published an article about “The Essential Thinking Of Roughness And Anisotropy (3)”, and we have understood that the essence of roughness is bump. Then we finally have to start the theme of our issue - use roughness to restore the bump effect of the ring scratches.Using a rendered flowmap image, use this

The Essential Thinking Of Roughness And Anisotropy (3)
Redshift Render Farm
This is a technical article of a scientific nature, the ultimate goal is to achieve a ring effect. In the process of implementation, the two concepts of Roughness and Anisotropy that need to be understood are analyzed in essence.

The Essential Thinking of Roughness and Anisotropy (5)
Redshift Render Farm
As a leading cloud rendering service provider and CPU &x26; GPU render farm, Fox Render****farm published an article about “The Essential Thinking Of Roughness And Anisotropy (4)”.In this article, we first learn the principle of directly creating an anisotropy rotation map by bypassing the flowmap. Since the flowmap is not so intuitive, it cannot be used directly in some renderers (vray, redshift). W

The Essential Thinking of Roughness and Anisotropy (6)
Redshift Render Farm
As a leading cloud rendering service provider and CPU &x26; GPU render farm, Fox Render****farm published an article about “The Essential Thinking Of Roughness And Anisotropy (5)” yesterday.We put the textures we just made in SD into the renderer and try to render them. In fact, there are still several problems that are quite serious, let's solve them one by one.First of all, if you directly insert t