Top 9 meilleures fermes de rendu Blender gratuites
2026-03-26

Cinema 4D Cloud Rendering Services for 2025
Cinema 4D
Discover the advantages of Cinema 4D cloud rendering services in 2025. Streamline workflows, reduce costs, and claim a $25 render coupon!

Cinema 4D Render Farms for 2025
Cinema 4D
Explore the best Cinema 4D render farms of 2025, offering fast, reliable, and scalable 3D rendering for your projects.

Comment accélérer le rendu Cinema 4D ?
Cinema 4D
Vous créez des scènes 3D dans Cinema 4D ? Le rendu Cinema 4D peut être lent lorsque la scène est complexe, mais il existe des moyens d'accélérer le rendu C4D, explorons-les.

Wie beschleunigt man das Cinema 4D Rendering?
C4D
Erstellen Sie 3D-Szenen in Cinema 4D? Cinema 4D Rendering kann langsam sein, wenn die Szene komplex ist, aber es gibt Möglichkeiten, das C4D-Rendering zu beschleunigen, lassen Sie uns diese erkunden.

¿Cómo Acelerar el Renderizado en Cinema 4D?
Cinema 4D
¿Estás creando escenas 3D en Cinema 4D? El renderizado en Cinema 4D puede ser lento cuando la escena es compleja, pero hay formas de acelerar el renderizado en C4D. ¡Vamos a explorarlas!

How to Speed Up Cinema 4D Rendering?
Cinema 4D
Are you creating 3D scenes in Cinema 4D? Cinema 4D rendering can be slow when the scene is complex, but there are ways to speed up C4D rendering, let's explore them.

Is There Any Good Service for Cinema 4D Cloud Rendering?
C4D
Cinema 4D is a very good tool for animation, modeling, and rendering, but sometimes the rendering is very slow. There are many factors that affect C4D rendering speed. This article tells you how to improve Cinema 4D rendering and introduce the best C4D cloud rendering service to you.

C4D Tutorial: Using Field Forces to Create Diamond Dispersion Effect with Particle Motion on the Surface
C4D
The leading cloud renderingservices provider and GPU & CPU render farm, Fox Renderfarm will share with you a C4D tutorial. In this project, will learn how to use field forces to create a diamond dispersion effect with particle motion on the surface.
How to Make a Core-shell Structure in Cinema 4D
C4D Render Farm
Fox Renderfarm, the best could rendering service provider, will share with you a Cinema 4D tutorial about how to make a core-shell structure. This tutorial is written by 3d Artist Yuan Liu. Now let’s introduce a modeling method for stacking model of small balls of any shape in C4D software.
C4D Tutorial: How to Animate a Square Collapse
C4D
The best cloud rendering service provider, Fox Renderfarm, will share with you a C4D tutorial from 3d artist Flynn. This tutorial uses the C4D R20 version, if using the previous version, you need to adjust some relevant parameters.

C4D Tutorial of Making 3D Abstract Art Materials
C4D
Are you a user of Cinema 4D? If so, take a look at this tutorial for C4D put together by Fox Renderfarm, the best cloud rendering service provider. Here you will be taught how to make 3D abstract art materials.

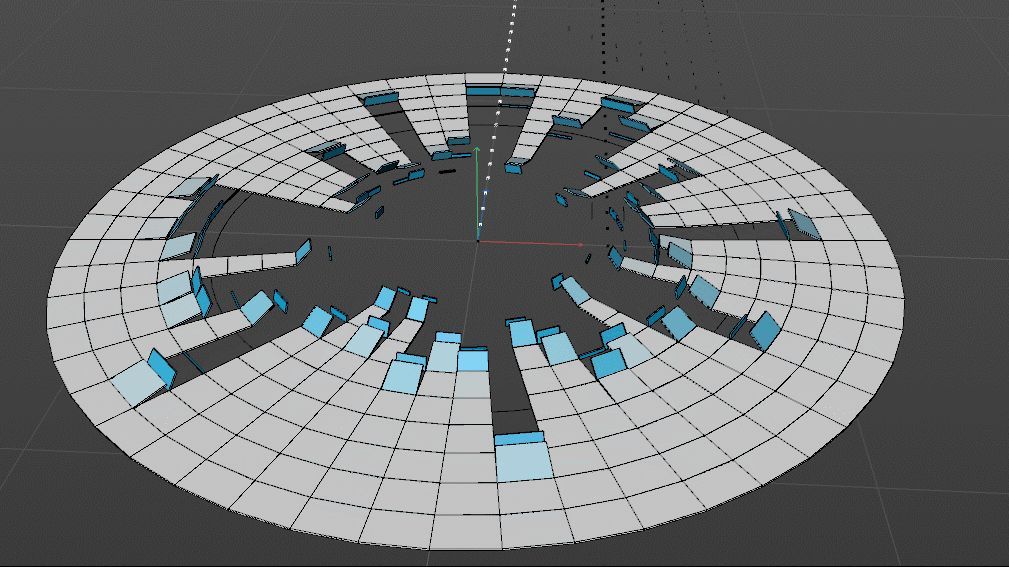
Cinema 4D Tutotial: How to Create Ripple Animation With Field?
C4D Render Farm
Fox Renderfarm, the best cloud rendering service provider and Cinema 4D render farm, will bring you a sharing about how to create Ripple Animation with the field in Cinema 4D, let’s look over it.