
 Blender
 Cinema 4D
 Arnold
 3ds Max
 Houdini
 V-Ray
 Maya
 Unreal Engine
 Nuke
 Pricing
 New User Bonus
 Cost Estimator
 Christmas Sale


Manage job operations
Overview
Once a job is rendering, a problem does not mean submitting it all over again. Four actions cover most cases. How the page looks and where the buttons sit is in Monitor a job; what to do after priority frames are done is in Test frames and full render.
Pick by intent: the job stopped and should continue → Start; it is rendering and should stop → Stop; frames failed or never finished → Resubmit; keep the original and render a second copy → Clone; move a job to another platform → Clone across platform.
All four follow the same pattern: tick the job in the Rendering list → click the toolbar button → choose a scope in the dialog and confirm.
Start
For jobs in Stopped, Waiting or Test done.
-
Tick the job and click Start.
-
Click Confirm in the dialog; the job continues with the frames it had not finished.
Finished frames are kept and not re-rendered. If the job also has failed frames, handle them separately with Resubmit.
Stop
For a job that is rendering and should stop. Stopping does not delete the job; it stays in the list.
-
Tick the job and click Stop.
-
Choose which frames to stop: all frames, waiting frames, or the frames currently rendering. All frames is the default.
-
Click Confirm.
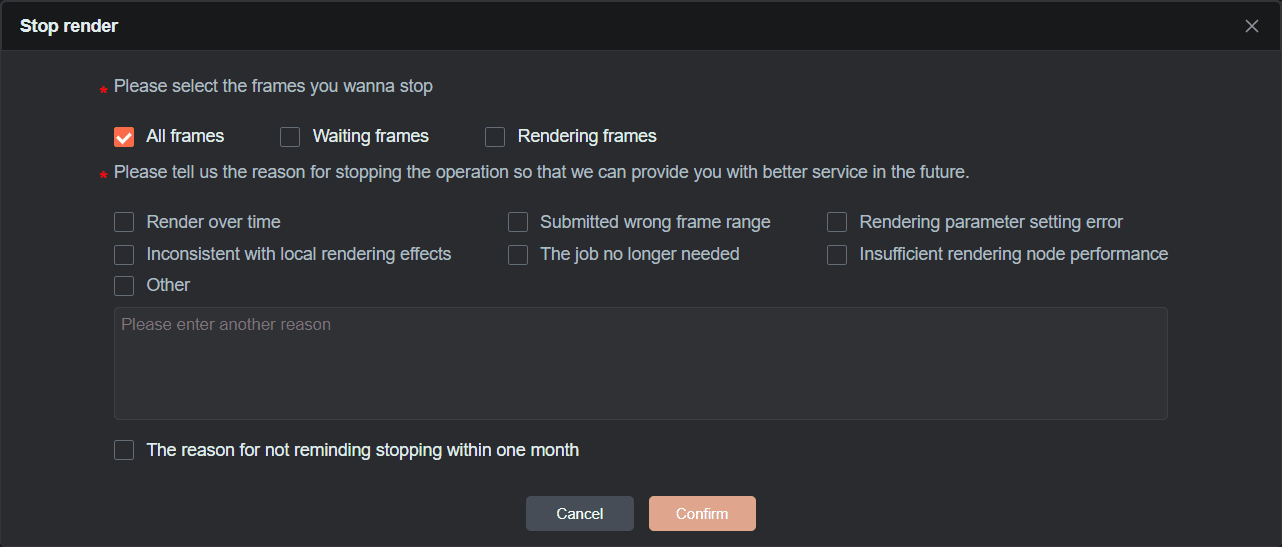
Frames already rendered are kept. Choosing only waiting frames lets the frames in progress finish, which suits a queue that should pause without throwing away work underway.
Resubmit frames
When a job has failed frames, or frames left unfinished by a stop, Resubmit re-renders just those instead of the whole sequence.
-
Tick the job and click Resubmit.
-
Tick the frame scope: failed frames (the default), stopped frames, or completed frames.
-
Click Confirm.
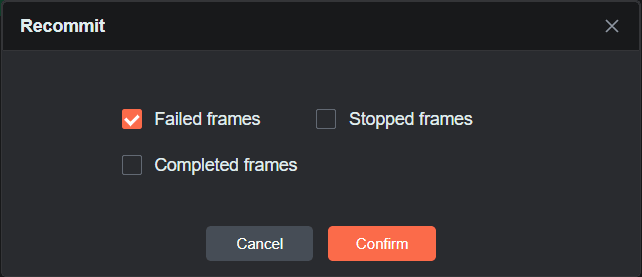
Ticking completed frames re-renders frames that already produced output, and bills them again. Choose it only when those frames genuinely have to be produced a second time.
Clone
Clone keeps the original and produces a second job with the same configuration — useful when trying different parameters or another machine type without touching the original.
-
Tick the job and click Clone.
-
Confirm in the dialog; a new job appears in the list.
The new job is independent: its own status, its own results, operated separately.
Clone across platforms
Copying a job to another platform takes two steps in order. Until the assets finish transferring, the second step does nothing.
Step one: transfer the assets
-
Tick the job and click Transfer assets across platform; choose the target platform and confirm.
-
Watch the progress in Asset Transfer List on Manage your assets, and wait until the transfer finishes.
Step two: clone
-
Once the assets have arrived, tick the same job and click Clone across platform.
-
After the clone, the original job's waiting frames turn to Stopped while other frames stay as they are; the target platform gets a new job, which is operated from that platform's Rendering page.
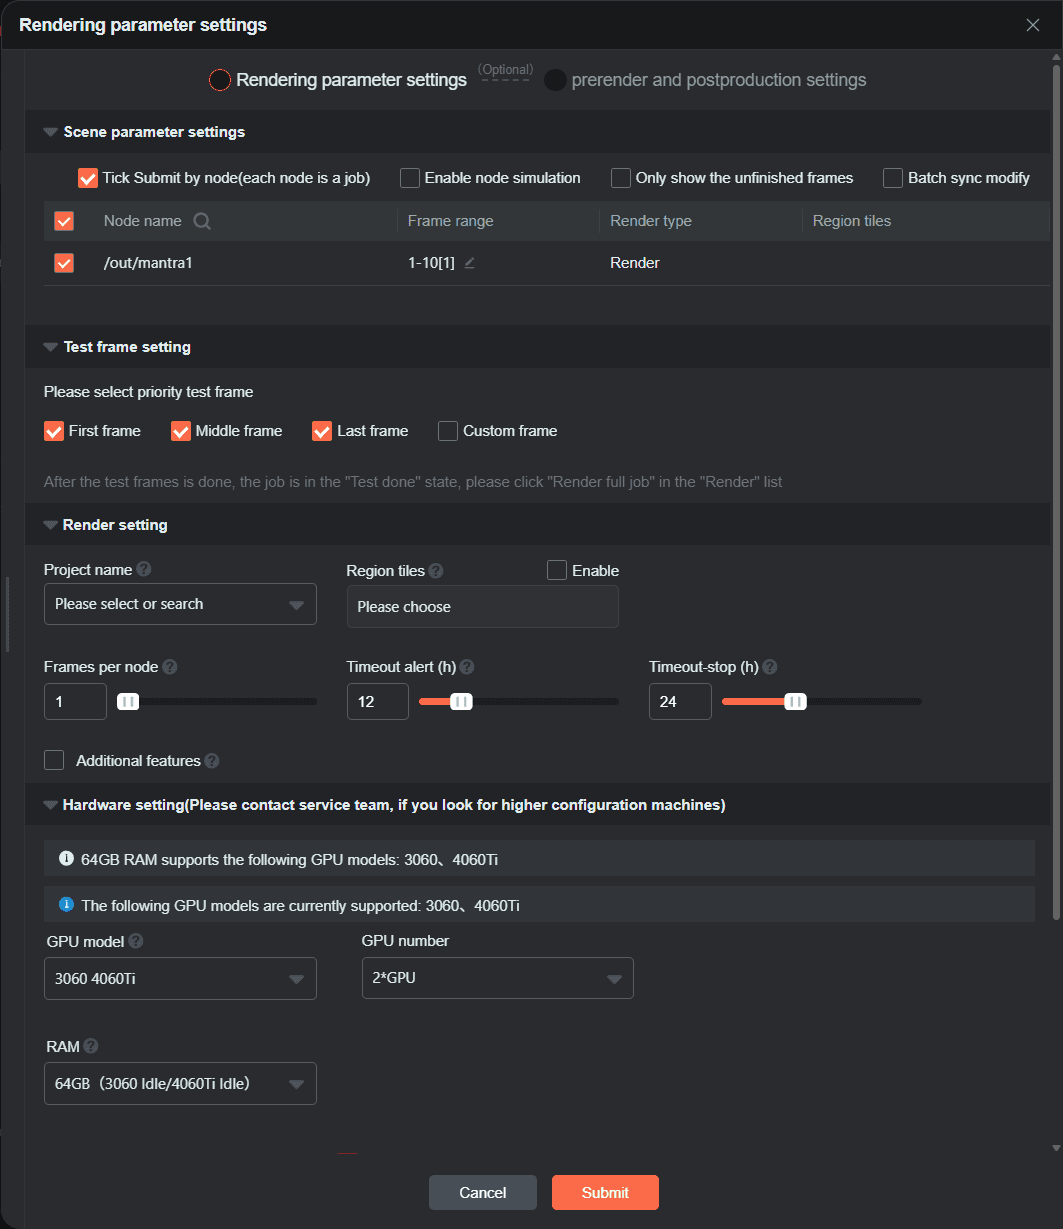
Which jobs cannot cross platforms: only jobs submitted from the desktop client or the web console qualify, and a client job clones to a client while a web job clones to the web. Jobs using frames per node, region tiles, Houdini simulation, or photon tasks — and jobs where photons and the main image run together — cannot be cloned at all. A CPU job can only move to another platform's CPU region, a GPU job to another GPU region; the two do not mix.
If Clone across platform does not respond, check two things first: whether the asset transfer finished, and whether the job is one of the types above that cannot be cloned.


