Blender
 Cinema 4D
 Arnold
 3ds Max
 Houdini
 V-Ray
 Maya
 Unreal Engine
 Nuke
 Pricing
 New User Bonus
 Cost Estimator
 Christmas Sale


Manage your assets
Overview
Assets holds your project files in the cloud, and the frames that come back once rendering finishes. Open it from the left rail.
Note: this page belongs to the web console. The desktop client reads the project straight from your local disk and never passes through Assets — see the desktop client section of Submit a job.
Page map
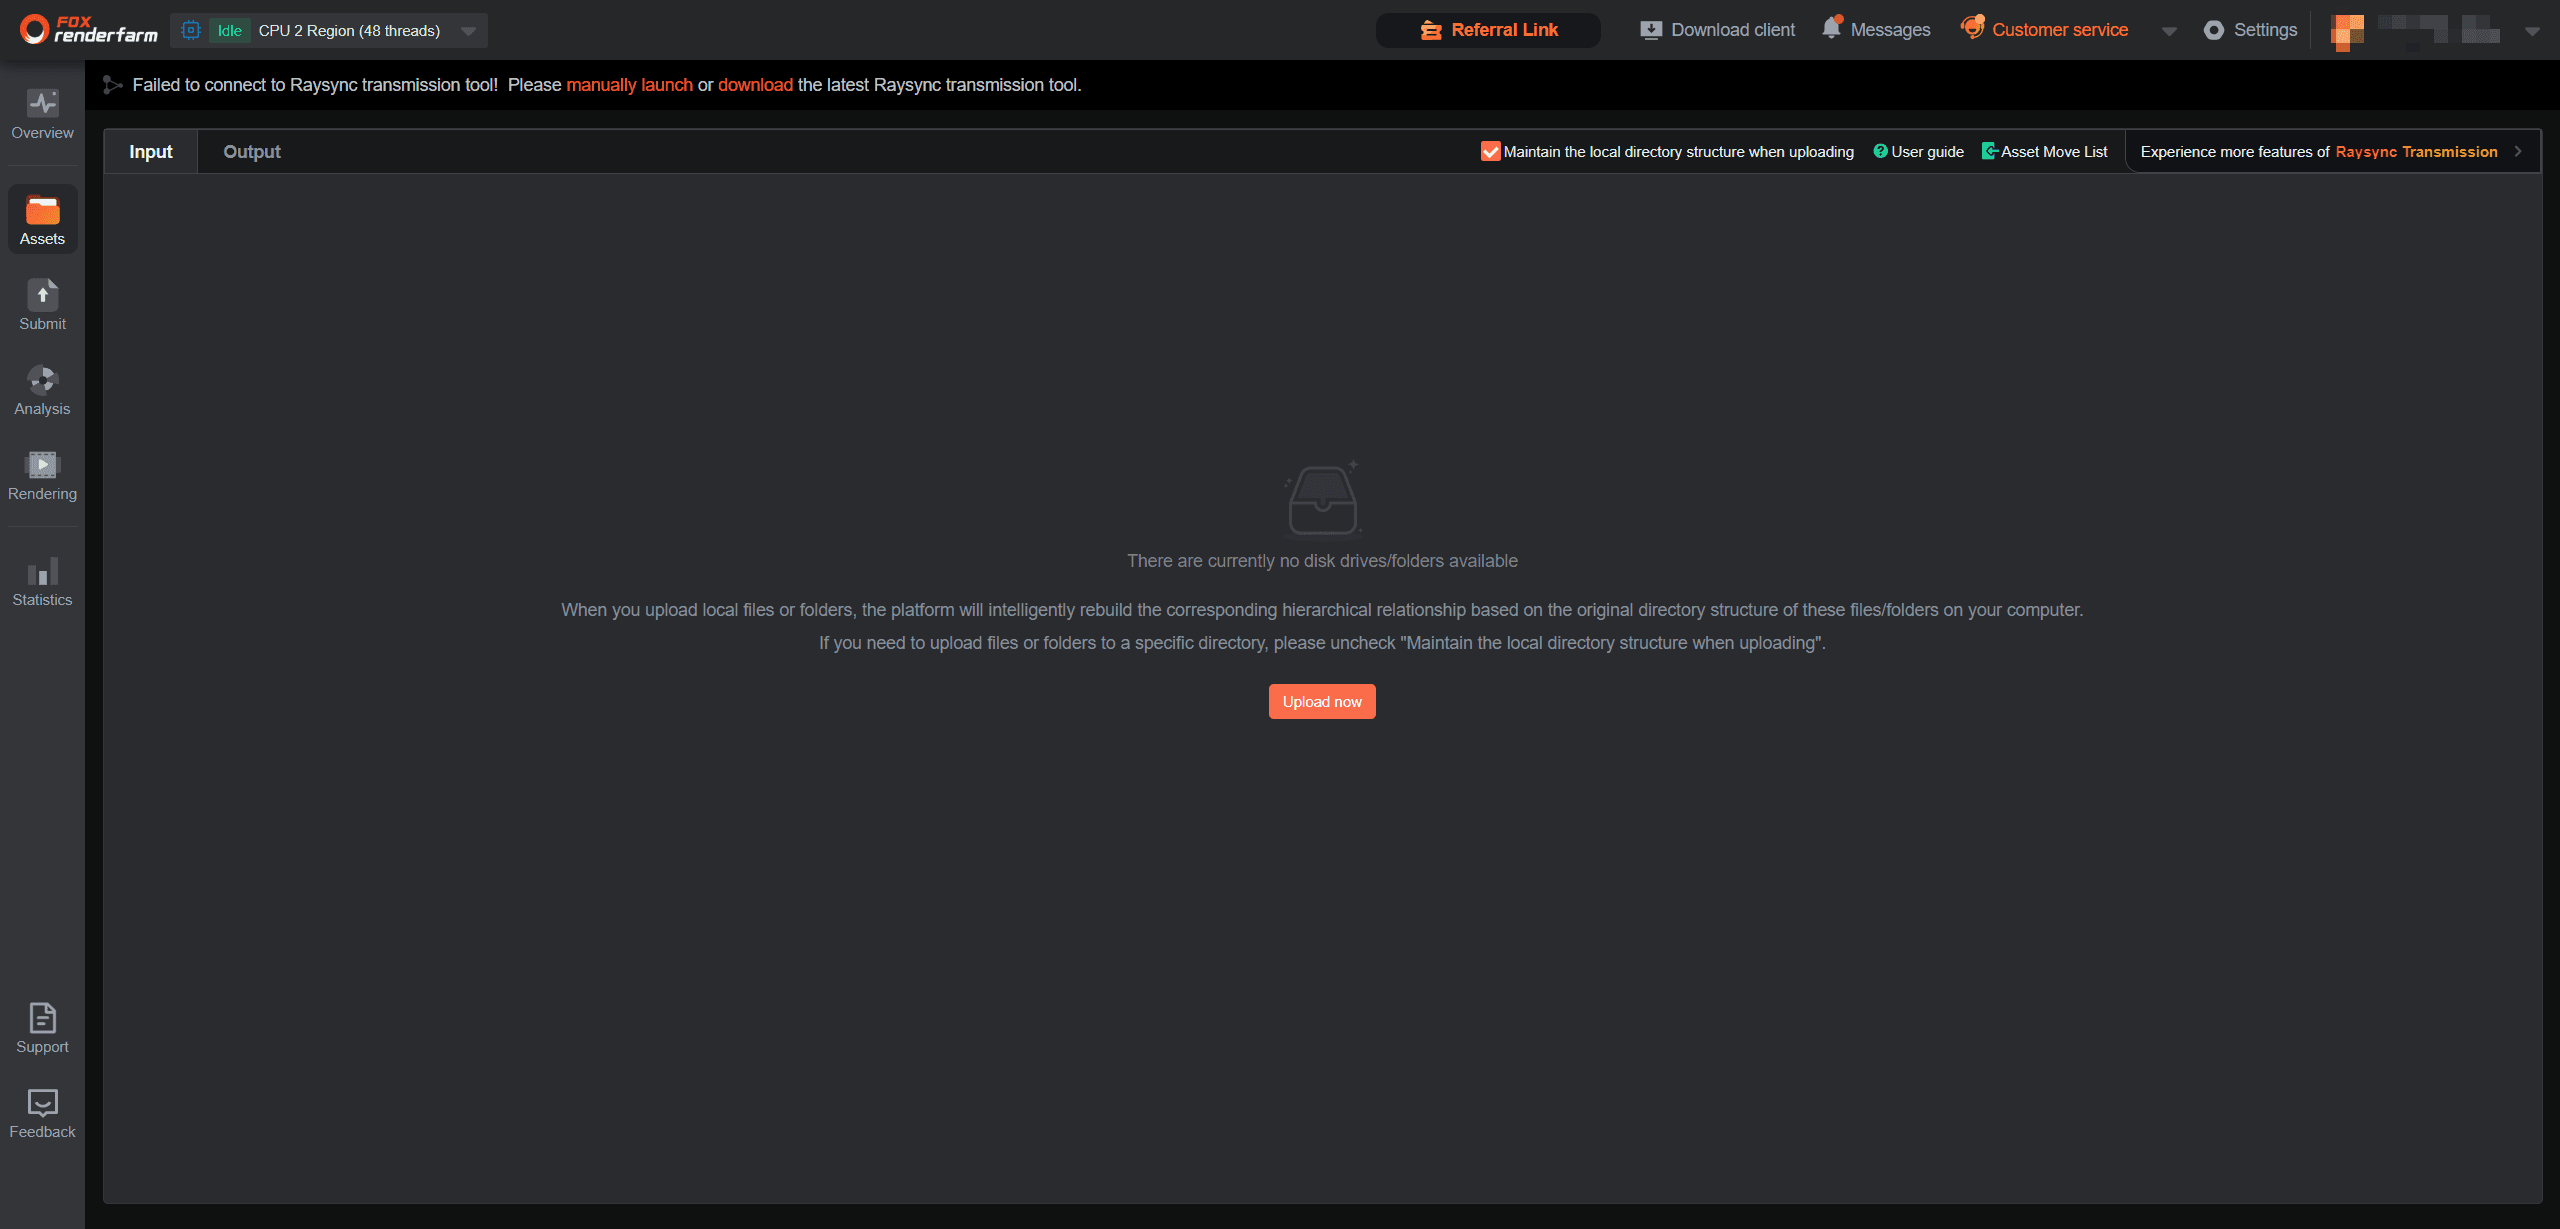
The page is made of two tabs, the tool area at the top right, and the file list below.
-
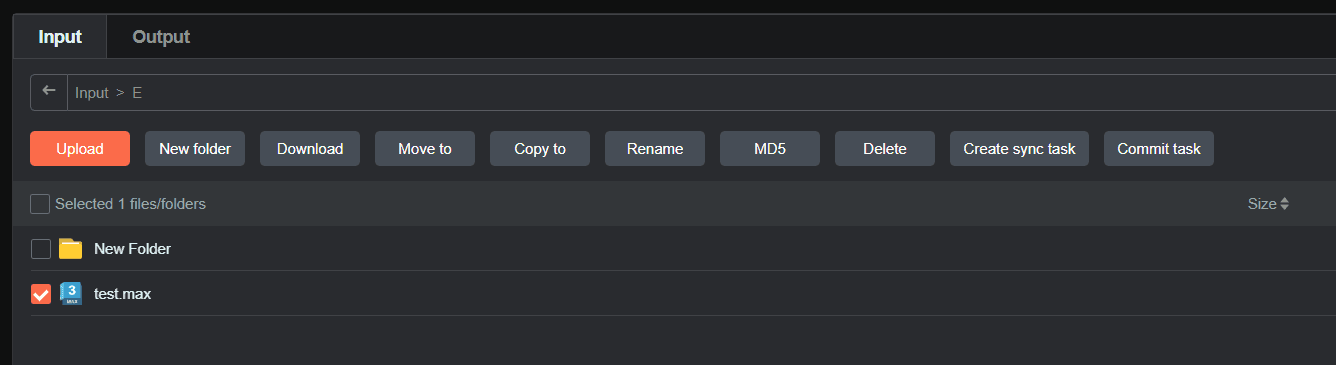
Input tab — your own project files: scenes, textures, materials, caches. Organised as drive letter or folder → subfolder → file.
-
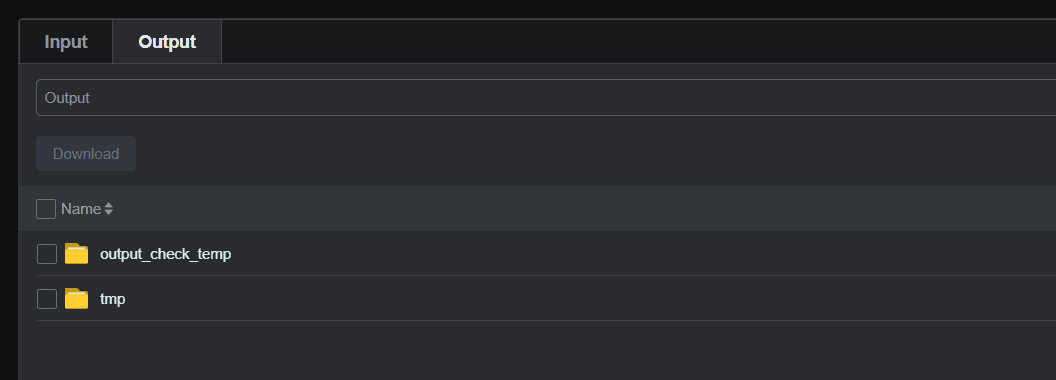
Output tab — the frames produced by render jobs. Generated by the system, available to download.
-
Tool area, top right — maintain local directory structure, usage guide, asset move list, try Raysync, sync task.
-
File list — name, size, type and modified time; one line per file or folder.
The sync task entry mirrors a local directory to the cloud. Everyday submission does not use it.
Rules worth knowing
-
The root cannot hold files. Create a drive letter or folder first, then upload into it.
-
Maintain local directory structure decides whether the cloud copies your local folder levels. Ticked,
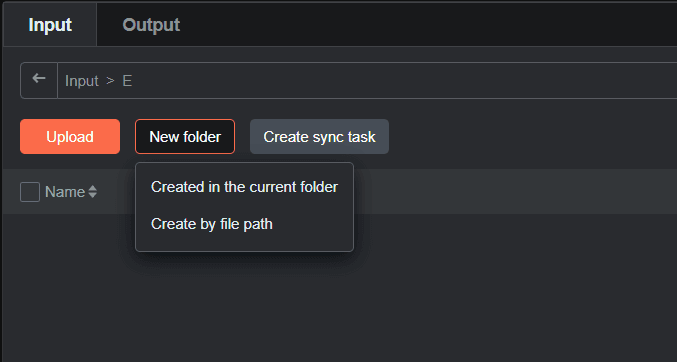
E:\scenes\maya\sc01.mblands inE/scenes/maya/: the cloud builds each level from the path during upload, so no drive or folder has to be created by hand. Unticked, the file goes into whichever cloud directory is open, so that drive or folder must already exist. -
A deleted file cannot be recovered. Check the selection before confirming.
-
render_log,tmpandblockin Output are written by the system during rendering. They need no housekeeping; take the result files with Download. -
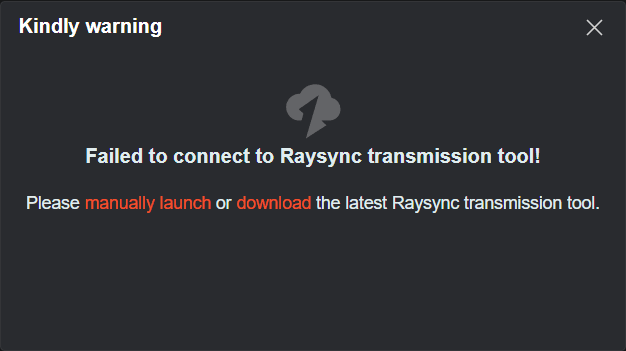
Uploads and downloads both run through the local transfer tool. If the page says it is not detected, start it from the prompt or install the latest version and retry.
What you can do here
Create directories and upload files
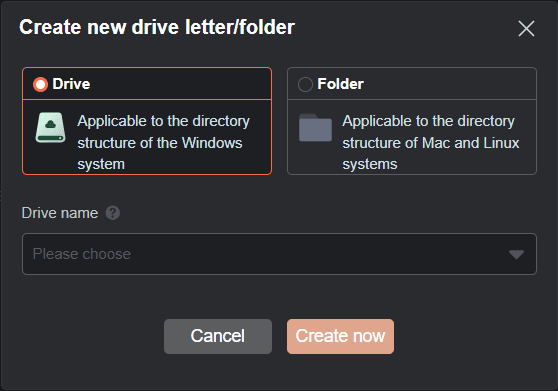
1、Create drive letter / folder — adds a top-level container in Input. Windows uses a drive letter, Mac and Linux a folder.
2、New folder — adds a folder inside a drive, or builds several levels at once from a path. It only works inside a drive or folder.
Upload — sends files through the transfer tool. A drive or folder has to exist first, because the root itself cannot hold files. For large files, use Raysync.
Find and organise files
-
Search — finds a file by name.
-
Move to / Copy to — moves or copies a file or folder. Moving leaves nothing behind; copying keeps the original.
-
Rename — renames the ticked file in place.
-
MD5 — shows the file's MD5 value, used to verify that a file survived the transfer intact.
-
Delete — removes a file or folder, and cannot be undone.
Submit jobs and collect results
-
Submit job — starts a render job from the ticked source files; the rest of the flow is in Submit a job.
-
Download — in the Output tab, saves finished frames to your machine. It becomes available once frames exist; the full flow is in Download and share results.